Maintenance
Irrigation Opening
Opening Cost Calculator
Check-Up / Service Call
$99
Full inspection, diagnostics, pressure testing, and system adjustments.
BOOK ONLINEUsually, the price for irrigation opening is $100 + tax. The price can vary if the system is commercial or big residential.
GET IT NOWBasically, the price for winterization is $100 + tax. The cost can vary if the system is commercial or big residential.
GET IT NOWPrices start at $550 per zone. We use Hunter and Rain Bird materials. 5-year warranty. Parts and labor are included.
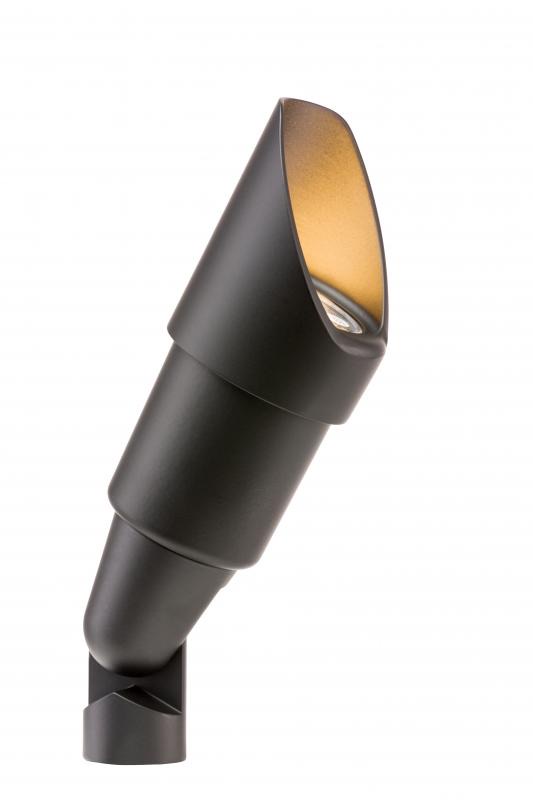
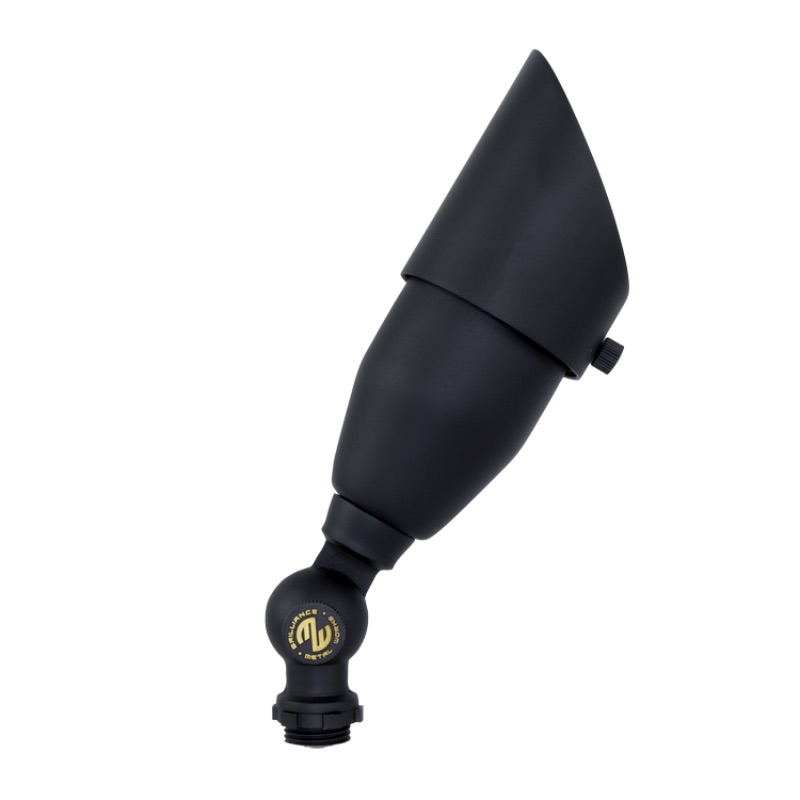
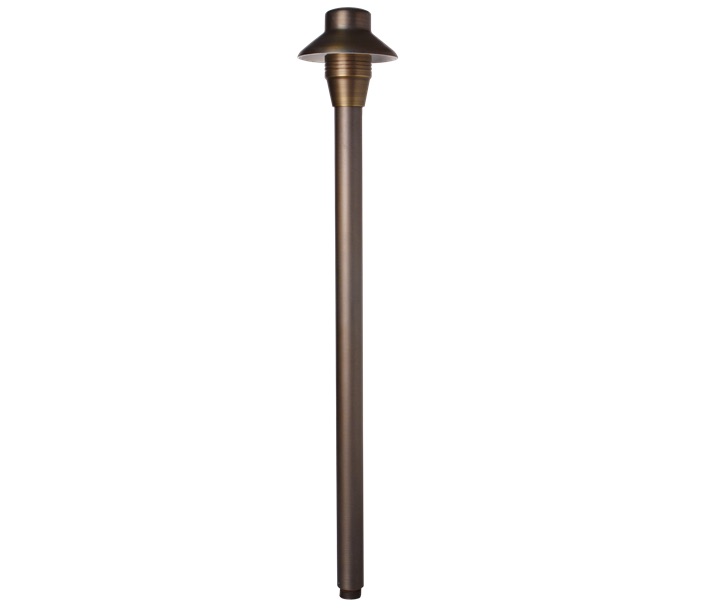
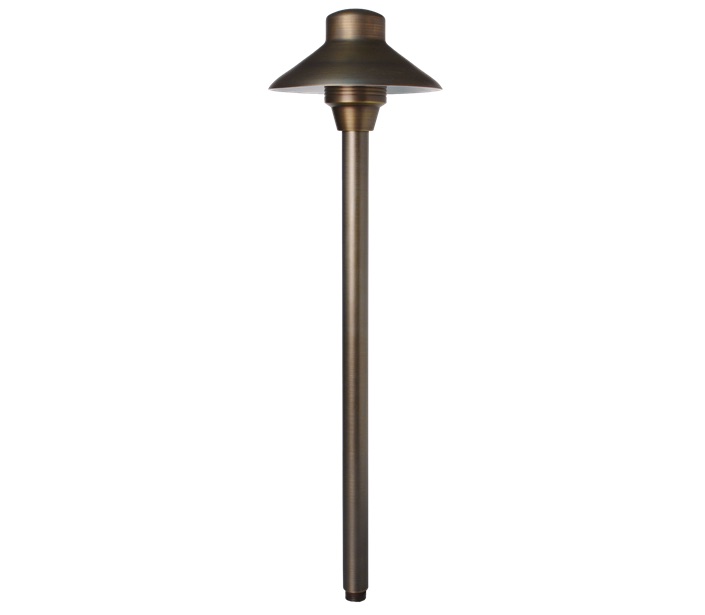
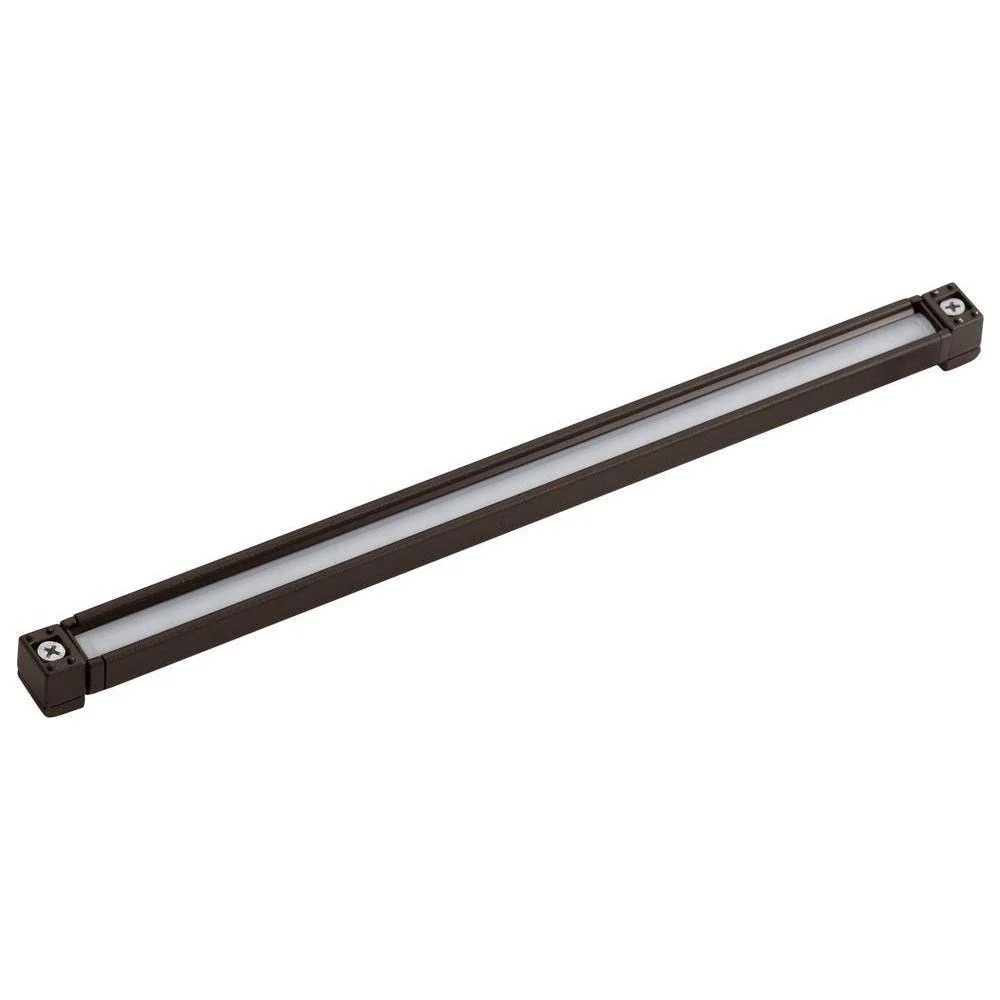
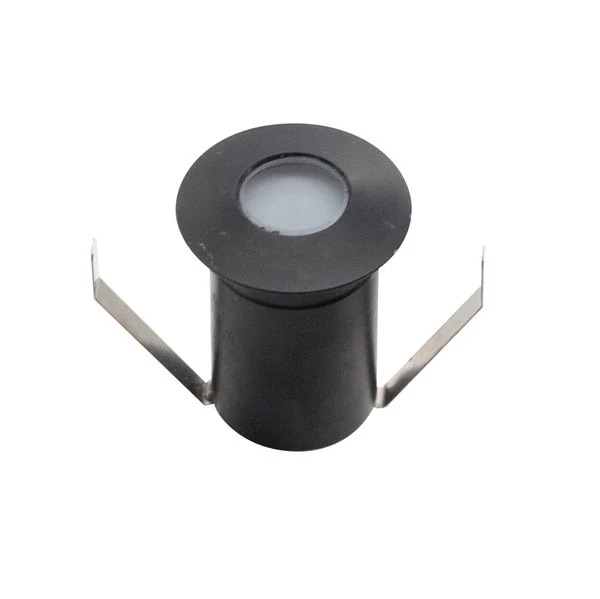
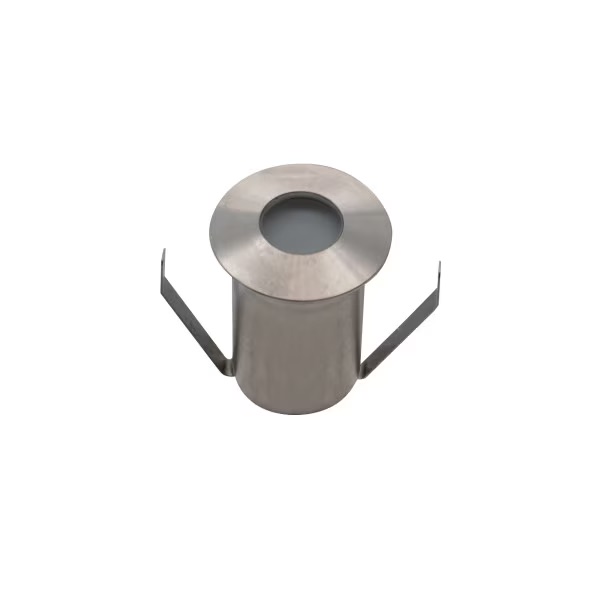
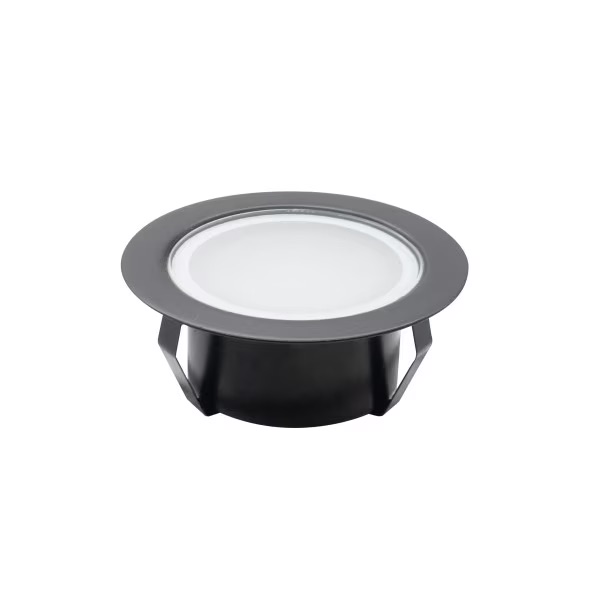
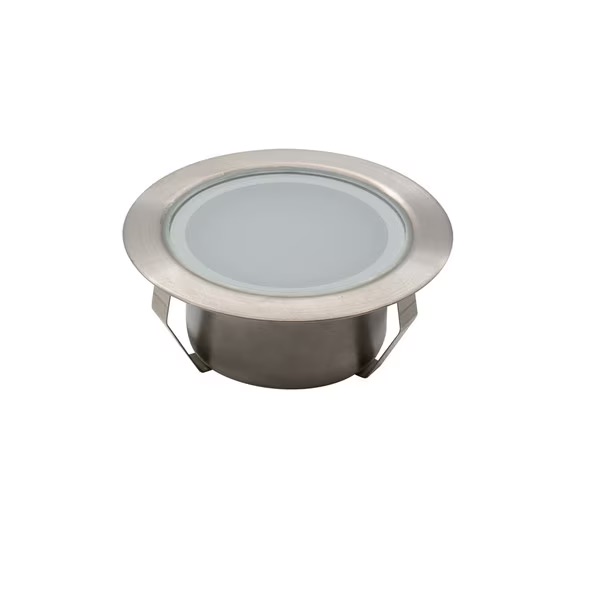
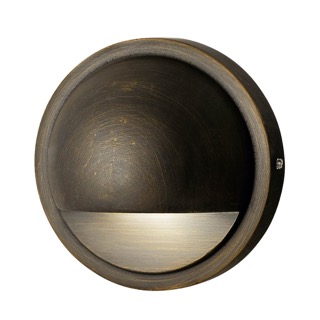
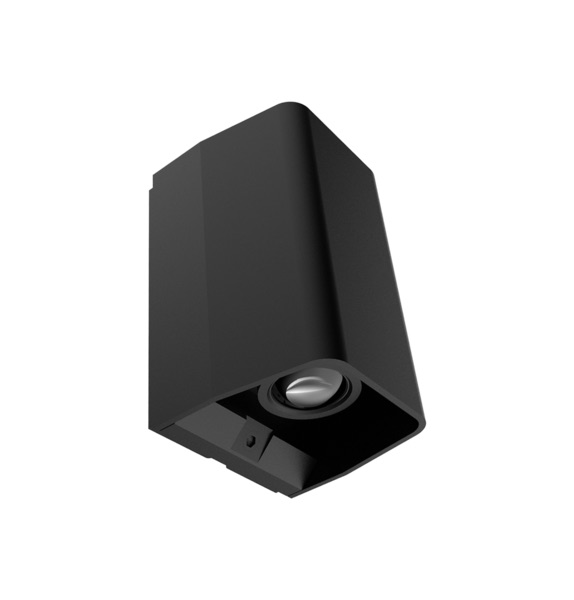
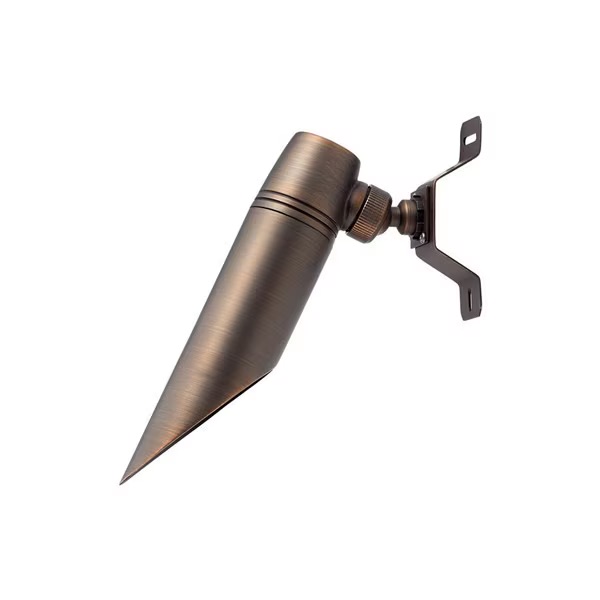
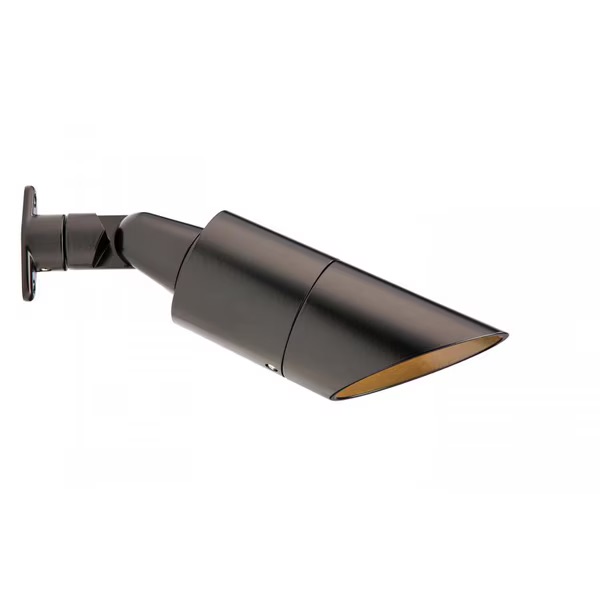
GET IT NOWLED fixtures start from $250 due to long lifespan and reduced maintenance costs. Parts & labour are included.
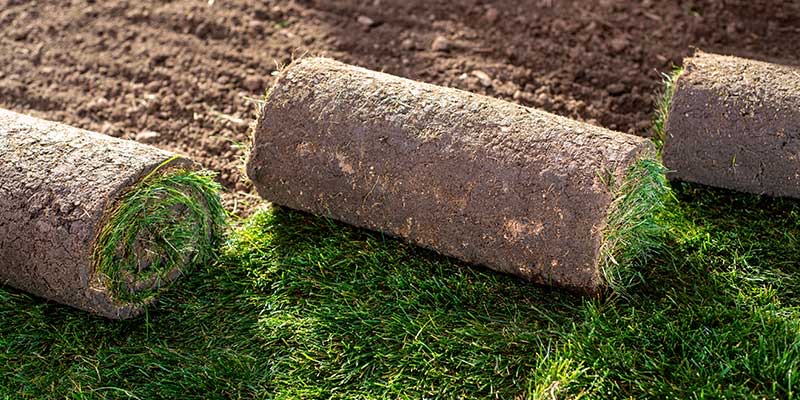
GET IT NOWResidential sod averages $1.10–$3.50 per sq.ft. Commercial starts at $0.75. Labour is included.
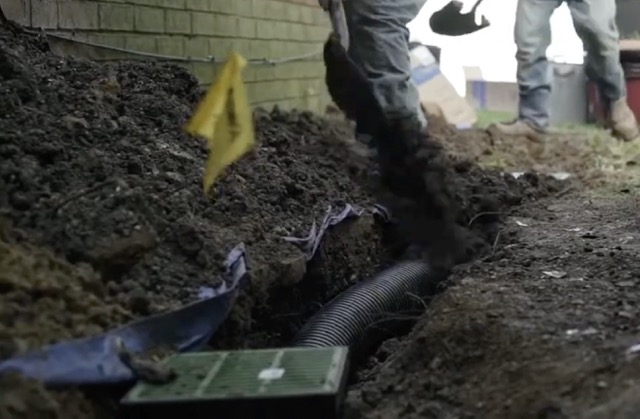
GET IT NOWFrench drainage installation cost ranges $25–$40 per foot depending on complexity. Parts and labor are included.
GET IT NOWFull inspection, diagnostics, pressure testing, and system adjustments.
BOOK ONLINE


An efficient irrigation system is the way to go for the looks and good health of your landscape. Nevertheless, some units in the system might break, causing water loss and improper watering of your plants therefore it deserves proper periodical maintenance tools. This post explores a wide area with proven steps to fix common irrigation system problems thus your garden will continue to be green and alive-still.
How frequently should I inspect my irrigation system? Regular inspections must be done not more than one time in a week to check if the system is functioning faultlessly. Regular checks help to find and fix issues at startup by identifying any loose connection beforehand, thus preventing them from becoming major and tongue-slowing as they go along. Also, monthly inspections normally require around 30 minutes.
What are the tools that I have to have repaired my irrigation system? Pipe cutters, wrenches, PVC cement and a multimeter for electrical components are the basic tools. Using the correct tools prevents losses and breakages of the system and gone are the days of taking time to recover Gathering these tools usually takes a maximum of 10 minutes.
Can I repair my irrigation system myself? Yes, many problems that often occur in irrigation systems are such that they can be solved by the most straightforward methods. Doing the maintenance repairs by yourself can properly fix the problems whilst saving you time and money. When it comes to major problems consulting a professional is the best course of action. They have the right expertise to ensure a perfect resolution. Quick and purely do-it-yourself operations usually demand only from 15 minutes to 1 hour.
How do I know if my solenoid is faulty? Typically, A faulty solenoid may cause zones to remain open or closed. If there’s no continuity in the circuit, you can use a multimeter to do a check. In case the solenoid is powerless to be engaged or its circuit is broken by any chance, it has to be replaced. The time it takes to test a solenoid is normally 5 minutes.
What should I do if my irrigation timer is not working? A good option would be to replace the timer with a new, properly functioning one if the problem is still around. Good quality timers are the important ones for the schedule, flow and period of effective oil rig cleaning. The process of resetting and reprogramming usually takes around 15 minutes.
Are smart irrigation controllers worth the investment? Yes, smart controllers can reduce the waste of water and money by adjusting the irrigation schedule according to your weather conditions. They change the watering cycles and amounts on their own, thus, guaranteeing your plant gets enough amount of water and avoiding water consumption. Normally the time needed to install a smart controller is around 30 minutes.