How to Winterize Sprinkler System
Irrigation Sprinkler System Blowout Process Explained
-
Shutting Off the Water Supply
- The first stage of the irrigation system winterization is to cut off the main water supply. Normally, this is done by shutting the valves that supply water to the sprinkler system. Shutting off the water from the outside allows the pipes to be emptied out, which is necessary for a schmoo “smashers teardrop” blowout. Without this initial step, water is still capable of flowing through the system, thereby making the blowout weak and increasing the chances of pipe cracking due to cold. Also, it is crucial to make sure that the main valve is protected from freezing if it is outdoors. This can be done by either wrapping it or by draining it off after turning it off. Flow stopping is implemented correctly as an effective blowout and along with it, the mainline is safe from possible ice damage during winter.
-
Draining the Backflow Preventer
- One of the main steps required in a backflow preventer is to relieve air from the system after the supply of water is drained. The backflow preventer is the device that prevents drinking water from being polluted by possible contaminants that may come from sources of contamination. It is thus an integral part of an irrigation system. Thus, the draining of this equipment is a good mix of issues such as backflow preventers which sometimes get wet even when the main is convex. This is usually the means of opening the backflow valves and letting the remaining water either into a bucket or onto the ground. It overshadows the freezing damage of the destroyer and gives a chance to make it alive over the next season. Completeness of draining the backflow preventer has to be paralleled by the fact that all water has been cleared from the subtle areas so that they are not endangered due to the safeguarding of this crucial component of the irrigation system.
-
Locating and Connecting the Air Compressor
- The third step is to connect an air compressor to the irrigation system. Often you need a compressor with a minimum of 150 CFM, which is the ability to transmit enough air to drive out the water lines. Initially, find the blowout port of the relief system or a suitable connection point where you can insert the air hose. Most systems come with a special port for this, which makes linking very simple. One must be careful when the pressure regulator is used to administer the incoming air because too much force can yield the pipe or head. The connection must be tightly sealed so as not to permit air leaks, and then the system can be used for the blowout process. Installation of equipment the right way at this point prevents the components from excessive pressure and assures the blowout is successful.
-
Blowing Out the Zones Sequentially
- Each irrigation zone must be purged of water one at a time for a perfect blowout. The first thing you do is to move from the one further away from the compressor to the nearest one and start them by sequentially turning them off one after another to avoid overloading any part of the system. The technique of this procedure allows for the air to remove the remaining water out of the pipes slowly and bring each zone to a… For the most part, each zone is active for about two to five minutes before any water comes out of the sprinkler heads. When a zone is clear of water, move on to the next one and continue like that until all zones have been cleared. It is a vital step for the protection of each zone from freezing assays, and the continuity of operation provides the smallest opportunity for the water to be caught in the system.
-
Monitoring Air Pressure Levels
- While blowing out the system, the air pressure must be constantly checked to avoid damage to the system. On the other hand, the residential systems are operated at air pressures not to exceed 150 PSI, and the commercial air ones not to exceed 250 PSI. A sudden increase in air pressure, 150 PSI for residential systems and 250 PSI for commercial ones, is likely to damage the whole system. This procedure requires watching the pressure gauge of the compressor and changing it according to the data from the gauge to keep the safe pressure level. One way of handling lower pressure is a typical case when just a small portion of the water can be evacuated, and this is not worse than having high pressure, which can damage the pipes and cause heavy repairs. Making the procedure of blowout pressure stable and moderate will enable the removal of water from the irrigation lines and components without overloading these parts, thus making it safer and more successful in winterization.
-
Inspecting for Leftover Water in the System
- After the area is clear of any possible water damage, the next step is to inspect the whole system. This involves checking the main line, the valves, and the sprinkler heads to see if there is any remaining water. On some occasions, water might be stuck in parts that the initial blowout missed, especially in systems that are difficult to clear. A repeat blowout course of short duration, first in one basic group and then in another, can help to minimize moisture that might remain. It is of utmost importance to check that the system is bone dry because even a little water can grow when it freezes and thus push the pipes to burst or break other parts. Through a comprehensive check, make sure that the complete system is winter-proof, which will reduce your chances of facing repairs and replacements.
-
Disconnecting and Storing the Compressor and Other Equipment
- After the blowout is done, the last thing to do is to take the air compressor away and fasten down the equipment. Relieve any residual air pressure in the lines by opening a valve or drain port as needed, ensuring that the lines are completely empty of any air. Do not just simply drive the compressor away and take it for granted that all parts are secured; look over the hoses and fittings for tears and wear. It’s also a good idea to cap or cover any open ports or valves to keep debris away from the system during the winter. The proper storage of equipment will protect your irrigation system from the winter elements and make it easy to start it in favorable spring weather. Doing these post-blowout activities ensures a good transition from blowout to winter readiness.
Types of Winterizations

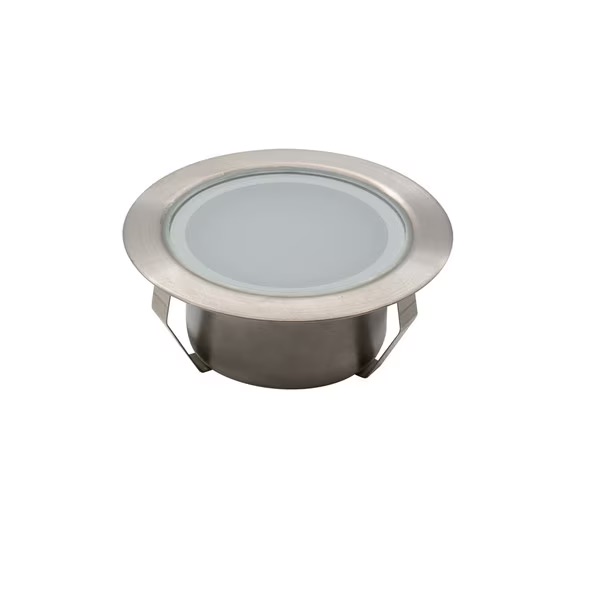
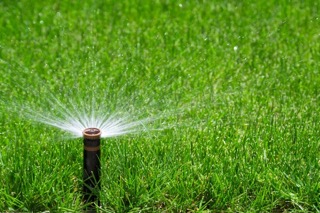
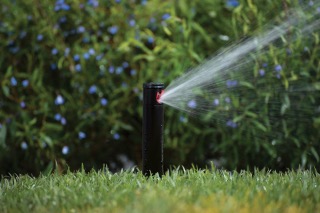
Automatic Sprinkler System Draining
The automatic sprinkler system draining is the best way to get your irrigation system pass the winter dry. The process is through the internal drainage mechanism of the system, which discharges the water from the pipes and gear automatically. During this winterization process, the timer and the valves are cooperating to ensure that the whole area is properly drained, which significantly reduces the risk of freezing. This is the perfect solution for homeowners who do not want to deal with any e. Hiring professionals to do an annual inspection and automatic drain mechanism checkup is a must to guarantee such a system is functioning. This way is most effective in usual mild-winter areas, where freezing is not a major problem but a possibility only. Nevertheless, it should be guaranteed that all zones might be activated to water remaining can be efficiently dispersed.
:max_bytes(150000):strip_icc()/how-to-blow-out-sprinklers-for-winter-2464-step-01-95cea369f083404e983506b14000cebc.jpg)
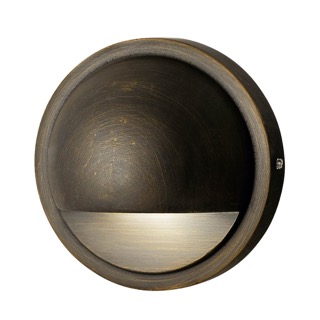
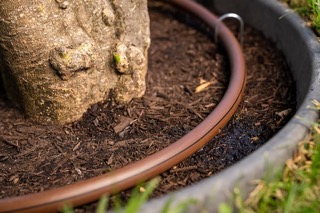
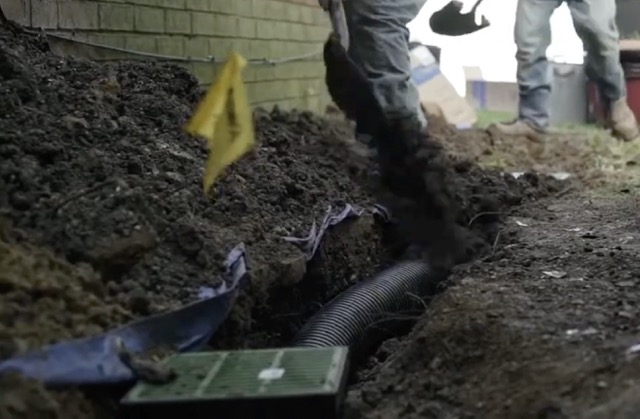
Manual Sprinkler System Draining
In the manual sprinkler system, draining the water involves farmers physically sucking the water out of each zone of the irrigation system. The homeowner or technician thus must physically open the valves and pull out the water in the pipelines so that no water should be left in the pipes that will become frozen and burst the pipes in winter. Nonetheless, this technique may be more labor-intensive; however, going for a complete winterization compliant with the user having full control of the course is the way some are opting for. Moreover, it's more advantageous in areas with cold winter conditions, where the drop in temperatures is highly possible. Wrenches and hoses together with other tools are necessary for the correct drainage of the pipes. Once they are done with the draining, they should check all the constituents to see if any have worn out or need some repair.

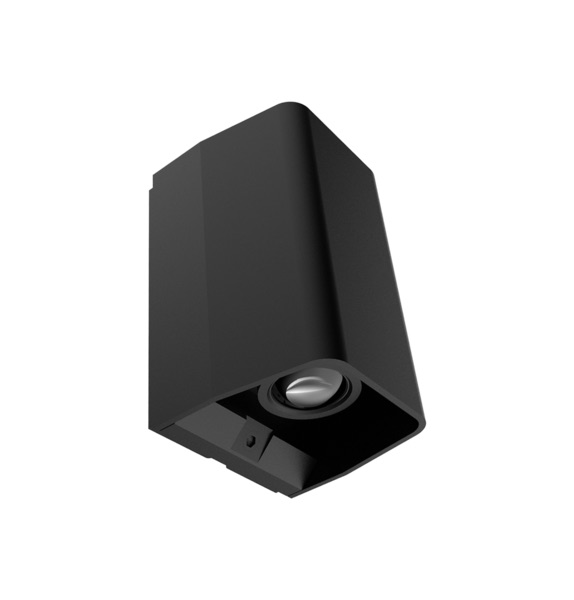
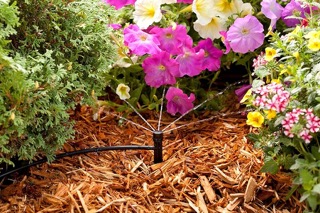
Blowout Sprinkler System Draining
The blowout drainage of the sprinkler system is one of the most efficacious methods of winterizing the irrigation system, especially in the naturally cold areas. No such thing as magic is needed for the problem to be fixed, it is just a fact that air compressor purges all pipes and fittings from water. The air compressor is then linked to the system, and the pressured air is used to drive the water through the sprinkler heads, making sure that the entire system is completely evacuated. On the whole, it is argued that this method of protection is the best since the water is the one that first freezes. The blowout must be done with care in order to prevent any injury to the irrigation system. After blowout, a thorough inspection is a good idea to make sure that every part is dry and ready for winter storage.
How to Insulate a Sprinkler System
Winter is a season that can be really hard and your sprinkler system may lose its effectiveness in that period. Thus, insulation of the system is the next best thing we can do. Start with the pipes and fittings that obviously are in the most exposed position outdoors and hence are the most likely to freeze. The foam pipe insulation or the heat tape slices be thought of wrapping or being put inside the tightest zones so as to hold the warmth inside. In the overground areas, the covers or blankets designed for irrigation systems are used to insulate them. Besides that, be sure that the water system is emptied before the winter when some water which can freeze and, in this way, transcript parts of it. Another very essential action entails regular inspections of the insulation and immediately replacing torn parts.
Can I Winterize My Sprinkler System on My Own?
Absolutely, you can prepare the sprinkler system for winter by yourself, together with some fundamental tools and a bit of knowledge. The system starts with several major functions such as shutting the water supply off, draining the system, or using an air compressor in case of blowout. It is very important that before you begin, you have a clear understanding of your system's layout and the components. If, for example, you live in a flooded area, you can drain the system manually, which could be not the most convenient method, but it will work for sure. Treat to the system the right way to have the tools, and follow the safety precautions to damage securely your system. If you are either unsure of or uncomfortable with the process, talking to a professional might be useful. The smart way to winterize your sprinkler system is what will save you the biggest share of repairs in the spring and at the same time guarantee that your system will be in working condition during the warmer weather days.
When Should I Winterize My Sprinkler System in Ontario?
In Ontario, the ideal time for sprinkler system winterization is late October to early November. With a drop of temperature, it becomes mandatory to the irrigation system get itself prepared for the coming winter days. As per the records, the first severe frost in Ontario in the past could be in mid-November or even earlier. Hence, it is very vital to finish winterization before the temperature crosses the freezing zone below the freezing level. Weather forecasts provide a basis for the decision-making process of your winterization and be accountable for your actions if you don't properly winterize. Of course, if the weather suddenly cools down, you should become fast because the water in the pipes will ice/cool down and the pipes may be ruptured. The immediate attention that you're going to give to the winterization will be a good cover for your sprinkler system, besides the fact that it's being properly prepared for when spring starts then you can easily start the irrigation system.
What Happens If I Don't Winterize My Sprinkler System?
If you do not winterize your sprinkler system, you may end up with huge and inevitable repair bills. The water remains in the pipes and may freeze when the temperature drops. The freezing water expands, thus the pressure created can cause a rupture or crack in the pipes, valves, or fittings. Accordingly, you might find yourself swimming in expensive repairs in spring, which are going to be the size of projects and time-consuming as well. Furthermore, the leftover water may tickle the backflow preventer, which is a very important part of the system to prevent contaminants to get into your drinking water supply. Besides the physical damage, the total effectiveness of the irrigation system may be reduced resulting in the insufficient watering of your landscape. Hence, it is essential to cover your system with snow before the winter begins to prevent these problems.
DIY Sprinkler System Winterization
Winterizing your sprinkler system yourself can be a great way of saving money as well as seeking proper operational efficiency of it. The first thing to do is to turn the main water supply off and drain the water from the pipes. To do this, you should manually open all the water valves and let them empty the water completely. Besides, using an air compressor to get rid of the rest of the water that might be left in the pipes, ensure that you strictly observe the safety guidelines and make sure not to go beyond the recommended pressure so that no damage occurs. Examine all the parts for wear and tear, and if any are damaged, replace them, then, cover exposed pipes with foam insulation or heat tape to prevent frozen pipes. Finally, don't forget to drain backflow preventers and other main elements. Fortunately, by the development of the above points, you will mostly air protect your irrigation system from any frost, which will thus be reducing the cost of spring repairs by the very fact that no ice damages that are usually related to this type of weather will occur.
How to Winterize Sprinkler System