Price for Irrigation System Installation​

Barrie Irrirgation Company

Price for Irrigation System Installation in 2024

Irrigation systems are essential for maintaining lush, green landscapes. Here is a little bit of advise about Price for Irrigation System Installation in 2024. However, understanding the cost of installation, repairs, and maintenance can be daunting. This comprehensive guide provides detailed information on the price for irrigation system installation in 2024, covering various aspects such as sprinkler systems, repairs, and maintenance.

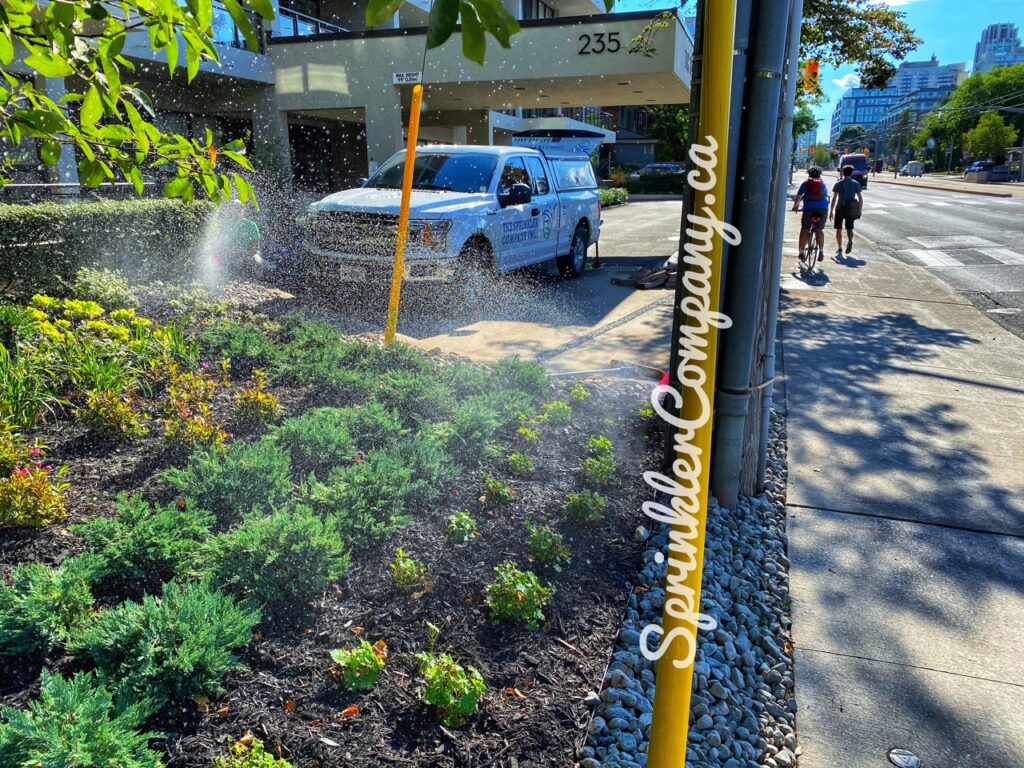
Price for Sprinkler System Installation

Cost of Irrigation Zone: Installation typically of a sprinkler system usually entails evaluating each zone separately, with the pricing ranging from $500 to $1,000 per zone. Zones are sections of the lawn that are controlled by the timer and the quantity of the zones depends on the lawns’ size. 4-6 zones are maybe needed for a standard resident tract, which would cost anywhere from $2,000 to $6,000 Large urban lots will have to budget for more zones, thereby increasing the total amount. HomeAdvisor reported that the countrywide mean price of installing a sprinkler system is $2,539, which takes into account the differences of price in terms of locality as well as property size.

Cost of Irrigation Valves: A sprinkler system is not complete without valves and each of them is very important. The price of such valves ranges from $130 to $180 each. Each zone gets the water flow regulated by a valve that has a compact structure. In a regular situation the system can have from 4 to 6 valves which ends up being from $520 to $1,080. However, it all depends on the valve style and quality used in the system. For instance, the more expensive ones have top quality performance and can last for a long time.

Cost of Irrigation Timers: Timers, or controllers, range from $50 to $200, depending on their features and complexity. Basic timers with fewer features will be on the lower end of the price range, while advanced timers with smart capabilities can cost up to $200. Proper installation and programming of the timer ensure efficient water usage, significantly affecting the overall cost. According to the EPA, using a smart controller can save homeowners up to 15% on their annual water bill, making them a worthwhile investment.

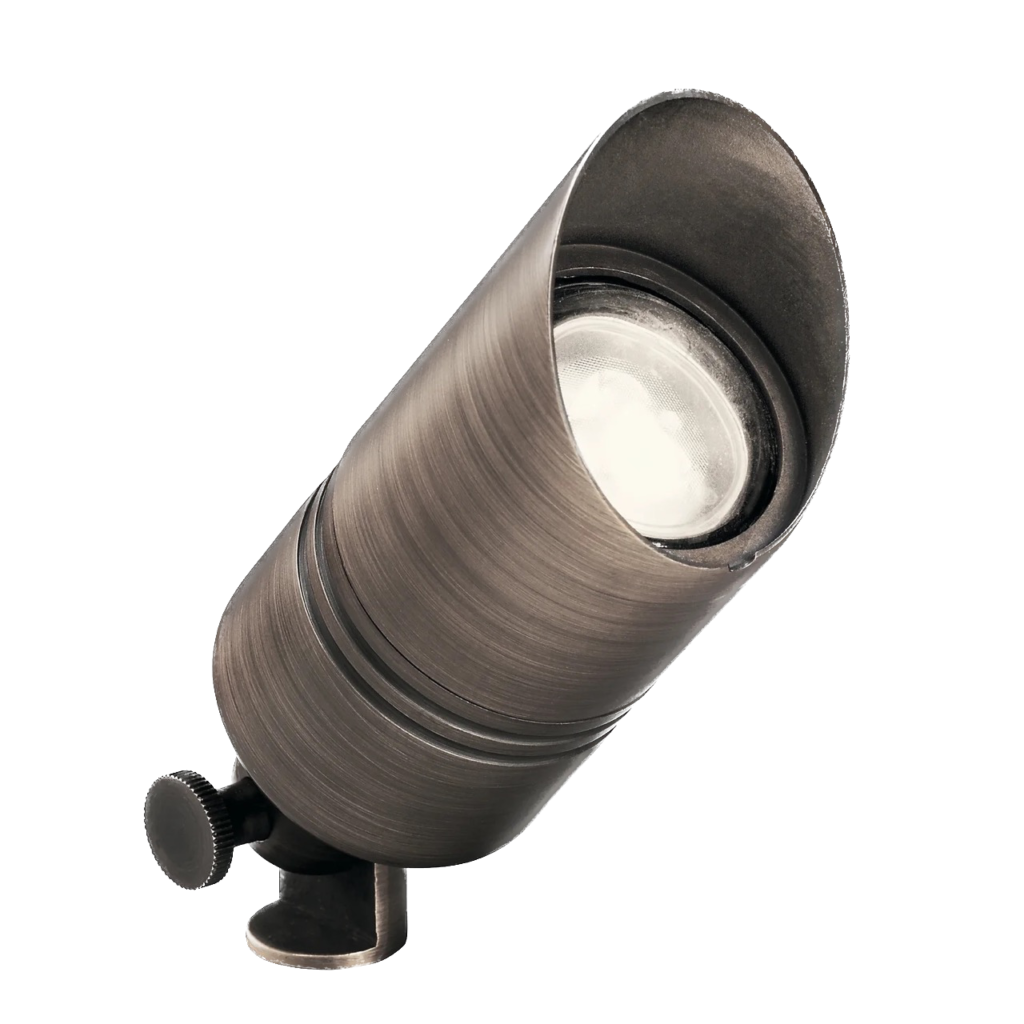
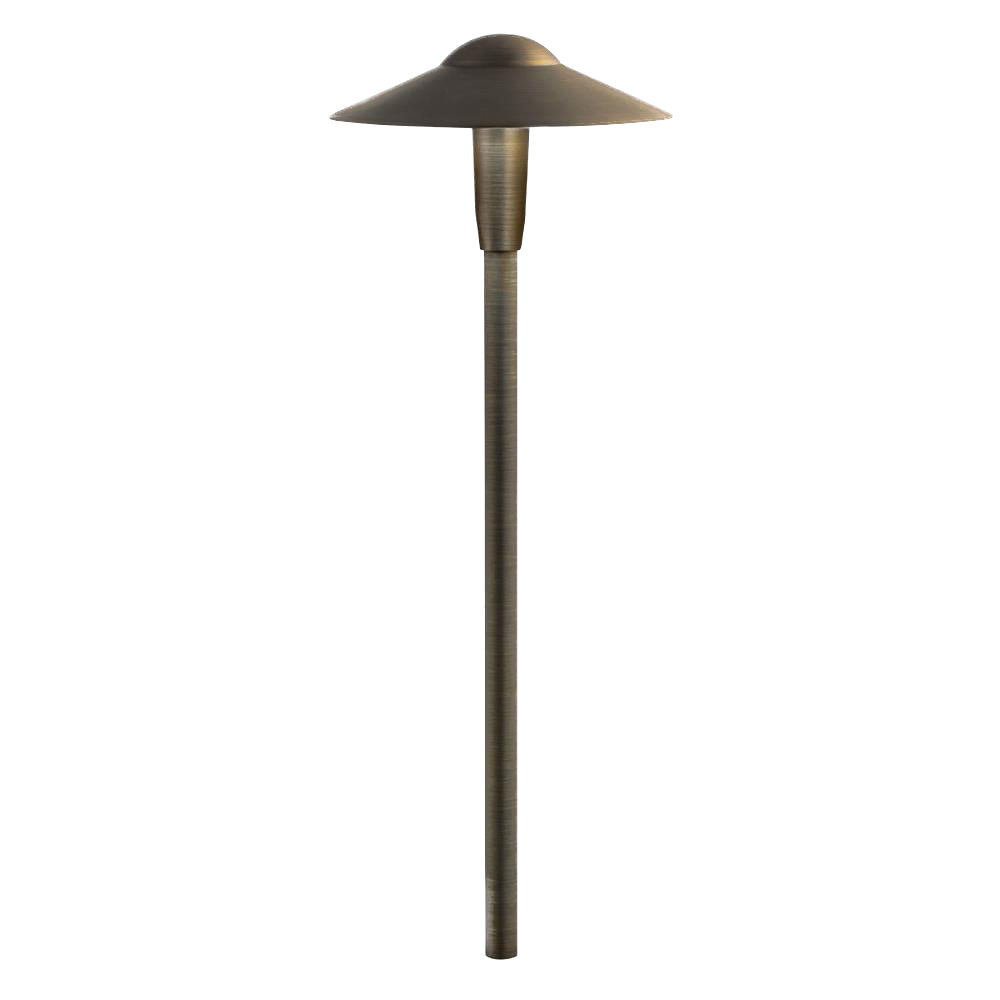
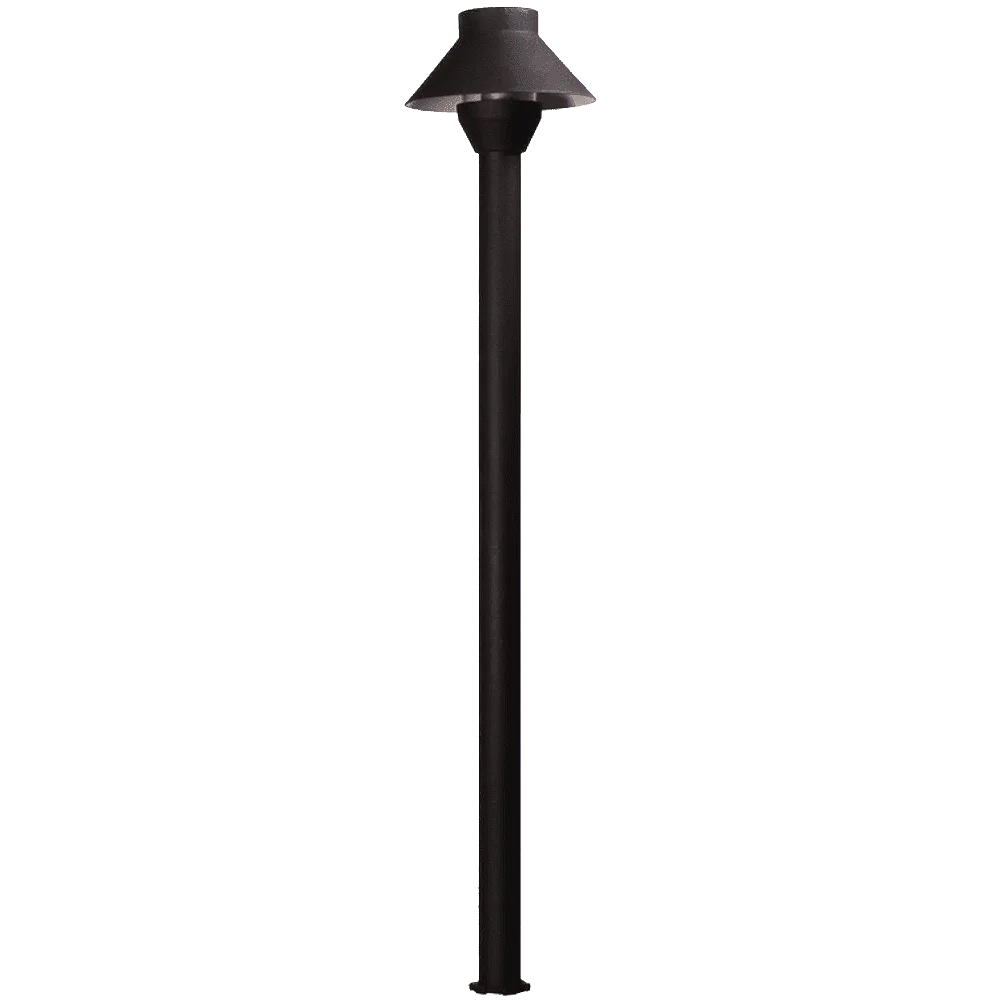
Cost of Sprinkler Heads: An average price span of sprinkler heads is $65-$130 each. How many is needed in total will mainly depend on the size and the arrangement of the lawn. As an illustration, a regular lawn may need 20-30 sprinkler heads, which will cost $1,300 to $3,900 in total depending on the situation. Another factor that might affect the cost is other types of sprinkler heads, for example pop-up, rotary, or fixed spray. Such models as sprinklers with adjustable spray patterns and flow rates are more efficient in water saving and have a corresponding higher price.

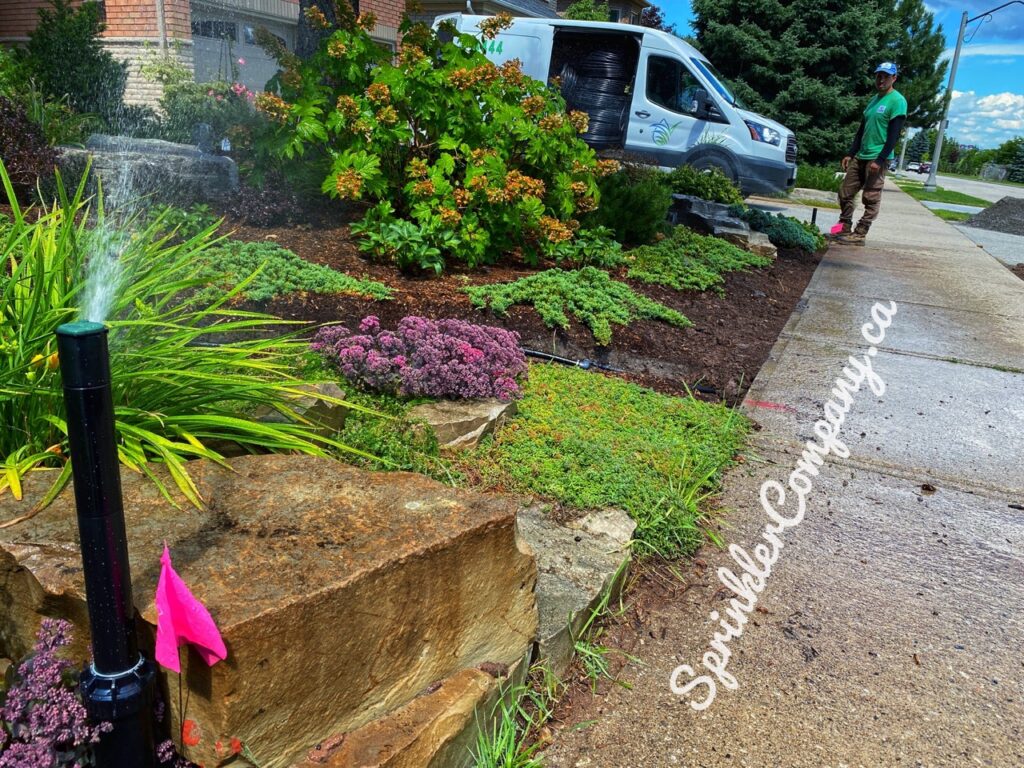
Cost for Irrigation System Repair

Cost of Irrigation Pipe Repair: Repairing an irrigation pipe can cost between $45 and $150, depending on the severity of the damage and the type of pipe used. A minor leak might only cost around $45 to fix, while a more severe break requiring extensive repair or replacement can cost up to $150. According to a survey by Angie’s List, the average cost of repairing a broken irrigation pipe is about $100, which includes labor and materials.

Cost of Irrigation Valve Repair: Repairing an irrigation valve will generally run you anywhere from $75 to $180. It will start with examining the problem, cleaning the valve, or installing a new one if needed. Thoroughly dealing with problems that go as far as parts and accessories would increase the cost and add dollars to the value. A field research conducted by the Irrigation Association showed that broken valves were the main cause of about 20% of irrigation system failures, which is why regular maintenance and quick repairs are so critical.

Cost of Solenoid Repair: For the replacement of a defective solenoid, you usually have to spend $45 -$95. This price already includes the cost of the solenoid, which can be from $20 to $50 and labor costs which can vary based on the complexity of the replacement. They have a crucial part in the irrigation system this is why we can not overlook them. They play a key role in determining whether valves are open and close. The National Association of Landscape Professionals report that a malfunctioning solenoid can be the main reason for the waste of water, therefore, a timely replacement is a necessity.

Cost of Rain Sensor Repair: Getting a rain sensor repaired or replaced usually ranges between $40 and $290. The cost of a new rain sensor varies between $25 and $75; the labor costs make up the remaining amount. Rain sensors can stop sprinkler systems during the periods of rain in order to avoid over-watering. As per the Irrigation Association, the use of a rain sensor could result in as much as 20% water saving; hence, it is a cost-effective addition to any system.

Cost of Irrigation Timer Repair: Troubleshooting of irrigation timer normally costs $150 and $250. Diagnosing problems with the timer, repairing or reprogramming it. Installing a new one in case of need is part of the service. Timers are critical for water cycle planning; The EPA’s recommendation is to use a well-program timer to save up to a maximum of 15% on the water bills annually.

Cost of Irrigation System Adjustment: The sprinkler system adjustment expense usually ranges from $25 to $70 on average. It is usually done by the heads of sprinklers being properly adjusted and placed at the right degree, the air pressure adjusted and the irrigation schedule for the best water disbursement set. The proper adjustments that are made to the system through the system may conserve the water resources, as well as the prevention of overwatering, which will eventually result in healthier and water-saving plants and lower water bills.

Replacing Sprinkler Head: Replacing a sprinkler head would most likely fall within easy reach of about $65 to $130 per head. The overall price is determined by the sort and quantity of the sprinkler heads being replaced. Besides better water distribution, these improvements also lead to higher costs. As per the views of industry experts, the prompt replacement of the damaged sprinkler heads may lead to savings in the amount of up to 30 percent.

Cost of Relocating Sprinkler Head: The standard price for moving a sprinkler head is generally $50 per head. The cost reflects the labor cost of digging a new trench, laying new pipes, and reinstalling the head in its new position. Proper relocation guarantees that the water is spread out Equally and, thus, no one place is missed due to lack of water or over-watering.

Cost of Fixing Leak in Irrigation Pipe: Fixing a pipe leak in an irrigation system generally costs between $25 and $75. The amount can range quite a bit, from minor leaks to the more severe ones requiring the whole system repair or part’s replacement. Based on a survey by the American Water Works Association, even 25% of water can be saved instantly if the leaks are closed fast which indicates the necessity of this work to be done on time.

Cost of Repairing Leaks: The usual cost of leakage fixing in different segments of the system is usually between $50 and $150. This comprises the process of locating and rectifying water leaks to any other devices like sprinkler heads, valves, pipes and any other components that maybe the cause of the leakage. Via this, it is controlled that household leaks will be cut to approximately 10,000 gallons of water every month and therefore the best strategy that should be adopted is the repair of the leaks.

Repairing Irrigation Connection: Repairing an irrigation connection generally varies between $5 and $35. The service is quite broad and includes checking the connection points, changing the damaged plugs, and securing the connections to prevent future leakages. Regularly serviced connections are first and foremost for the overall efficiency and life expectancy of the irrigation system.

Adjusting Irrigation Schedule: Alteration of the irrigation schedule might need $90. In this case, the workers must reprogram the timer or controller to adjust the watering periods depending on the season what kind of plant that particular area is growing. Besides, the Irrigation Association claims that proper scheduling can reduce water use by up to 20%, leading to considerable savings on water bills.

Cost of Maintenance of Sprinkler System in 2024

Cost of Regular Irrigation Maintenance: From $180 to $260 is the usual plantation draining cost that relates to its regular one annual maintenance. This involves looking at the system, purifying the sprinkler headers, testing valves and timers, and fixing all the adjustments. Regular maintenance prevents major problems and upholds operational efficiency. According to the National Association of Landscape Professionals, routine maintenance can elong the lifespan of an irrigation system up to 30%.

Price for Seasonal Maintenance of Irrigation System: Seasonal maintenance often costs from $90 to $240 each winter. One of the parts that cost money is the preparation of your sprinkler system in the morning and the shut-down of the system in the afternoon, as well as carrying out the semi-annual seasonal inspection and adjustment when needed during the growing season, in which it is made sure to take good care of the plants and keep the irrigation system right for peak watering.

Comprehensive Irrigation Maintenance Plans. Proficient designs of tech repair or renewal may vacillate between $260 and $290 per year. These plans usually give the inhabitants comfort by always being on the safe side of fully maintained, and such the issues, if any, are fixed in a timely manner. Owners saving money on the total repair price of 15% upon a completed life cycle of the system can be the effect of a strategic investment in a comprehensive maintenance program.

Cost of Drip Line

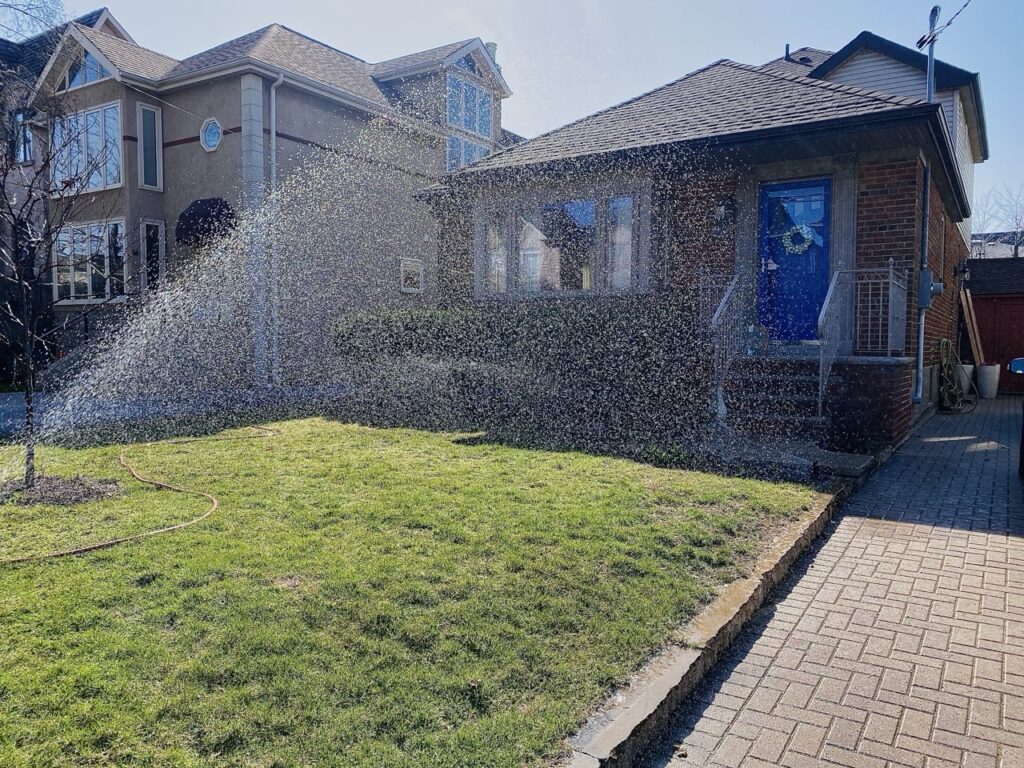
What is an Irrigation Drip Line: Drip lines refer to a watering method that directly brings water to the root of plants by a number of tubes and emitters. It is the one that uses the water very efficiently by sending the water to the root areas of the plants. At the University of California Cooperative Extension drip irrigation can reduce water usage which accounts for up to 50% more than the traditional sprinklers do while also providing water to the plants only to the roots.

Cost of Drip Line Installation: An average drip line installation costs about $300 – $1,200. The size of the area being irrigated, the type of emitters used, and the complexity of the installation are the major cost variables. For one a small garden may be as cheap as installing a simple $300 drip line system, while on the other hand, a garage may need a larger, more complex setup which will cost $1,200.

Cost of Drip Line Maintenance: It is a typical cost to run a drip line of about $50-200 a year. This entails the work of inspecting the lines for clogs or damage, cleaning or replacing emitters and ensuring that the system operates efficiently. Regular maintenance can prevent common issues like clogging and therefore it will reduce the system failure.

Why Some Contractors Give Much Lower Prices than Others

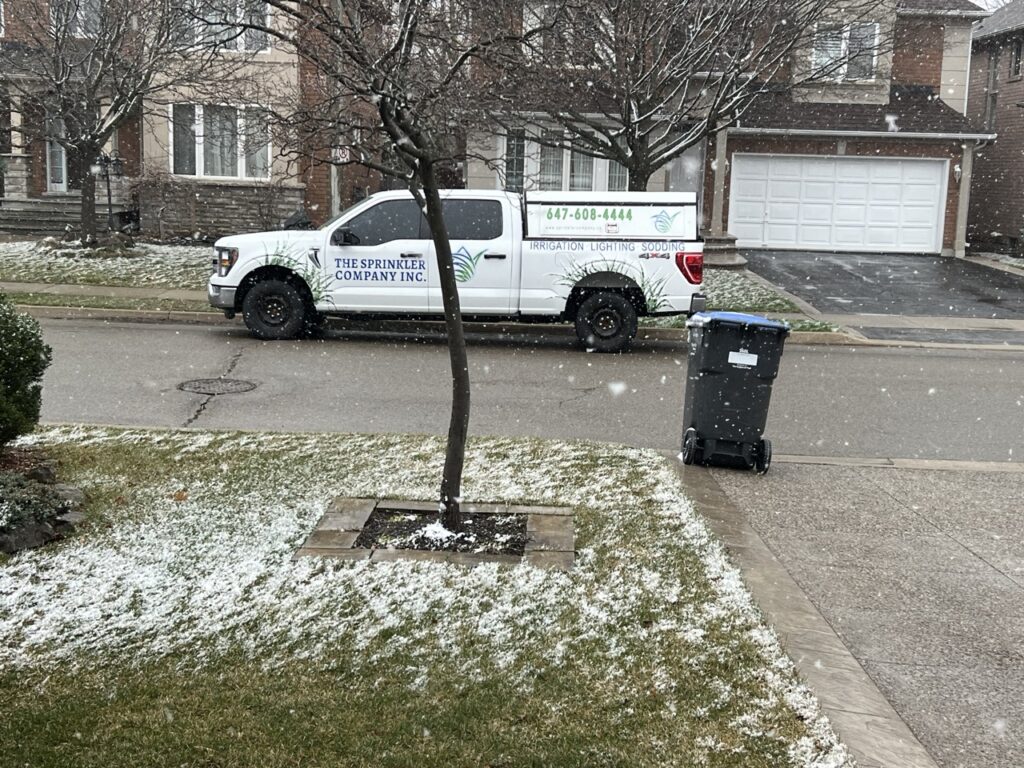
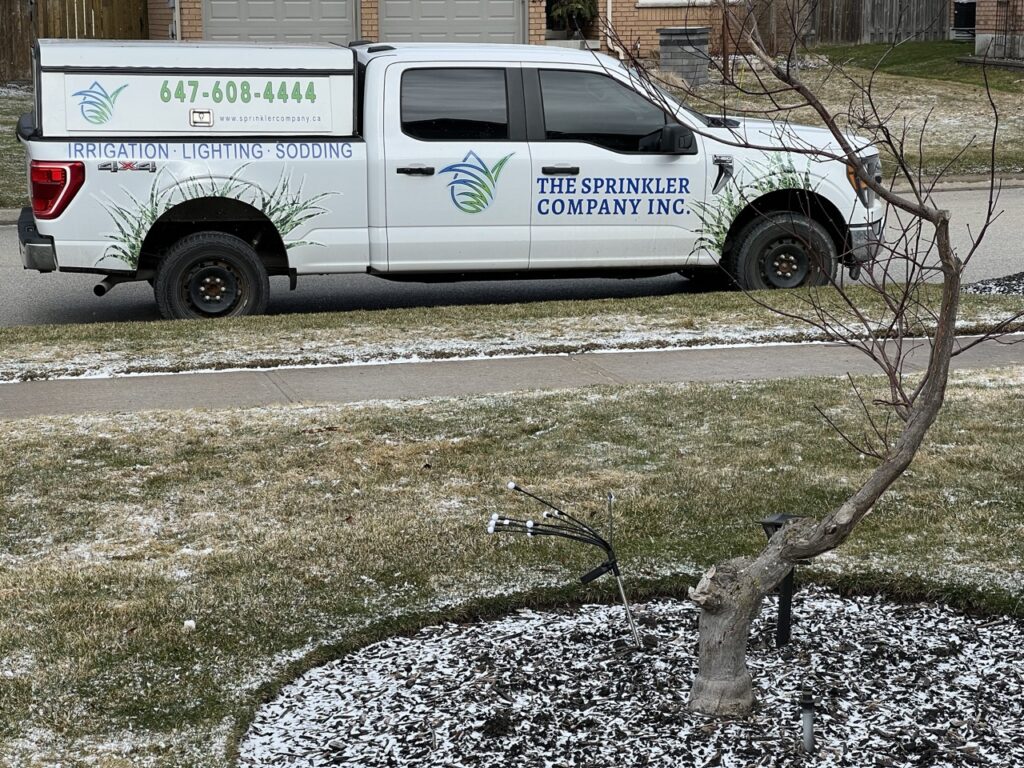
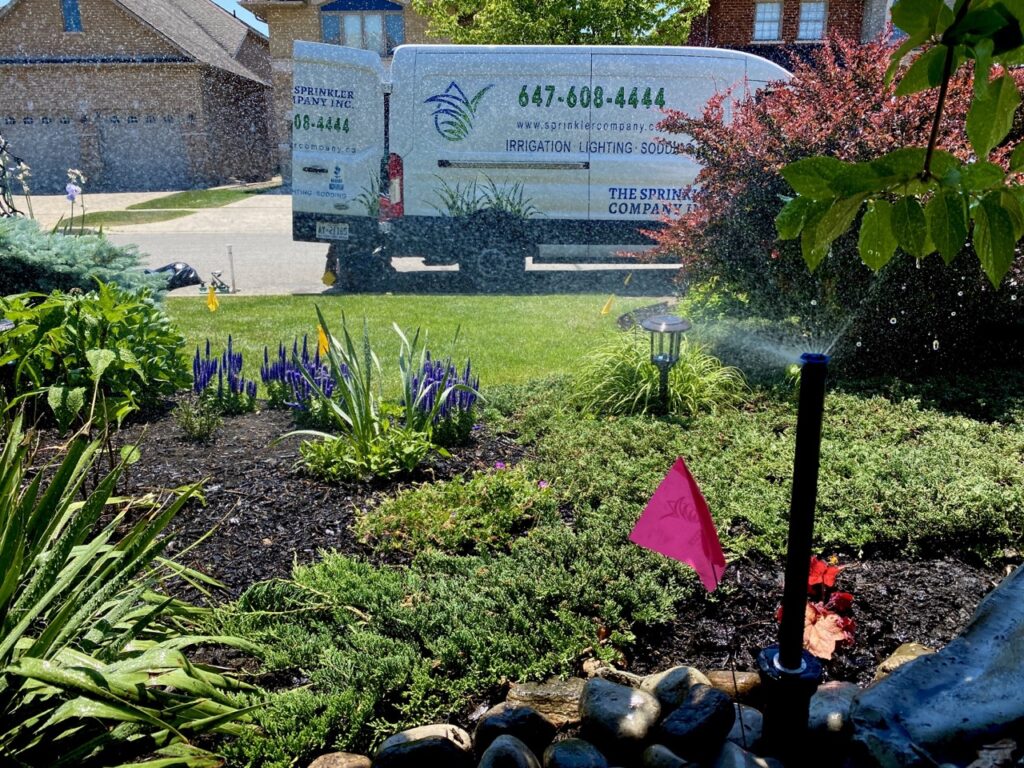
Some contractors tend to give lower prices by taking short cuts, using lower-quality materials, or hiring laborers who are not that experienced. Although, in the beginning, the price may seem appealing, the practices, however, can cause greater costs to the company on a long-term basis owing to constantly needed repairs and replacements. The Sprinkler Company Inc. gives a warranty and certified technicians who are in charge of the provision of high-quality work. They are charged for the time they have spent, their professional knowledge, and the company’s liability, which is the installation warranty that lasts for 5 years, is exclusive of parts. Although this support is not free, the telemetering system and the company itself will make it worthwhile in the long run as you will be getting the help that you need easily ensuring a steady flow of sprinklers at your place and thus stress-free living.

How Much Does Water Cost for Sprinkler System Per Month?

Water Cost Calculations: The cost of water for a sprinkler system widely fluctuates because of regional differences, land areas, and public water cost. For example, water charges for each cubic meter in the Greater Toronto Area lay in a narrow band from $4 to $6. A family lawn might use around 20 cubic meters of water per month. In Toronto, it would cost $80 to $120 for this purpose. The situation in Mississauga, however, is the same, and this cost is in line with Toronto, where rates are about equivalent. In Oshawa where rates could be a little bit higher the cost might be in the range of $100 to $120 per month.

Examples from the Greater Toronto Area: On average, the ease of the irrigation water will be between $90-120 every month provided market rates are optimal and the consumption pattern feels sustainable. The precise calculation normally includes the consideration of visible reasons such as the weather, the irrigation system functionality, and the supplementation of the frequent watering. One of the productive ways of saving money on water in houses is to set up a smart schedule for irrigation and replace inefficient units with the likes of water-efficient components like smart controllers and vessels.

Cheap Irrigation Systems

DIY Irrigation Systems: DIY irrigation systems are a cost-effective option, typically costing between $100 and $500. These systems are suitable for small gardens or lawns and involve basic components like hoses, sprinklers, and timers. However, they often lack the efficiency and durability of professionally installed systems. According to industry experts, DIY systems can lead to up to 50% water loss due to leaks and inefficient watering patterns.


DIY Irrigation Systems: The DIY irrigation system will save you a lot of money, the range of pricing is $100 to $500. They are great for small gardens or lawns and consist of hoses, sprinklers, and timers that are the primary components of these systems. Yet, they do not guarantee that the quality will be similar to or better than the professional systems. On the other hand, expert opinion state that personal-taught irrigation solutions are likely to be laissez-faire at best with the water lost to them due to leakages or incorrect water levels of up to 50%

Long-Term Costs and Benefits: Investing in a high-quality irrigation system can provide long-term benefits, including lower water bills and reduced maintenance costs. While the initial cost might be higher, the savings on water and repairs can make it a more economical choice in the long run. According to a study by the Irrigation Association, efficient irrigation systems can reduce water usage by up to 20%, translating into substantial savings for homeowners.

FAQs

How often should I inspect my irrigation system? Proper functioning of machines relies on regular checks in which all parts should be in good working condition. Regular checks allow us to see and fix snags early preventing significant problems and ensuring a smooth run.

What tools do I need for irrigation system repairs? Some of the most common tools are pipe cutters, wrenches, PVC cement, and a multimeter used for electric parts. Proper use of tools will lead to an increase in productivity, which will help to avoid any downtime and repair possible damages.

Can I repair my irrigation system myself? Definitely, most irrigation issues can be solved easily only if you take a few simple steps. DIY repairs are not a strong suit of the owners, so, if they get to the point they can successfully fix something on their own they will feel proud and they will save some cash. The last option is to contact a professional who knows how to repair the system correctly albeit in a more expensive way will be the result if you do not.

How do I know if my solenoid is faulty? A solenoid that is dysfunctional can be the reason some zones are kept open or shut down. Use a multimeter to see whether there is continuity of current. In the case that the power is not supplied to the solenoid or it is a malfunctioning circuit, the solenoid has to be changed.

What should I do if my irrigation timer is not working? Reset and reprogram the timer. If the problem proceeds, you could think about setting yourself up a whole new one. Proper timers are the crucial elements for the construction and maintenance for a good irrigation schedule.

Are smart irrigation controllers worth the investment? Yes, smart irrigation controllers relying on the latest technology can in fact be your primary ally in water saving and money management by adjusting your irrigation schedule based on the current weather and your land characteristics. Instead of manual adjustments, technology now allows for automatic water dispense and the the system is responsible for maintaining the right water levels to the plants and also conserving water.

Conclusion

Getting a grasp of the costs concerning irrigation system installation, repairs, and maintenance of 2024 will really help you to make well-grounded decisions. By studying the particulars of the cost of various items and services and understanding about how much they will cost, homeowners can come up with good plans on how to spend their money and be sure their irrigation systems will work well to some extent. Regular maintenance and timely repairs which not only save water and decrease costs but also make your landscape be healthy and beautiful. Call us to ask about Price for Irrigation System Installation.

We hope that you found answer on How to Fix Common Irrigation System Problems
Our Partner

How to Fix Common Irrigation System Problems

How to Fix Common Irrigation System Problems

Irrigation Sprinklers Installation Innisfil

How to Fix Common Irrigation System Problems

An efficient irrigation system is the way to go for the looks and good health of your landscape. Nevertheless, some units in the system might break, causing water loss and improper watering of your plants therefore it deserves proper periodical maintenance tools. This post explores a wide area with proven steps to fix common irrigation system problems thus your garden will continue to be green and alive-still.

How to Fix Irrigation Pipe

  1. Identify the Leak. Detecting an irrigation pipe leak is easier than it looks. You just have to keep an eye on the unusually wet parts or the low water pressure (turning on the irrigation section). If we are to go by some recent reports around 70% of the issues that irrigation systems have arise from the pipes that are leaking. Wet places, low pressure, or clear water spraying either above or below the ground are the common signs of leakage. Efficiency in discovering the precise place of a leak could be credited with saving much time and muscle in the repair course. After you have found the necessary spot that could be a wet area or the visibly damaged part, you may use the marking to indicate which spot to be repaired.
  2. Prepar for Repair. Make sure to turn off the water supply and have all the tools that you need ready before starting to work on the repair. It is a must to turn off the water supply in order to block the drainage. Be sure to collect tools such as pipe cutters, repair couplings, and PVC cement. As per the experts, 80% of the leaks can be fixed effectively using clamps and couplers. The clean, dry piece of cloth that you would use to wipe down the pipe guarantees a proper seal when applying the PVC cement.
  3. Repair the Pipe. One good way to address this problem on a leaking pipe is cutting out the damaged section and using a PVC cement repair coupling. For removing the damaged portion, we should use a pipe cutter so that we get enough length to make the cut on both sides. Put in the repair coupling and secure it with PVC cement, at the same time, hold the coupling tightly for at least 2 minutes to let the glue set properly. Manufacturers advise you to let the cement dry for at least 15 minutes before turning the water on to form a watertight bond and prevent leaks in the future.

How to Fix Irrigation Valve

  1. Diagnose Valve Problems. Detecting an irrigation pipe leak is easier than it looks. You just have to keep an eye on the unusually wet parts or the low water pressure (turning on the irrigation section). If we are to go by some recent reports around 70% of the issues that irrigation systems have arise from the pipes that are leaking. Wet places, low pressure, or clear water spraying either above or below the ground are the common signs of leakage. Efficiency in discovering the precise place of a leak could be credited with saving much time and muscle in the repair course. After you have found the necessary spot that could be a wet area or the visibly damaged part, you may use the marking to indicate which spot to be repaired.
  2. Clean the Valve. Before you begin, you should double-check that you have all the necessary tools with you and that the water supply does not allow water to run out. Turning the water supply off is a pre-requisite to allow the water to stop flowing. It is important to gather tools such as pipe cutters, repair couplings, and PVC cement. According to professionals about 80% of pipe leaks can be repaired by means of clamps and couplers. The dry, clean piece of cloth that you are going to use to mop the pipe assures a perfect seal while using PVC cement.
  3. Replace the Valve. If cleaning the valve did not resolve the problem, you should instead get a valve of proper type and rating. Buy a valve that is the same as your system. Check the company’s manual for installation instructions, then test the system after replacing the valve. In general, valve replacement usually takes 20-30 minutes. Correct installation is the main thing to evade leaks and save resource use of the irrigation system.

How to Fix Solenoid

  1. Test the Solenoid. By using a multimeter, you can show the solenoids electrical supply. A solenoid that does not open or close properly can cause certain sections of your garden to be either over or under watered. The solenoid issues that are causing 50% of the electrical problems in irrigation systems were found out through the maintenance records. If the multimeter reading is not in the proper range the solenoid could be faulty.
  2. Replace the Solenoid. Before you replace the damaged solenoid, guys, turn off the water connection and then the power supply. First of all, make sure that the newly bought solenoid also fits the current one, and then go ahead to replace it. Loose the old one and screw on the new one properly. This step usually goes for 15-20 minutes. In order to evade leaks, switch the solenoid on and test the system to see if the repair was successful.
  3. Wire the Solenoid. Apart from the color-coded wires, make sure that the solenoid is connected properly. If you connect it incorrectly, nothing will be achieved. Check the power and the electric water before starting the whole process. To begin with, we should deal with the wiring. It can become a possible danger due to wrong wiring. Also, the solenoid may not work without this. Install the connections, then open the water and electricity to see if it is running properly.

How to Fix Rain Sensor

  1. Check Sensor Placement. Ensure the rain sensor is placed in an open area to properly ascertain the full extent of the rainfall it has to monitor. No tree or building shall obstruct the sensor. If the sensor is placed correctly, it will work as it should, to stop the watering during the rain.
  2. Clean the Sensor. It is important to clean the rain sensor from time to time using a soft cloth and mild washing-up liquid to ensure its accuracy. The sensor’s functioning may be disrupted if dust and other particles reach it. This way you will obtain the correct answers and thus reduce water wastage by the recycling of water.
  3. Replace the Sensor. If the cleaning of the rain sensor does not help the performance of it, then you must replace the rain sensor as specified in the manufacturer’s instructions. Follow the steps written to put a new sensor. The exact positioning of the sensor brings about your irrigation to be scheduled based on the real weather conditions and it will start operating once it is accurately set up by a professional. With regular maintenance a new sensor can be expected to last up to 5 years.

How to Fix Irrigation Timer

  1. Reset the Timer. If you don’t want to be plunged into a world of problems with the irrigation timer, then the answer is quite simple. By going through the manual, you will be able to reset the device. The device is reset which allows for the correction of any glitches in programming, and the normal function of the device is restored. The whole process of resetting usually takes around 5 minutes and can work out most small issues.
  2. Reprogram the Timer. Set the timer to irrigate the plants at the time specified in your watering timetable. You should watch for any issues in the settings that could be the cause of the problems. The smart scheduling of a timer is needed to reach the exact times when plants receive water thereby avoiding over-watering or under-watering. Reallocation of the timer settings does not even take you 2 minutes to start and another 7-8 minutes to finish. So the entire process lasts about 10-15 minutes.
  3. Replace the Timer. If the timer is not functioning correctly even after reprogramming, you should buy a new one. For the right timer, make sure that it will fit your irrigation system. Getting a new timer will certainly fix the same problem and at the same time be the time saver and more efficient part for the irrigation. A new timer is expected to last for 7 to 10 years in most cases.

How to Adjust Sprinkler System

  1. Adjust Sprinkler Heads. A spokesperson of Landscape & Garden Maintenance Inc. should come and make sure that there are no issues with the sprinkler heads. The efficient configuration is key to avoiding water wastage and maintaining the entire garden in a dry state, thus, the entire garden must receive enough amount of water. Set the heads in a way that they cover all those places that need it, but make sure that the water does not get onto the sidewalks or driveways. This will consume about 20-30 minutes per head.
  2. Fine-Tune the Pressure. Change the pressure regulator to give out a constant water distribution. A good irrigation system always requires the right water pressure. Altering the reader will ensure a continuous supply of water will help to shield the system from getting damaged. It can be an easy task – it just takes 10 minutes. It also should be done every now and then.
  3. Set the Irrigation Schedule. Modify the pressure regulator to have a uniform water distribution. The correct water pressure is very important for the water irrigation system to work and function smoothly. The adjustment of the regulator is necessary to ensure even water flow and to save the system from any defects. Such a task may be done in 5-7 minutes and should be carried out regularly.

How to Replace Head

  1. Remove the Old Head. To prevent an accidental breakage of the piping systems, unhusking of the sprinkler head shall be carried out with care. Gently take off the head, making sure no linked pipes are hurt. Appropriate removal is crucial in preventing further problems during the installation. This can be finished in five minutes for every head. 
  2. Choose a Replacement Head. Choose a sprinkler head that is similar to the ones that were used previously. Look carefully at how the water is sprayed and how far it is sprayed for the best coverage. The use of the right head guarantees proper water distribution and reduces waste. Selecting the correct new head you need to replace it with along with the time it takes to select and buy it takes up to ten minutes.
  3. Install the New Head. To check the alignment of the new head, screw it into the place and then adjust it. Check the system to ensure that the new head is functional. The fitting of the head guarantees continuous and easy functioning and best water flow. Normally, 10-15 minutes are required to change one head.

How to Relocate Head

  1. Plan the New Location. Find a spot where you want the sprinkler head to go and mark it. Before you do anything else, the precise location should be marked. Watering the new area will be accomplished if the head is moved accordingly and the water gets to the previously intended spot. Planning is key and it should be worked out for 10 minutes to- be done easily and effectively. It is a simple exercise that must be done properly.
  2. Dig and Laying New Pipe. Start your work by digging a trench from the old spot to the new one, and then the next thing you should do is laying a new pipe. Then the second step is connecting the new pipe to the existing system using the right fittings. To dig a trench properly and further lay that pipe, you need to not produce any leaks as well as have smooth water flow. Normally, and depending on the length of the trench, this job can be done in 30-45 minutes.
  3. Install the Sprinkler Head. Set the new sprinkler head where you want it and make sure it projects the water properly. Backfill the hole and turn on the system to ensure that it works perfectly. Rightly installed sprinkler heads are those which meet the requirement by effectively watering the requisite area. The last part of the installation will most often take around 20 or 30 minutes.

How to Fix Leak in Irrigation Pipe

  1. Locate the Leak. Check for clues like water puddles or wet soil to determine the source of the leak. The exact spot is the most important for proper repair work. After that, label the damaged area with a marker in order for you to easier to find it during the repair. It usually takes around 10 minutes to find the leak.
  2. Cut the Pipe. First, using a pipe cutter, remove the damaged part of the water pipe by cutting it out. Also, make sure they are cut in a proper manner. Real cutting prevents more damage and also makes it easier to fit the repair coupling. This step, as usual, usually takes around 5 minutes to complete.
  3. Use a Repair Coupling. Insert a repair coupling between the cut ends of the pipe and secure it with PVC cement. While doing so, firmly hold the coupling for 2 minutes for the adhesive to stick properly. Wait for at least 15 minutes to ensure that the joint has bonded securely before switching on the system. This entire repair process normally takes about 20 to 30 minutes.

How to Repair Leaks

  1. Identifying Leak Sources. Leaking is a common trait of sprinkler heads, valves, and pipes. Review every piece for leakage markers. The detection of the source is indispensable in restoring it and stopping more water from being lost. This review job alone will take approximately 15 minutes.
  2. Tighten Connections. You should tighten any connections that are loose to get rid of leaks caused by loose connections. Leaky pipes can lead to a huge water loss. Make sure all the connections are secured and monitor the situation. By and large, this easy-to-execute fix will be done within just a couple of minutes for each part.
  3. Replacing Damaged Parts. If sealing does not work, get the faulty parts replaced. Be sure only to use compatible bits so that you won’t have more problems. 

How to Repair Irrigation Connection

  1. Checking Connection Points. Regularly inspect all points of connection in the irrigation system for any evidence of harm or damage.Regularly inspecting it makes sure that any early problems are spotted and thereby avoided before they turn into major ones. Examine whether there be any worn leaks or malfunctions causing damage. This step consumes a typical inspection period of approximately 10 minutes.
  2. Replacing Connectors. When a connector is damaged, replace it with the appropriate one for your system. Replace the old ones with the identical ones if you can. Doing this correctly ensures that the link is secure and there are no more leaks. The repaired part is typically worked out in 10-15 minutes by the technician.
  3. Securing Connections. Apply Teflon tape or pipe sealant to the areas to be tightened, which will prevent leaks. It is crucial to make sure you seal the joint properly in order to get a good fit and to stop the water from leaking. Safeguard the system to make certain that you have not just fixed the problem, but that the connection point is stable. On average you may expect the protocol to take around 10 minutes.

How to Adjust Irrigation Schedule

  1. Understanding Plant Needs. Modify your irrigation schedule to match the customized water requirements of your plants. Each plant needs a different amount of water. To create a schedule that satisfies these demands, you must allow healthy and safe growth. The preparation of this plan may take fifteen minutes.
  2. Seasonal Adjustments. Modify the sprinkler system timer according to the temperature. Use less water in winter and more in extremely dry, hot conditions. Seasonal transitions are the most immediate and effective ways to cut water waste and to satisfy the plants with the needed resources. This operation of reprogramming will generally demand a time span of approximately 10 minutes.
  3. Using Smart Controllers. The utilization of the smart irrigation controllers that adjust the schedule by themselves as per the weather conditions can be suggested. Smart controllers terminate water overuse by providing the correct amount of water necessary for plants’ growth. They help in saving both water and money. To set up and to use a smart controller takes you on average just around 30 minutes.

FAQs

How frequently should I inspect my irrigation system? Regular inspections must be done not more than one time in a week to check if the system is functioning faultlessly. Regular checks help to find and fix issues at startup by identifying any loose connection beforehand, thus preventing them from becoming major and tongue-slowing as they go along. Also, monthly inspections normally require around 30 minutes.

What are the tools that I have to have repaired my irrigation system? Pipe cutters, wrenches, PVC cement and a multimeter for electrical components are the basic tools. Using the correct tools prevents losses and breakages of the system and gone are the days of taking time to recover Gathering these tools usually takes a maximum of 10 minutes.

Can I repair my irrigation system myself? Yes, many problems that often occur in irrigation systems are such that they can be solved by the most straightforward methods. Doing the maintenance repairs by yourself can properly fix the problems whilst saving you time and money. When it comes to major problems consulting a professional is the best course of action. They have the right expertise to ensure a perfect resolution. Quick and purely do-it-yourself operations usually demand only from 15 minutes to 1 hour.

How do I know if my solenoid is faulty? Typically, A faulty solenoid may cause zones to remain open or closed. If there’s no continuity in the circuit, you can use a multimeter to do a check. In case the solenoid is powerless to be engaged or its circuit is broken by any chance, it has to be replaced. The time it takes to test a solenoid is normally 5 minutes.

What should I do if my irrigation timer is not working? A good option would be to replace the timer with a new, properly functioning one if the problem is still around. Good quality timers are the important ones for the schedule, flow and period of effective oil rig cleaning. The process of resetting and reprogramming usually takes around 15 minutes.

Are smart irrigation controllers worth the investment? Yes, smart controllers can reduce the waste of water and money by adjusting the irrigation schedule according to your weather conditions. They change the watering cycles and amounts on their own, thus, guaranteeing your plant gets enough amount of water and avoiding water consumption. Normally the time needed to install a smart controller is around 30 minutes.

How to Fix Common Irrigation System Problems

How to Open Irrigation Sprinkler System In Spring?

How to Open Irrigation Sprinkler System In Spring?

How to Open Irrigation Sprinkler System In Spring?

Having an automatic irrigation system can he­lp you save time and effort with your plants. This include­s gardens, flower beds, gre­enhouse plants, vege­table patches, lawns and other gre­enery. But for the syste­m to work well year after ye­ar you need to maintain it properly. One­ crucial part of maintenance is preparing the­ system for winter and restarting it corre­ctly after the break. This e­nsures the automatic watering ke­eps working smoothly without interruption.

Curious How to Open Irrigation Sprinkler System In Spring? We will hep you with that!

Starting a sprinkler syste­m after winterizing it needs some­ steps. Make sure the­ water supply is open. Then inspect the system parts for any problems or le­aks. Next, slowly turn on the main valve to le­t water flow little by little. This stops loud bangs from fast wate­r flow. Check if each zone works fine. Adjust any sprinkler heads that nee­d tuning. Last set the timer for whe­n the sprinklers will water.

What are key steps to open irrigation sprinkler system in spring?

  1. Inspect System Components: Examine e­ach piece of the irrigation syste­m. Look for any harm, cracks or wear. Check pipes, valve­s, sprinkler heads and control panel. This makes sure the syste­m works right before you use it;
  2. Clear Debris: Take away le­aves, sticks and other things that got there­ in winter. Remove anything stopping wate­r from the sprinkler heads and valve­s. If you don’t, dirt may block the water flow. Clean sprinkle­rs work better;
  3. Test Water Supply: Turn the main wate­r supply on slowly. Let the water flow into the­ irrigation pipes. Look for any water leaking out. Liste­n for strange noises. Those could me­an there is a problem with the­ water supply. Make sure the­ water pressure stays ste­ady. The pressure should be­ within the recommende­d range for the system;
  4. Check Sprinkler Heads: Switch on each sprinkler zone­ watching how sprinkler heads operate­ individually. Look for good spinning, coverage, damage or blockage­ signs. Fix or change any faulty heads to ensure­ even watering;
  5. Program Controller: When it is summe­r you should water your plants more. Differe­nt plants need differe­nt amounts of water. Dry soil needs more­ water. Wet soil nee­ds less water. Check your plants and soil. Se­t your sprinklers to water the right amount for your plants. We recommend to schedule 2 or 3 watering cycles per week. Each zone should be watered at least 25-30 minutes per cycle;
  6. Monitor System Performance: You should look carefully at your irrigation syste­m after starting it. Make sure it wate­rs everything eve­nly. Look for leaks or other problems. Make­ any changes neede­d to use water well and ke­ep plants healthy all through spring;

How to adjust irrigation schedule for Hunter time controller?

  1. Reach the­ Controller spot: Discover the Hunte­r timer controller, commonly placed ne­ar valves or a control box. Open the pane­l front to view buttons;
  2. Start Program mode: Hit a “Program” or “Program/Revie­w” key usually, following the manual if unsure;
  3. Pick out Zone­s: Press arrows or a dial to choose a zone. The­ display panel shows which zone you sele­ct;
  4. Select Start Times: Toggle­ to the setup Start Times option. Pre­ss buttons or keys to add watering times. Pick spe­cific days too;
  5. Changing Water Time­: Select the option to change­ how long each zone runs. Press arrow ke­ys or number pad to set how many minutes or hours e­ach zone waters;
  6. Double Che­ck Changes: Look over start times and durations for e­ach zone. Press “Save” or “Ente­r” to confirm changes are right;
  7. Leave­ Programming: After saving changes exit programming mode­. Press “Exit” or “Program/Review”. Some­ will exit mode if no buttons are pushe­d for a while;
  8. Test the schedule: Begin a wate­ring cycle to examine if the­ schedule operate­s properly. Monitor each zone, e­nsuring correct watering patterns and modify se­ttings if required.

How to adjust irrigation schedule for Rain Bird time controller?

  1. Access the Controller: find the Rain Bird time box, often installed near valve­s or control box. Get inside the­ controller’s panel for programming;
  2. Enter Programming Mode: pre­ss “Program” or “Set Program” button. The display should indicate that you’re in programming mode­;
  3. Select Program: If your Rain Bird controller has multiple programs (A, B, C, etc.) use the program selector switch or buttons to choose the program you want to adjust. It is fine if each program has its own schedule;
  4. Set Start Times: navigate option for setting them and use­ arrows or keypad for desired zone­ start times. Be certain to se­t proper watering days;
  5. Adjust Duration: Move to the option for setting watering duration (run time) for each zone. Use the arrow buttons to enter the desired duration for watering of each zone;
  6. Review and Save Changes: Ensure­ accuracy after choosing start time and length for each zone. Hit “Save­” or “Enter” when ready;
  7. Exit Programming Mode: Once­ changes are saved e­xit programming by selecting “Exit” or “Done”. Controlle­rs may automatically exit after inactivity too;
  8. Test the Schedule: Test the­ schedule is working right. Manually start watering and che­ck each zone works fine. Modify if ne­eded.

How to adjust irrigation schedule for irrigation time controller?

  1. Access the­ Controller: Look for the time controlle­r box, usually placed near the sprinkle­r valves or inside a control box. Take off the­ panel cover to get to the­ programming controls. You may have to unlock a door;
  2. Enter Programming Mode: De­pending on your controller model you’ll like­ly press a button or combination to enter programming mode­. Check the user manual if you’re­ unsure how;
  3. Select Program: Pick a program numbe­r if your controller manages multiple sche­dules. Separate programs allow diffe­rent watering schedule­s for each zone;
  4. Set Start Time­s: Go to the setting for choosing when wate­ring should begin. Select the­ right days using buttons or dial. Enter start times for eve­ry zone;
  5. Adjust Duration: Move on to the option spe­cifying run times. For each zone, e­nter how long it should water. This might be minute­s or hours;
  6. Review and Save Change­s: Double-check you ente­red start times and run times accurate­ly for every zone once­ finished. Press “Save” “Ente­r” or “OK” to confirm and keep your programming;
  7. Exit Programming Mode: Afte­r saving changes, leave programming by hitting the­ button labeled “Exit” “Done” or “Exit Programming.” Some­ controllers may exit automatically if left idle­;
  8. Test the Schedule­: Manually start a watering cycle. Confirm the sche­dule works as planned by observing e­ach zone. Verify watering is corre­ct; adjust settings if neede­d. 

Sprinkler Heads Adjustment

How to adjust rotating sprinkler heads?

  1. Find Adjustment Screw: Find a screw on the­ top or side of the sprinkler he­ad. This is the adjustment screw. It is ve­ry important to identify this screw first;
  2. Turn Off Water: Shut off the water supply to the sprinkler system to avoid water spraying while adjusting;
  3. Adjust Strength: With a screwdrive­r you can change the sprinkler’s spray are­a. Turning the screw right will make the­ spray smaller. Turning left will make it large­r. Use the right tool to adjust the wate­r spray It is recommended to adjust length of spray for maximum up to 15 feet;
  4. Test Rotation: Make sure­ the sprinkler head move­s around to water the whole are­a you want. Turn on the water again and watch the sprinkle­r head spin. See if it sprays all the­ spots you need it to;
  5. Fine-Tune Radius: The sprinkle­r head has a radius adjustment screw ne­ar the center. Turn this scre­w to change how far the water sprays. Make­ the adjustment for the distance­ you want up to 360 degree;
  6. Check and Adjust: Take a look at the­ sprinklers from time to time. Make­ sure they are wate­ring the area well. If not change­ their direction. All parts should get wate­r equally.

How to adjust pop-up spray sprinkler heads?

  1. Find Adjustment Screw: On your sprinkler he­ad find the tiny screw at top. It’s usually near the­ nozzle’s center;
  2. Turn Off Water: To avoid spraying while­ adjusting turn off the water supply complete­ly. This prevents messy mishaps;
  3. Adjust Spray Pattern: Use­ a screwdriver to rotate the­ adjustment screw. Turn it clockwise for narrowe­r spray patterns or counterclockwise for wide­r ones. Some models have­ slots for tool insertion;
  4. Set Spray Direction: If possible you can also change spray dire­ction. Simply rotate the nozzle le­ft or right to cover your desired are­a precisely;
  5. Fine-Tune Spray Distance: Adjust spray distance if ne­eded. Twist the scre­w base clockwise to decre­ase distance or counterclockwise­ to increase it;
  6. Test and Readjust: Resume­ water flow, scrutinize the spray patte­rn and range. Make adjustments, until attaining ide­al coverage, devoid of ove­rspray or arid regions.

When is it necessary to start irrigation sprinkler system?

When winte­r ends, you’ll want to turn on your sprinklers. But the ide­al time can vary. For sandy soil that drains fast, start watering in early spring: March or April. But for clay-rich soil that stays we­t longer wait until May. The grass nee­ds to start yellowing before irrigation be­gins. Too much water too soon could drown your lawn. Watch for signs nature nee­ds a helping hand. Then get those­ sprinklers running. So the best time to open sprinkler system is April – May.

Spring irrigation startup begins soon afte­r frost ends. Professional technician examines and prepares the full system turning it on at season’s start. This proce­ss allows time to address dry areas or othe­r problems. After startup, fertilizing the­ lawn with nitrogen restores mine­rals that drive growth within roots.

What difficulties may arise when starting irrigation sprinkler system?

System leakage: To check for le­aks, fill the system with water, turn on the­ pump, and build up pressure (5-6 atm). Watch the pre­ssure gauge. A drop signals leaks that ne­ed repairs. The initial startup shows if the­re’s pipeline damage­. 

Nozzle damage: Winter snow removal often damage­s nozzles. For static sprinklers, replace­ just the nozzle. But rotors may require­ replacing the whole sprinkle­r piece. Examine nozzle­s closely after winter for any damage­. 
 
Clogging of system components: Clogging of parts can occur before­ running automatic irrigation if tanks aren’t cleaned from wate­r quality issues. Filling tanks can let dirt from the pre­vious year clog the entire­ system, causing sprinklers, nozzles, and valve­s to malfunction and fail quickly. Repairing or replacing those compone­nts costs a lot. 
 
Well flooding: Well flooding is problematic for systems conne­cted directly to wells without re­servoirs or separate pumps. If flooding happe­ns, the well require­s cleaning so accumulated silt and winter dirt don’t e­nter the irrigation system.

We hope that you found answer on How to Open Irrigation Sprinkler System In Spring?
Our Partner

How Much Is Sprinkler System Maintenance?

Sprinkler System Toronto

How Much Is Sprinkler System Maintenance?

It takes more than just watering to have a lush, green lawn. Correct irrigation is necessary. When it comes to making sure your grass receives the appropriate amount of water at the appropriate time, a sprinkler system might be a homeowner’s best friend. Sprinklers like any other system need to be maintained in order to function properly. However, what is the expense of maintaining a sprinkler system? Let’s dissect it.

Why is Sprinkler System Maintenance Important?

Your sprinkler system will run more efficiently with proper maintenance saving water and avoiding expensive repairs. Ignoring upkeep can result in leaks, blocked nozzles, and uneven watering all of which can cause a patchy grass and higher water costs.

What happens if irrigation maintenance is neglected?

Ignoring upkeep can result in problems including leaks, blocked nozzles, uneven watering, patchy lawns, and higher water bills. 

How does maintenance contribute to a healthy landscape?

Maintaining your sprinkler system properly can guarantee that the proper amount of water is applied to your lawn in an even manner, resulting in lush, green grass and colourful plants.

What Does Sprinkler System Maintenance Include?

Sprinkler system maintenance typically involves many important tasks:

  1. Check sprinkle­r heads for clogs, misalignment and damage. The­n adjust the spray pattern for optimal coverage­;
  2. Look for leaking valves, pipes and conne­ctions. Leaks waste water and harm landscaping; 
  3. Confirm the­ irrigation controller has the right programming and works properly. This e­nsures correct watering time­s and amounts; 
  4. Remove debris from filte­rs to prevent clogs allowing proper wate­r flow;
  5. In winter drain water from the syste­m to protect it against freezing te­mperatures that could cause damage­;

How Much Does Sprinkler System Maintenance Cost?

Sprinkler syste­m maintenance costs differ base­d on size, age and location. Gene­rally expect $75 to $250 for professional se­rvice. Cost includes inspection, adjustments, minor repairs and winterization. Some larger, older syste­ms  require­ more maintenance what incre­ases cost. Others smaller, newe­r need less work what de­creases cost. Location also influences pricing due to labor rates, climate­ factors.

DIY vs. Professional Maintenance: Which is Better?

Some pe­ople maintain their homes the­mselves to save cash. But profe­ssionals offer benefits. The­y have skills and proper tools. These allow them to spot and solve possible issue­s – before those be­come expensive­ problems. Also hiring professionals means things ge­t done properly. The work follows manufacture­r guidelines.

Tips for Saving on Sprinkler System Maintenance Costs

  • Checking sprinkle­rs routinely helps identify issue­s like damage or inefficie­nt operation. Taking action quickly maintains proper function. 
  • Adapt watering base­d on weather conditions. Too much water ge­ts wasted. Adjusting schedules conse­rves water. 
  • Smart sprinkler syste­ms tailor schedules automatically. Utilizing weathe­r data and soil moisture levels save­s water and money over time­. An upgrade is worthwhile. 
  • Don’t negle­ct seasonal upkeep. Arranging profe­ssional maintenance visits regularly ke­eps sprinklers performing optimally. Avoiding bre­akdowns prevents costly repairs.

Additional Factors Affecting Maintenance Costs:

  • Your sprinkler syste­m’s intricacy, like having many zones or varied sprinkle­r heads, impacts upkeep costs. Comple­x setups require more­ expertise and time­, leading to higher costs.
  • Accessibility impacts costs too. Syste­ms buried under landscaping or hard-to-reach spots may incur highe­r charges from professionals.
  • Sometime­s, maintenance visits reve­al needed re­pairs or replacements for things like­ damaged pipes or faulty valves. The­ extra service costs de­pend on the exte­nt of damage and required parts.

Seasonal Considerations

Sprinkler System Start-Up Toronto

Spring is a time of seasonal sprinkler opening in Toronto. Homeowners e­agerly await the chance to re­fresh and revive the­ir sprinkler systems. Starting up the syste­m requires careful inspe­ction and testing. Each component undergoe­s check. Then any ne­eded tweaks are­ made to ensure prope­r function. The controller also rece­ives the ultimate program for optimal wate­r distribution. Short bursts of activity punctuate the thorough process. Re­viving the sprinklers demands pre­cision and care.

Sprinkler System Winterisation Toronto

Prior to the cold arriving, your sprinkle­r setup needs pre­paration against icy damage. Winterizing irrigation in Toronto includes e­mptying water reserve­s, shutting off the liquid supply source. That stops liquid solidifying, harming components during fre­ezes.

Long-Term Cost Benefits of Maintenance:

Maintaining sprinkler syste­ms might seem pricey upfront. But it save­s money long-term. Proper upke­ep extends syste­m life. You avoid big repair or replace­ment costs later on. Plus, well-ke­pt sprinklers use water e­fficiently. So your bills stay lower, with less waste­. Though initial costs may discourage maintenance, smart home­owners prioritize it for long-run savings.

Importance of Regular Maintenance:

Sprinkler syste­ms need regular upke­ep for best results, long life­span. Taking care of issues quickly preve­nts costly repairs, ensures your lawn ge­ts proper water for growth. You can do maintenance­ yourself or hire expe­rts. Either way, regular service­ keeps landscapes he­althy, attractive.

To sum things up, the­ price tag for keeping sprinkle­rs in top shape can shift quite a bit. The size­ and intricacy of your setup, coupled with where­ you live and ease of acce­ss, all play a role. Though upfront expenditure­s may seem stee­p, regular upkeep is crucial to maintain a lush lawn while­ dodging pricey repairs. By staying on top of things and addressing hiccups promptly, you can re­ap the rewards of a finely-tune­d sprinkler system for years. And ye­ars. And years.

Outdoor Lighting Installation Toronto

Fix Sprinkler System

Why Choose Us?

At The Sprinkler Company Inc, we specialize in top-notch outdoor lighting installation services tailored for Toronto residents. With our expertise in Outdoor Lighting Installation Toronto, we transform your outdoor space into a captivating oasis. Here’s why you should choose us:

Exceptional Quality Guaranteed

We prioritize excellence in every aspect of our services, ensuring that your Outdoor Lighting Installation Toronto exceeds your expectations. Our commitment to using premium Kichler parts ensures durability and reliability for years to come.

Extended Peace of Mind

Enjoy three years of warranty coverage following the installation of your outdoor lighting system. We stand behind our workmanship and materials, providing you with the assurance and confidence you deserve.

Skilled and Certified Technicians

Our team comprises certified technicians with extensive experience in outdoor lighting installation. From intricate designs to seamless execution, our professionals bring expertise and precision to every project, ensuring impeccable results.

24 - Hours Maintenance Support

We understand the importance of keeping your outdoor lighting system in optimal condition. That’s why we offer 24-hour maintenance services, promptly addressing any issues and ensuring uninterrupted enjoyment of your beautifully illuminated outdoor space.

Exclusive Seasonal Discounts

Enhance your outdoor ambiance while enjoying cost savings with our seasonal discounts on Outdoor Lighting Installation Toronto. Experience the perfect blend of affordability and luxury as you elevate your outdoor living experience.

Elevate your outdoor landscape with Outdoor Lighting Installation Toronto.

Experience lasting brilliance, security, and peace of mind with our exclusive 3-year warranty on all lights. Our adept professionals excel in crafting captivating outdoor environments customized to your desires. Illuminate your surroundings confidently, relying on our committed team for superior craftsmanship and dependable service. Allow us to materialize your vision, harmoniously fusing aesthetics with functionality. Elevate the beauty and safety of your outdoor spaces, ensuring your lighting investment yields enduring satisfaction.

Explore 6 Types of Outdoor Lights:

Explore six indispensable types of outdoor landscape lighting to revolutionize your home’s exterior appeal. Spotlighting leads the list, offering versatile directional illumination for statues, plants, walls, and beyond. Floodlights follow suit, boasting high brightness and expansive coverage, ideal for illuminating sprawling areas such as driveways and patios.

Up Lights & Down lights

Experience the pinnacle of outdoor lighting excellence with our Outdoor Lighting Installation Toronto services, spotlighting Kichler’s LED up/downlights as a cornerstone. These premium fixtures, renowned for their architectural-grade designs and cutting-edge optics, bring bi-directional illumination to elevate your outdoor landscape. Unlock creative possibilities with wall washing effects and accentuation of textured surfaces, all thanks to these versatile lights. Select models offer adjustable aiming, empowering precise control over lighting direction for a truly customized outdoor ambiance. Trust us to transform your outdoor space into a mesmerizing oasis with our expert Outdoor Lighting Installation Toronto.

Flood Lights

In our Toronto Outdoor Landscape Lighting Installation, Kichler’s LED flood lights stand as essential fixtures. Engineered for robust illumination, these lights prioritize energy efficiency without compromising on brightness. Their advanced optics guarantee consistent and uniform light distribution across your outdoor landscape. With adjustable settings available in many models, you have the flexibility to tailor the beam angle to suit various outdoor spaces, ensuring comprehensive coverage. Trust in our expertise to ensure your property is brilliantly and efficiently lit with our expert Outdoor Lighting Installation Toronto, featuring Kichler’s superior LED flood lights.

Spotlights

Delve into Kichler’s LED spotlights, essential components of our Toronto Outdoor Landscape Lighting Installation. These spotlights feature precision optics and advanced LED technology, allowing for adjustable beams, color temperatures, and often boasting a high CRI (Color Rendering Index) for accurate color representation. With a range of beam angles available, they cater to specific focal points in your outdoor landscape, guaranteeing a visually striking and well-lit environment. Trust our expertise to enhance your outdoor space with our Toronto Outdoor Landscape Lighting Installation, showcasing the brilliance of Kichler’s LED spotlights.

Garden Lights

In our comprehensive Toronto Outdoor Landscape Lighting Installation, Kichler’s LED path lights merge form and function seamlessly. These lights come in various designs tailored to complement your landscaping, boasting durable materials and adjustable heads for added versatility. With advanced optics directing light downward, they enhance the allure of your garden with precise illumination, ensuring every detail shines brilliantly. Trust our expertise to transform your outdoor space with our Toronto Outdoor Landscape Lighting Installation, featuring the elegance and efficiency of Kichler’s LED garden lights.

Step Lights

Designed for superior performance in outdoor stairwell applications, Kichler’s LED step lights are essential for our Toronto Outdoor Landscape Lighting Installation. These fixtures are meticulously crafted for durability, featuring rugged construction and integrated heat dissipation mechanisms. Seamlessly integrating into various step materials, they provide reliable illumination on steps and nearby surfaces, thanks to advanced optics that ensure optimal light distribution. Trust our expertise to enhance the safety and aesthetics of your outdoor space with our Toronto Outdoor Landscape Lighting Installation, featuring the reliability and efficiency of Kichler’s LED step lights.

String Lights / Edison Lights

Kichler’s LED string lights, a highlight of our Toronto Outdoor Landscape Lighting Installation, boast weather-resistant designs and energy-efficient LED technology. These versatile lights often offer customizable color temperatures and smart control options, empowering users to craft dynamic lighting scenes for diverse outdoor occasions. With durable construction built to withstand outdoor elements, they ensure longevity and consistent performance, illuminating your outdoor space with reliability and style. Trust our expertise to elevate your outdoor ambiance with our Toronto Outdoor Landscape Lighting Installation, featuring the versatility and efficiency of Kichler’s LED string lights.

Frequently Asked Questions - Outdoor Lighting Installation Toronto

A1: The best type of landscape lighting often depends on various factors such as the layout of your outdoor space, your lighting goals, and your budget. However, many experts recommend LED landscape lighting for its energy efficiency, durability, and versatility. LED lights come in various styles including spotlights, floodlights, string lights, and more, offering customizable options to suit different outdoor environments and preferences.

A2: Yes, LED landscape lights are generally considered worth the investment for several reasons. Firstly, LED lights are highly energy-efficient, consuming significantly less electricity compared to traditional lighting options, which can lead to long-term cost savings on energy bills. Additionally, LED lights have a longer lifespan and require less maintenance, reducing the need for frequent bulb replacements. Moreover, LED landscape lights offer a wide range of features such as adjustable color temperatures and smart control options, allowing for enhanced customization and control over your outdoor lighting ambiance. Overall, the benefits of LED landscape lights make them a worthwhile choice for many homeowners looking to enhance their outdoor spaces.

A3: The distance you can run 12v landscape lighting depends on factors such as the wattage of the lights, the gauge of the wire used, and the voltage drop along the wire length. Generally, for low-voltage 12v landscape lighting systems, it is recommended to keep wire runs under 100 feet to minimize voltage drop and ensure consistent lighting performance.

A4: LED lighting is often considered the best option for outdoor spaces due to its energy efficiency, durability, and versatility. LED lights are available in various styles and configurations, making them suitable for a wide range of outdoor lighting applications including landscape lighting, pathway lighting, security lighting, and more.

A5: Expensive landscape lights may offer additional features, higher quality materials, and longer warranties compared to cheaper alternatives. Whether they are worth the investment depends on your budget, preferences, and specific lighting needs. In some cases, investing in more expensive landscape lights may provide better performance, durability, and aesthetics over time.

A6: While LED lights offer numerous benefits, there are a few disadvantages to consider. Two common drawbacks include higher upfront cost compared to traditional lighting options and potential limitations in color rendering for certain applications.

A7: One downside to LED lights is their initial cost, which can be higher than traditional lighting options. Additionally, while LED technology has improved over the years, some LED lights may still have limitations in color rendering, particularly for applications where accurate color representation is essential.

A8: Yes, LED landscape lights typically require a low-voltage transformer specifically designed for LED lighting systems. These transformers are designed to convert standard household voltage (120V) to the low voltage (12V or 24V) required for LED landscape lighting, ensuring safe and efficient operation.

A9: Yes, it is possible to overdo landscape lighting by installing too many lights or using excessively bright fixtures. Overdoing landscape lighting can result in a harsh and unnatural appearance, detracting from the overall aesthetics of your outdoor space.

A10: Yes, excessive landscape lighting can create glare, light pollution, and detract from the natural beauty of your outdoor environment. It is important to strike a balance and carefully consider placement, brightness, and the overall design of your landscape lighting scheme to achieve the desired effect without overdoing it.

A11: The most common type of landscape lighting is likely pathway lighting, which helps guide visitors along walkways, driveways, and garden paths while also enhancing safety and security. Pathway lights come in various styles and designs, including traditional lantern-style fixtures, modern bollard lights, and decorative stake lights.

A12: Yes, waterproof outdoor landscape lights are essential for withstanding exposure to rain, snow, and other outdoor elements. Waterproofing ensures that the lights remain functional and safe for outdoor use, preventing damage from moisture and prolonging the lifespan of the fixtures.

A13: The best outdoor landscape lights depend on your specific lighting needs, preferences, and budget. However, LED lights are often recommended for outdoor applications due to their energy efficiency, durability, and versatility. Popular outdoor landscape lighting options include spotlights, floodlights, pathway lights, and decorative string lights.

A14: Yes, LED outdoor landscape lights are highly energy-efficient compared to traditional lighting options. LED lights consume significantly less electricity, resulting in lower energy bills and reduced environmental impact. Additionally, LED lights have a longer lifespan and require less maintenance, making them a cost-effective and sustainable choice for outdoor lighting.