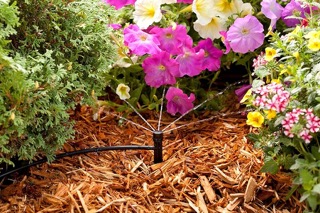
What is an easy sprinkler system? An easy sprinkler system is used to water a small area and often when there is a very small budget.
Such a system can be bought in any hardware store, such as Home Depot, or Lowe’s, or ordered online. Sellers of these irrigation systems often claim that their products are easy to install and do not require any additional funds. These claims should be carefully considered.
If the area that needs to be watered is small and of little importance, then an easy sprinkler system installation can help. However, if the area is large, in full view, and contains expensive plants that cost money for planting, then an easy sprinkler system is not the best choice. It is probably better to contact professionals, at least for a consultation, to avoid the risk of ruining your vegetation and losing money.
The Advantages of Installing Irrigation Systems for Homes and Businesses
There are a number of reasons why homeowners and commercial business owners choose to install irrigation systems. From the ease of use to saving money, the benefits are extensive. A well-installed irrigation system can increase the value of your home while putting your mind at ease when it comes to lawn and garden watering.
1. You Save Time & Money 2. It Amps Up Your Yard Safety & Aesthetics 3. It’s Convenient 4. Sprinkler Systems Increase the Value of Your Home 5. It Maintains a Proper Nutrient and Water Soil Balance
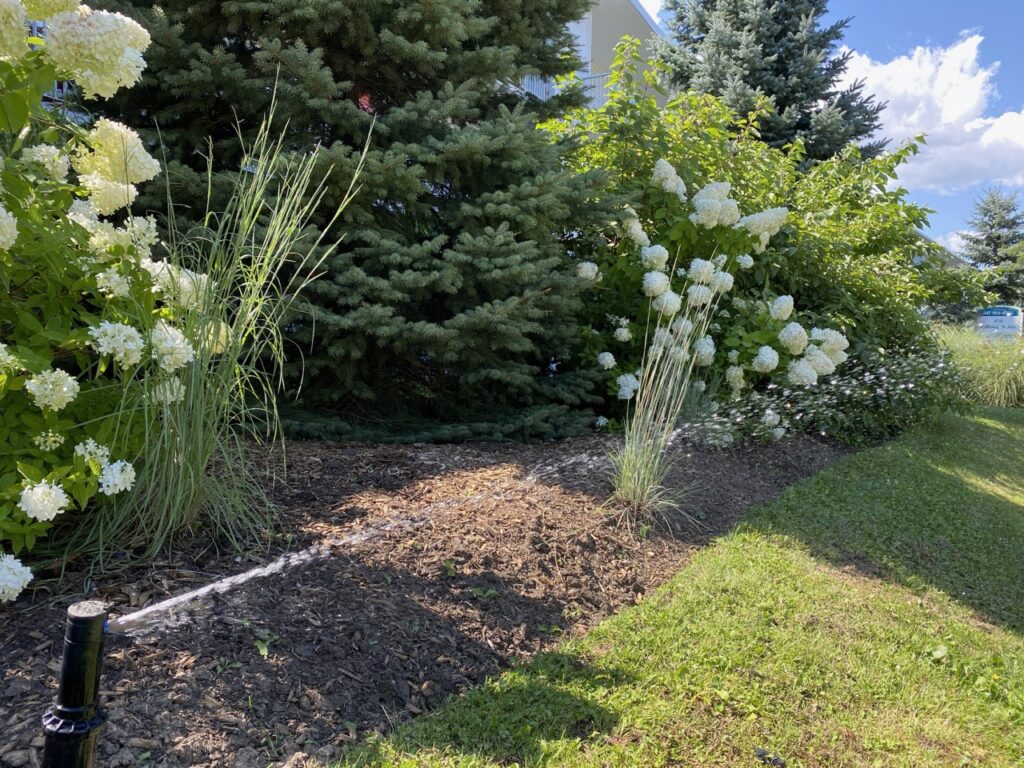
Assessment: Survey your lawn or garden to determine the best placement for sprinkler heads, considering factors like plant types, sunlight exposure, and landscape features.
Water Source: Identify a reliable water source and ensure it can provide sufficient pressure for your sprinkler system.
2. Gather Materials:
Essentials: Acquire necessary materials, including sprinkler heads, pipes, fittings, and a user-friendly controller.
Quality Check: Ensure all components are of high quality and suitable for your specific requirements.
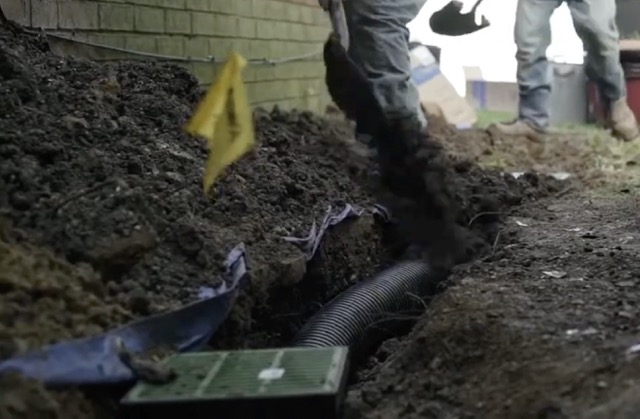
3. Prepare the Area:
Trench Digging: Excavate trenches according to your planned layout, keeping in mind the necessary depth for pipes.
Clear Obstacles: Remove any obstacles that could impede the installation process.
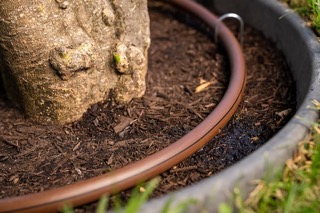
4. Install Pipes and Fittings:
Lay Pipes: Place pipes in the trenches, connecting them with fittings to create the irrigation network.
Valve Integration: Install control valves strategically to manage water flow to different zones.
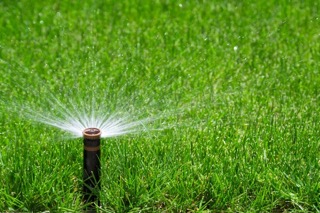
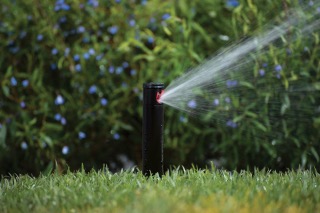
5. Connect Sprinkler Heads:
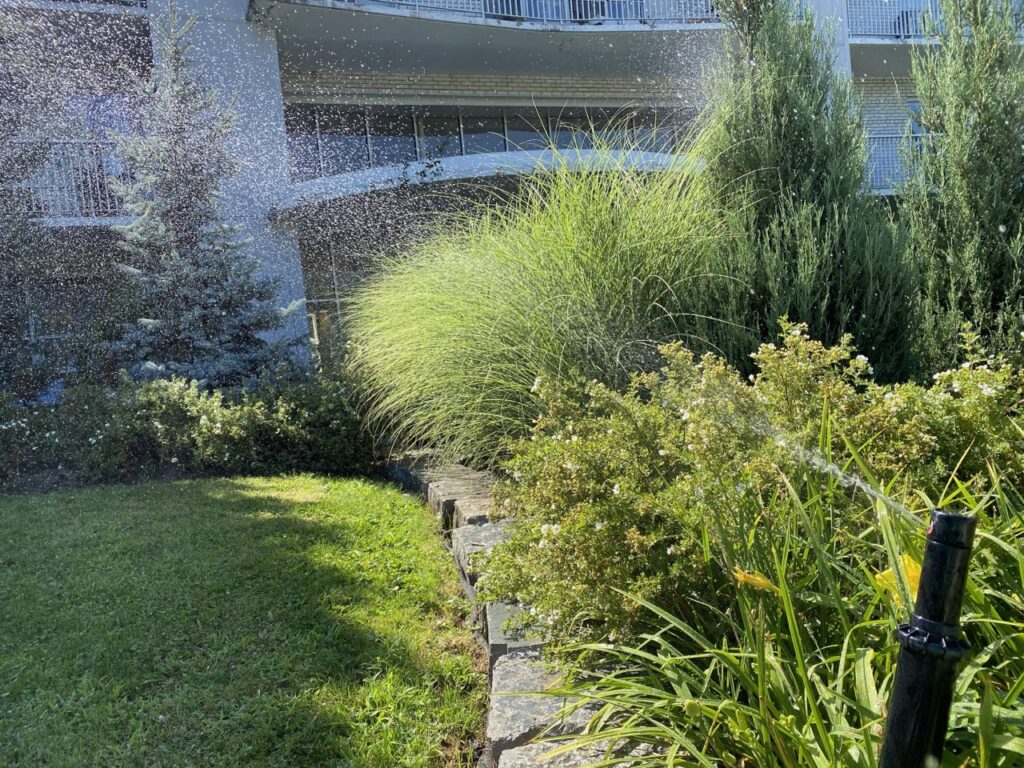
Attachment: Connect the selected sprinkler heads to the pipes, ensuring secure fittings.
Alignment: Adjust each sprinkler head for proper alignment and coverage, considering the specific needs of your landscape.
6. Install Controller and Test:
Controller Setup: Mount the controller in a convenient location, following manufacturer instructions for wiring and programming.
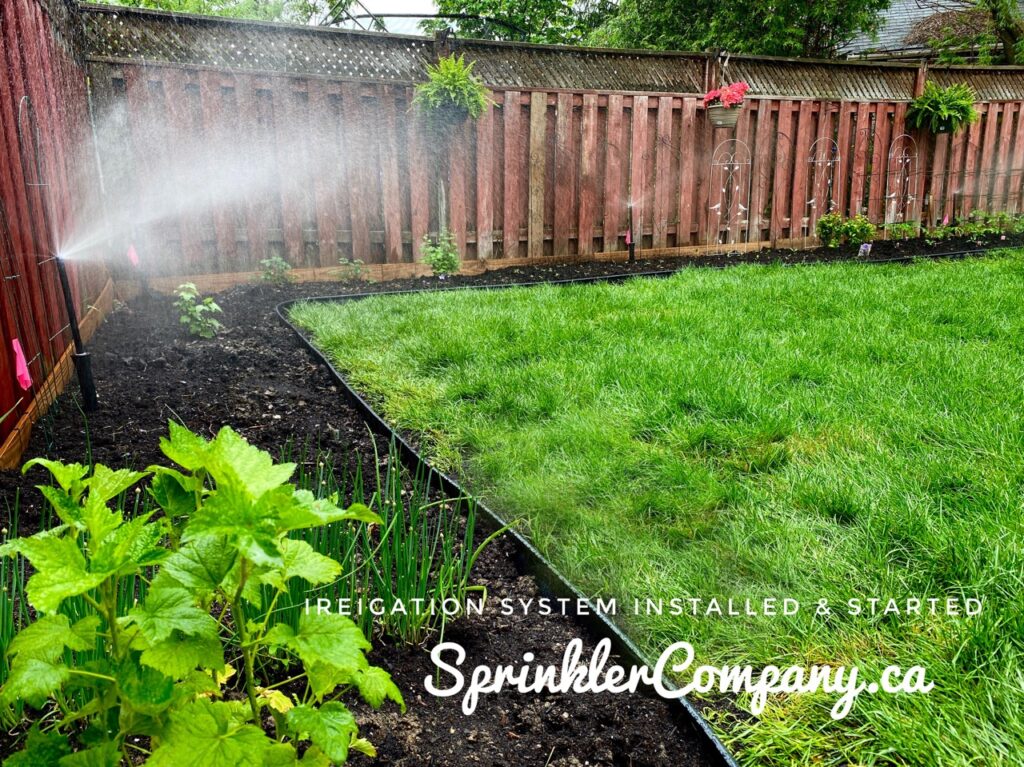
Testing: Activate the system to run a test cycle, checking for proper functionality and making adjustments as needed.