




















The Sprinkler Company Inc. / Grading Before Sod
Grading Before Sod: The Right Project Order
Project sequencing is the order used to complete interdependent work.
Grading Before Sod: the direct answer
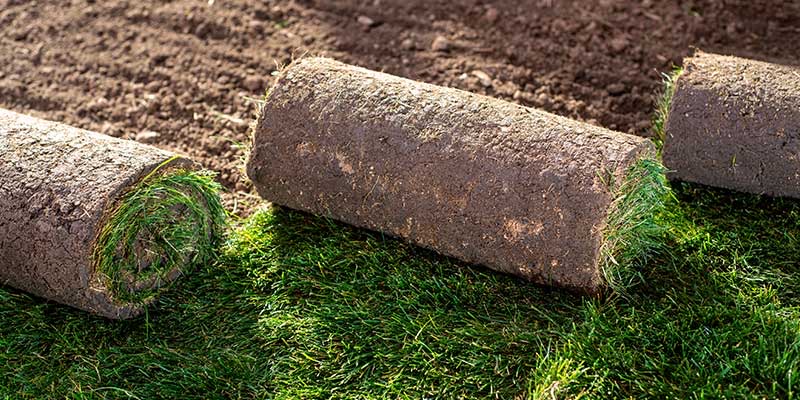
Resolve drainage, underground work and surface levels before installing the final lawn. Reopening a new lawn for omitted pipe or cable work adds avoidable restoration.
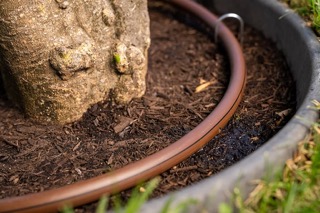
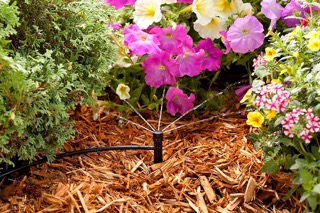
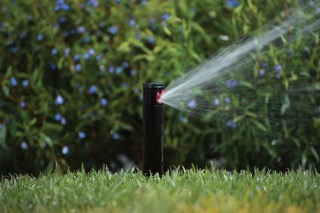
Agree on the finished levels and the location of access boxes before soil preparation. Coordinate irrigation adjustments with the new layout so heads are not left too low or watering a removed lawn area. Check the surface before accepting sod delivery, because fresh rolls need prompt attention. Keep responsibilities for watering, access and completion clear between different contractors.
What must happen before sod?
Suggested next steps based on your answers; not an on-site diagnosis. University of Minnesota: lawn establishment
Measure levels before ordering soil
Adding material changes finished elevations as well as appearance. Doors, window wells, siding, paths and property boundaries limit what can be raised. A soil-volume estimate does not establish a grading design. For settlement, uncertain fill, a retaining structure or a shared drainage route, get the site assessed before changing levels.
Do not install turf over unresolved standing water merely to finish the visible surface.
Technical reference: NDS: French drain installation guidance; University of Minnesota Extension: seeding and sodding; Ontario Dig Authority: locate information. Site-specific product instructions and local requirements take precedence over an illustrative calculation.
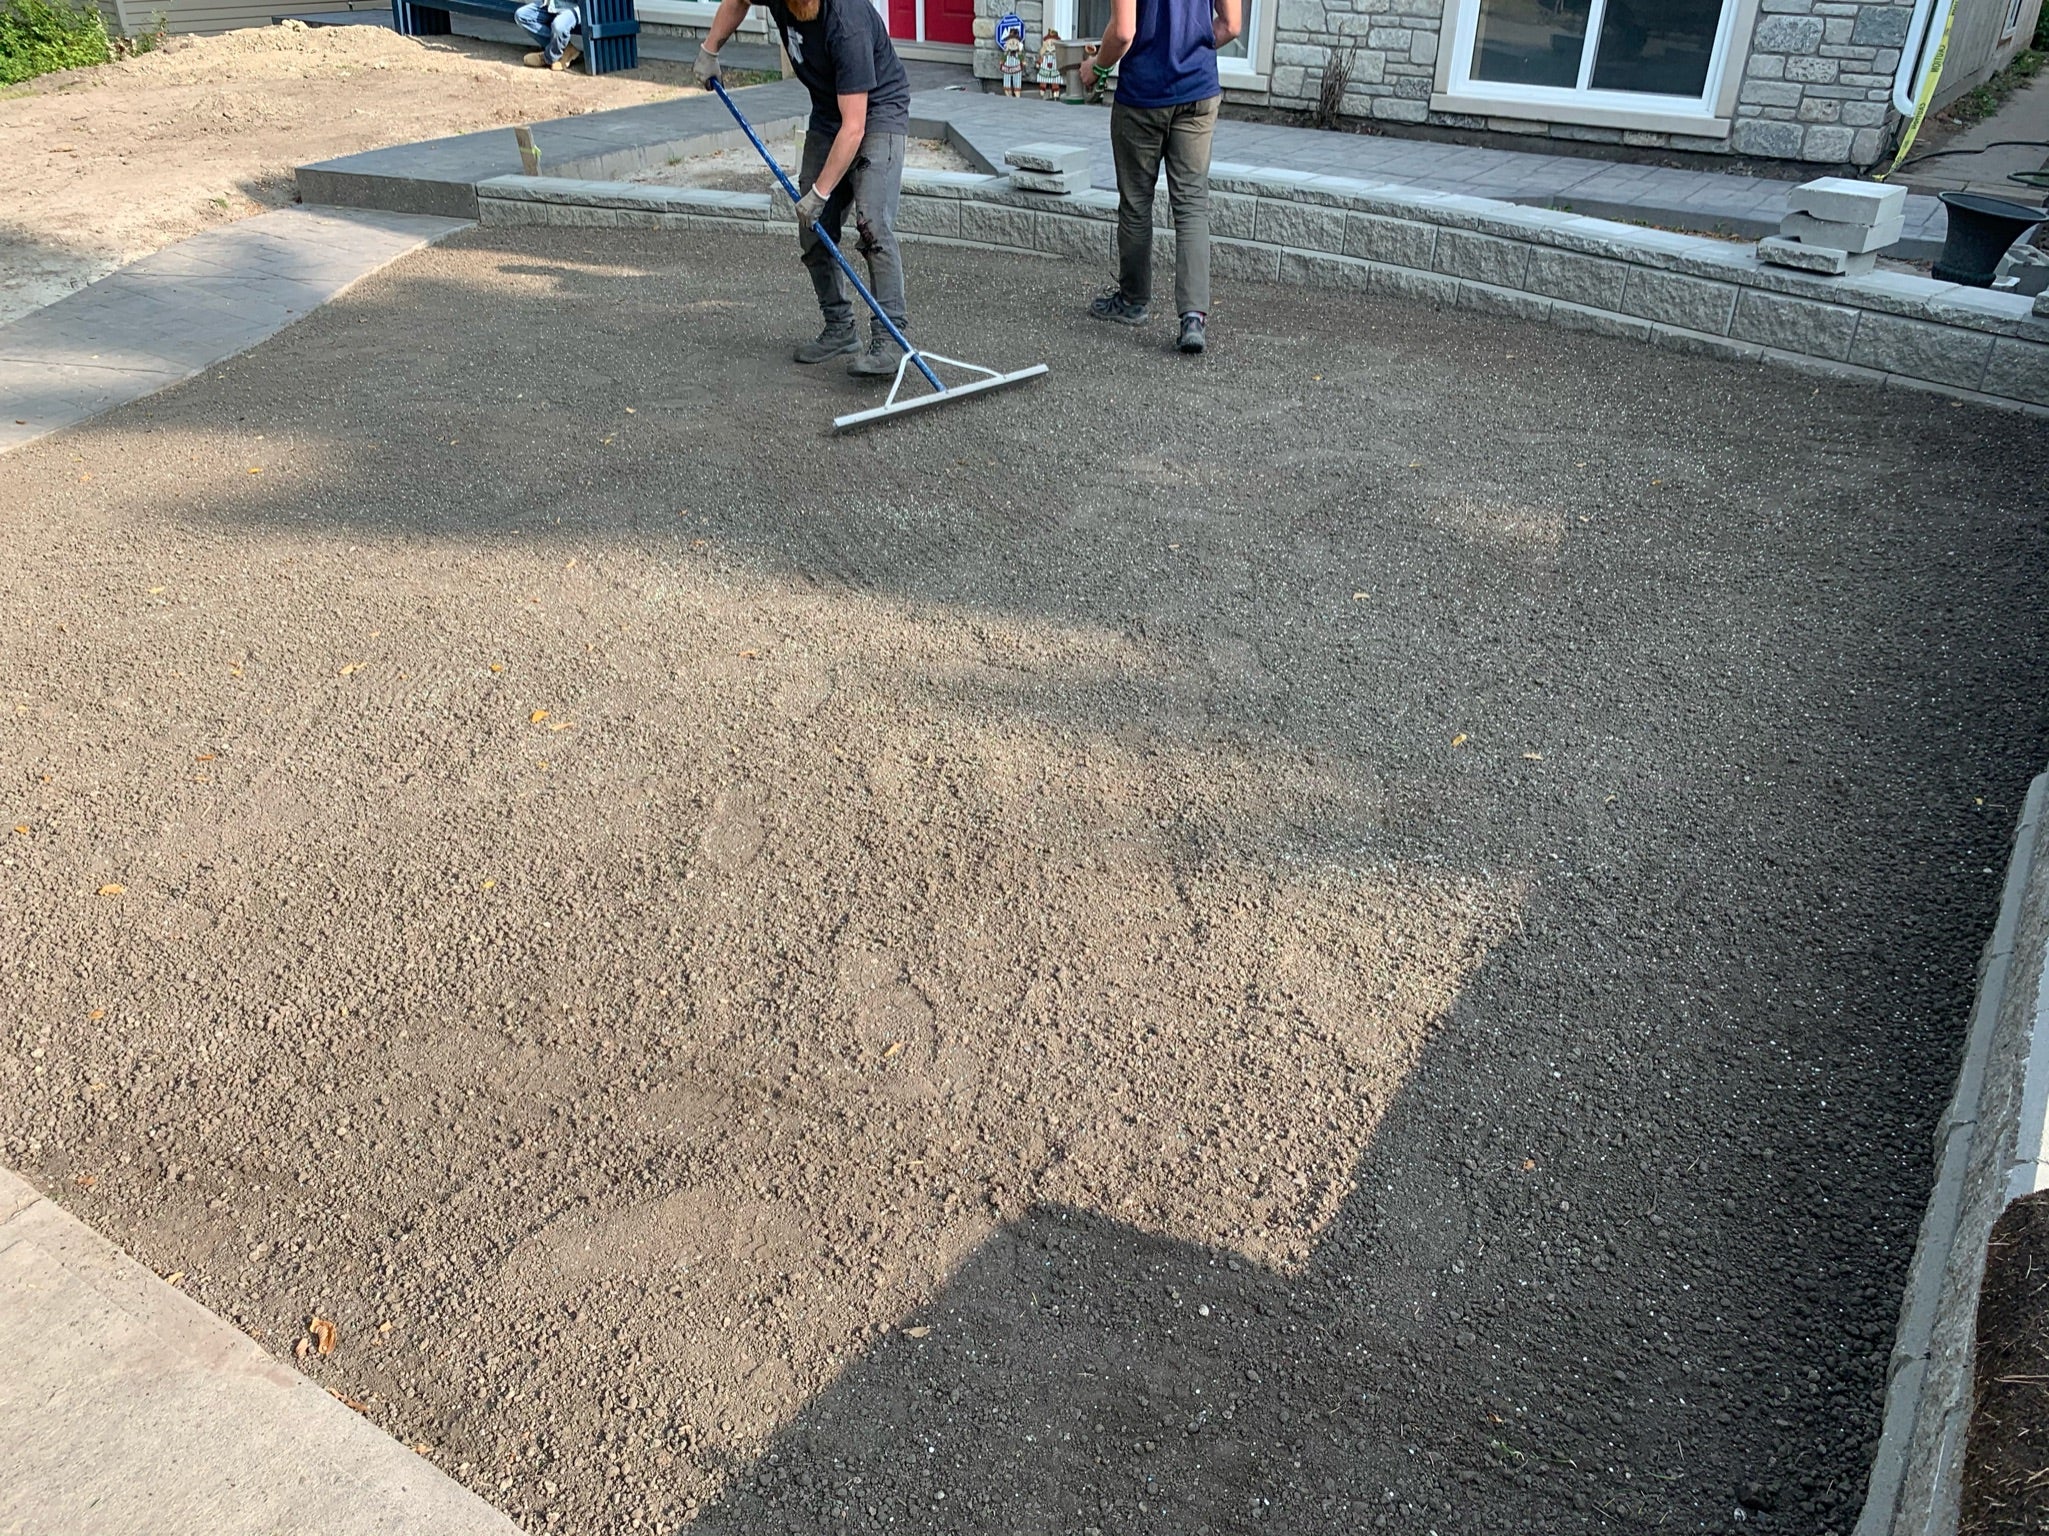
Approve the grade before covering it with turf
Review drainage routes and finished levels while they are still visible. New sod can make an unfinished grading decision harder to inspect without resolving it. Coordinate irrigation and other buried work before the final lawn is installed. Keeping a short photographic record at this stage helps explain the completed arrangement if settlement or drainage questions arise later.
Finished levels are the starting point
Grading changes the shape of the ground, while adding topsoil changes both the growing layer and the surface elevation. Before selecting a soil quantity, identify fixed features that constrain those levels: doors, siding, paths, window wells, fences and neighbouring drainage routes. A low spot may be obvious, but the appropriate finished shape depends on where water can go. Raising one patch without considering the surrounding levels can simply relocate the puddle or create a new obstruction.
Measure levels from a stable reference rather than relying on how the lawn looks. Record the points that need to remain and the points proposed to change. A line that slopes overall can contain local hollows, so inspect intermediate locations too. Where the project affects a building, retaining structure, protected tree or shared drainage arrangement, obtain the appropriate professional advice. A material calculator can estimate a layer; it cannot approve the grading design or determine which parts of a site can safely be excavated.
Match the soil product to its purpose
Screened topsoil, compost and blended planting soil are different products. Topsoil can provide a growing layer, while compost adds organic material; neither name guarantees that the product matches every planting or grading use. Ask the supplier for the actual blend and intended application. A structural fill requirement is not the same as a garden-bed specification. The cheapest available load can be poor value if it introduces unsuitable material or must be removed to correct finished levels.
For lawn and planting projects, assess the ground beneath the added layer as well. Compaction, construction debris and drainage limitations do not disappear because fresh soil covers them. The appropriate preparation depends on the intended plants and existing conditions. Avoid applying a universal layer depth to every yard. Specify what is being removed, what remains and how the new material will be incorporated or placed. This makes the proposal easier to compare and reduces uncertainty when the delivery reaches the property.
Keep volume, weight and delivery separate
A rectangular layer can be measured by area multiplied by depth, with all dimensions converted to compatible units. Irregular spaces should be split into smaller measured sections. Exclude paving, beds that are not being changed and other areas outside the scope. Depth deserves particular care: doubling the depth doubles the calculated volume even when the area stays the same. Record whether the quantity describes a loose order or a finished layer so the supplier and installer are discussing the same thing.
Suppliers may sell by cubic yard, cubic metre, bag or tonne. A cubic yard contains 27 cubic feet, but its weight depends on the actual product and moisture. Ask for the appropriate conversion rather than borrowing a density from an unrelated material. Delivery charges, minimum orders and spreading labour should be visible alongside the material price. A low pickup price does not include bringing the load through a narrow side yard or distributing it across several separate beds.
Coordinate removal, preparation and the final surface
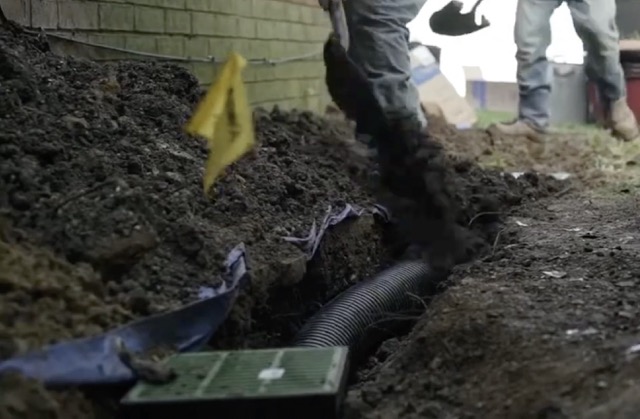
Soil removal needs a destination and a clear scope. Excavated material may include roots, stone, debris or other components that change handling requirements. Do not assume it can all be reused elsewhere on the property. Confirm access, loading space and responsibility for disposal before excavation begins. Utility identification and protection of existing irrigation or lighting are also part of planning, not optional details to resolve after a machine arrives.
Finish grading and buried work before installing the final lawn or planting surface. Inspect the agreed levels and record any changes while they remain visible. New sod should not conceal an unresolved drainage issue, and a freshly mulched bed should not cover service access. After completion, observe rainfall and check for settlement without immediately adding more material. If levels have changed unexpectedly, discuss the cause with the contractor so any correction addresses the reason rather than repeatedly covering the symptom.
Organise earthwork without losing control of finished levels
Before material arrives, agree which existing surfaces will be protected and which will be replaced. A truck delivery point is not necessarily the final storage point, and moving a load through a narrow yard is part of the work. Identify doors, drains and paths that need to remain usable during the project. Keep material away from locations where it could obstruct runoff or damage a feature that is meant to stay. These practical arrangements belong in the discussion of access and labour.
Confirm what happens when the existing ground differs from the assumption in the quote. Hidden debris, unsuitable material or an unexpected service can change the appropriate preparation. The responsible contractor should explain the finding and proposed change before simply adding more fill. Record revised quantities and final levels where the scope changes. This keeps a material order from becoming the accidental design: a load already on site should not determine how high the lawn or bed is finished.
Review transitions at the boundaries of the work. New soil should meet retained paving and lawn in the intended way without burying features that need clearance. A smooth-looking centre does not establish that the perimeter drains appropriately. Soil settlement and preparation requirements also depend on the material and intended finish. Ask which checks occur before sod, planting or paving conceals the ground, and retain the agreed reference levels for any future assessment of changes.
Handover should include the soil or aggregate supplied, the areas changed and any care needed for the new finish. Where the work prepares ground for a later contractor, confirm the agreed condition of that handoff. A prepared lawn bed, compacted paving base and planted garden are different outcomes. Clear documentation helps the next stage begin with the right assumptions and makes it easier to distinguish a material issue, a level change and ordinary establishment care if the property needs attention later.
Turn the symptoms into a practical next step
Record what can be seen safely, the conditions at the time and the location of each observation. A dated photograph taken from a repeatable position is often more useful than an unsupported diagnosis. Separate a symptom from its suspected cause: water at a low point, an exposed root flare or a blocked visible grate are observations; the reason behind them may require inspection. Note recent changes such as new paving, altered irrigation or added soil.
Do not enter a trench, drain chamber or unstable area to investigate a symptom. Do not disturb buried services or remove heavy covers without appropriate assistance. A suggested next step helps narrow the work to investigate, not a safety approval or a substitute for professional assessment. If there is active building damage, sewage, electrical danger or a structural concern, deal with that issue separately rather than treating it as an ordinary landscape-planning question.
Bring the observations together with any existing installation drawings, product information and previous work records. Ask the contractor which findings influence the proposed scope and what remains uncertain. The price table gives relevant service references, but a diagnosis should determine the work rather than the reverse. After completion, keep the updated records and compare the original symptoms with later conditions. This provides a clearer basis for maintenance or follow-up than starting again with no record of what changed.
Typical grading and lawn restoration prices
Published prices for the relevant service or material are listed below. These are price ranges or supplier listings, not a calculated market average. Check the included work, delivery and applicable tax when comparing quotes.
| Service or material | Price (CAD) | Scope and source |
|---|---|---|
| Light grading | $2-$5 / sq ft | Minor levelling and accessible ground. Backyard grading prices per square foot |
| Backyard regrading | $5-$12+ / sq ft | Soil movement and more substantial correction. Backyard grading prices per square foot |
| Complex grading with drainage | From $12 / sq ft | Difficult access, removal or drainage work. Backyard grading prices per square foot |
| Residential sod installation | $1.10-$3.50 / sq ft | Separate finish if not included in grading. The Sprinkler Company: published service prices |
Prices checked 2026-10-06. Unless stated otherwise, prices exclude tax. Supplier pickup prices exclude delivery and installation. Ontario HST is 13% where applicable.
Questions and factual answers
Does added topsoil solve every drainage problem?
No. It changes surface levels but does not automatically create an outlet, remove compaction or repair a buried service. Check the cause before adding material.
How many cubic feet are in one cubic yard?
There are 27 cubic feet in 1 cubic yard: 3 ft x 3 ft x 3 ft. Volume and material weight are different quantities.
What is the main limit of this planning tool?
Suggested next steps based on your answers; not an on-site diagnosis.
What should be confirmed before work starts?
Do not install turf over unresolved standing water merely to finish the visible surface. Ask for the measured scope, materials, destination of water or removed material where relevant, and any exclusions in writing.
Related planning guides
Sources and scope
The calculations are transparent planning scenarios, not a drainage design, structural assessment or binding quote. Current local rules, product instructions and a site inspection may change the appropriate scope.
Discuss your property and measured scope
The Sprinkler Company Inc.