
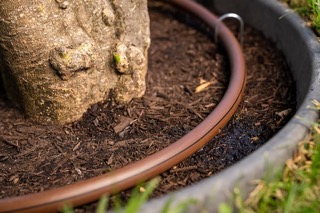


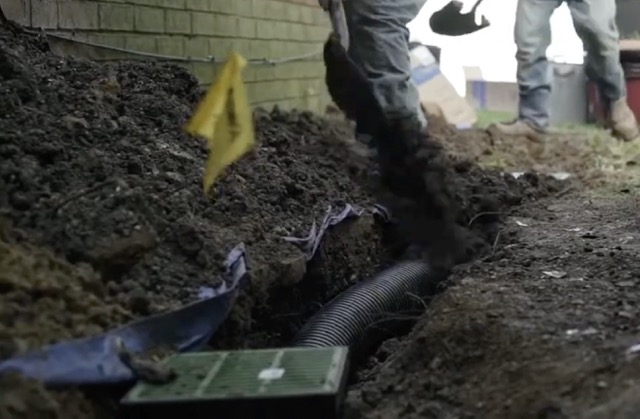


Sprinkler Wire Cut: How to Find and Fix It
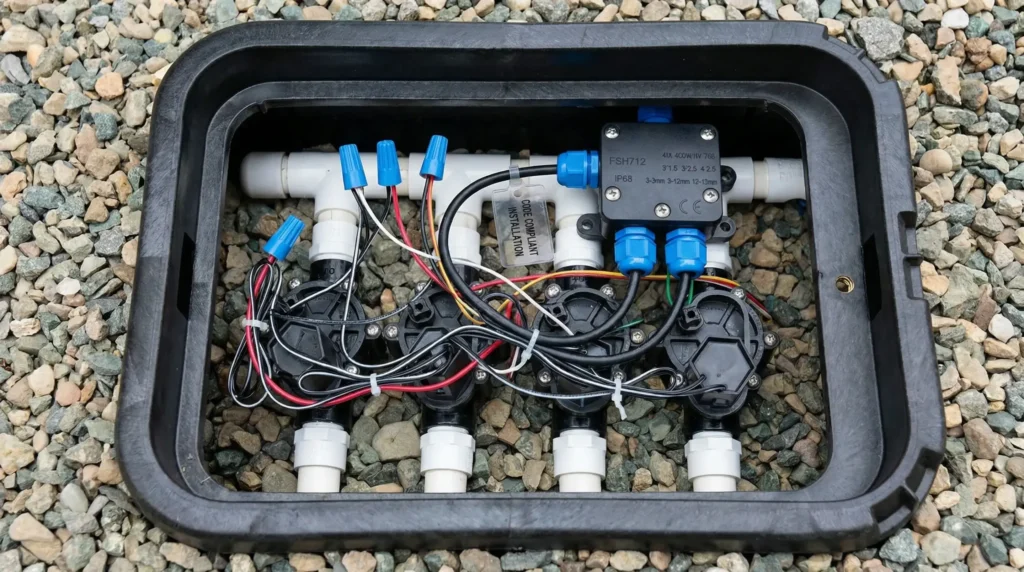
Toronto Sprinkler Wire Repair Guide · 2026 Sprinkler Wire Cut: How to Find and Fix It A sprinkler wire cut can stop one zone, several zones, or the whole irrigation system from working. The issue may be a damaged zone wire, broken common wire, bad splice, corroded valve-box connection, or wire cut during digging, planting, […]
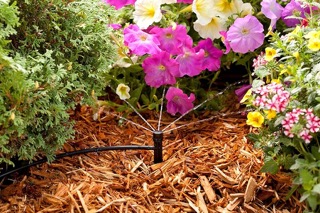
Why Is One Sprinkler Zone Not Working?
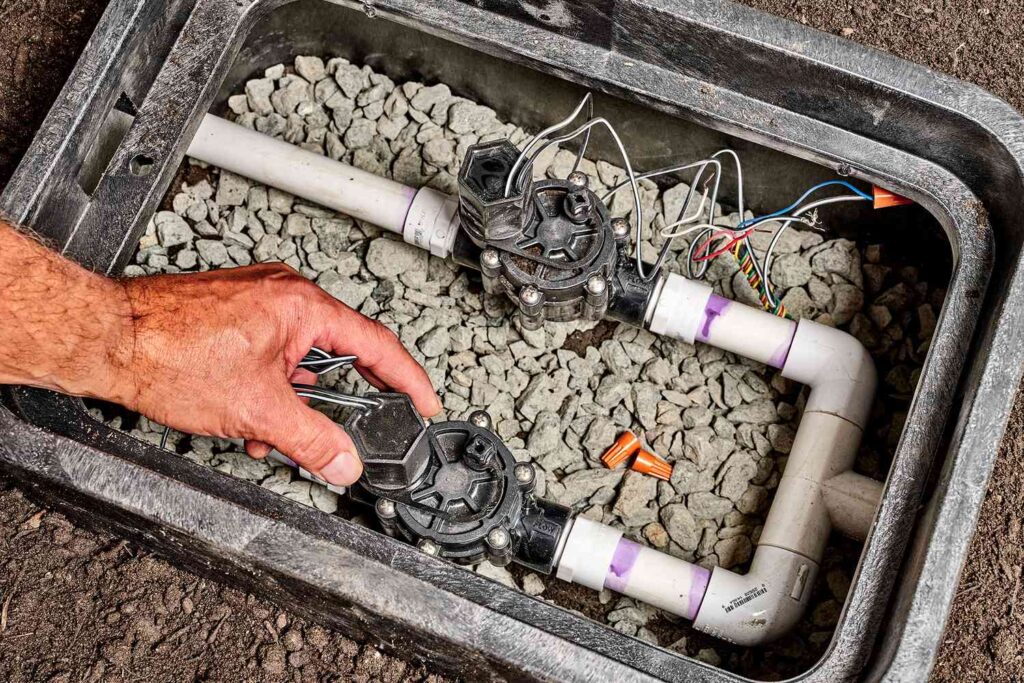
Toronto Sprinkler Troubleshooting Guide · 2026 Why Is One Sprinkler Zone Not Working? If one sprinkler zone is not working, the problem is usually in the controller programming, zone wire, common wire, valve solenoid, valve box, water pressure, clogged sprinkler heads, or a damaged underground pipe. ValveCommon Failure Point WireOften Cut or Loose SolenoidControls Valve […]
How to Work With Hunter X2 Timer
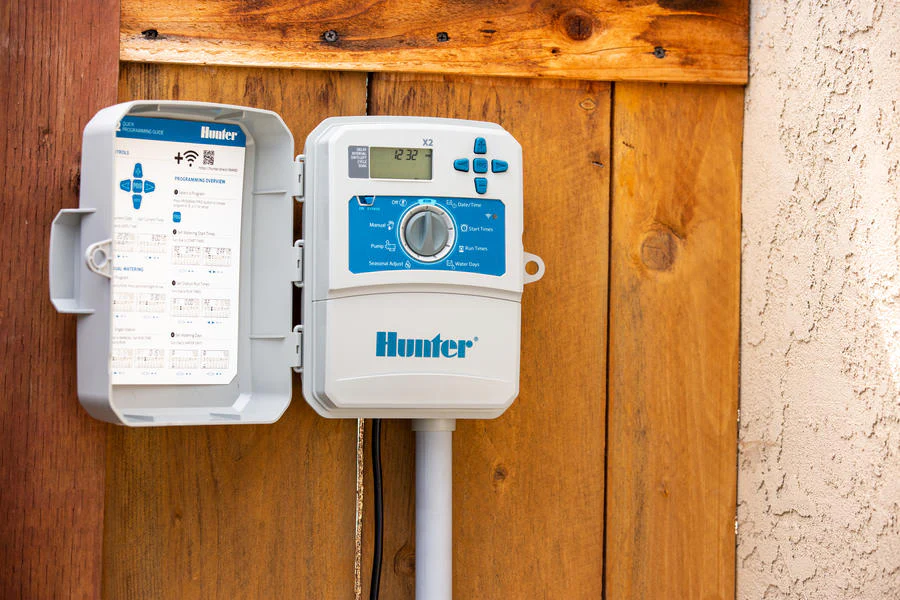
Hunter X2 Timer Guide · Toronto Irrigation How to Work With a Hunter X2 Timer The Hunter X2 timer controls sprinkler start times, station run times, watering days, manual watering, test cycles, rain sensor bypass, seasonal adjustment, and optional Wi-Fi control with the Hunter WAND module. 4-14Station Models A/B/CWatering Programs 1-6 hrStation Run Times 10-200%Seasonal […]
Best Irrigation Timers for Toronto Sprinkler Systems

Toronto Irrigation Timer Guide · 2026 Best Irrigation Timers for Toronto Sprinkler Systems The right irrigation timer controls when each sprinkler zone runs, how long it waters, and whether your lawn, sod, garden beds, trees, and shrubs get the right schedule during Toronto spring, summer, and fall conditions. X-CoreSimple Residential Timer Pro-CPopular Modular Option HydrawiseSmart […]
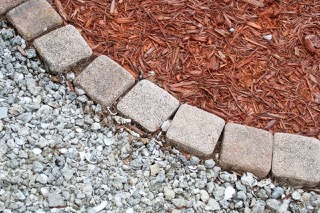
How Much Does River Rock Installation Cost in Toronto?

Toronto River Rock Cost Guide · 2026 How Much Does River Rock Installation Cost in Toronto? River rock installation cost Toronto homeowners should expect depends on area size, rock depth, stone size, edging, landscape fabric, removal of old mulch or grass, access, delivery, drainage needs, and whether the project is around a house, garden bed, […]