How to Install LED Outdoor Landscape Lights in Winter Time
During the cold winter, a LED outdoor lighting system can keep your home looking nice. It can also prevent problems when the weather is bad. To install it right, you need good planning and tools. This can be hard on frozen ground in cold temps. But by using tough, reliable fixtures that won’t be hurt by weather, you can set up a winter lighting display that amazes people.
What to Check Before Installation of LED Outdoor Landscape Lights?
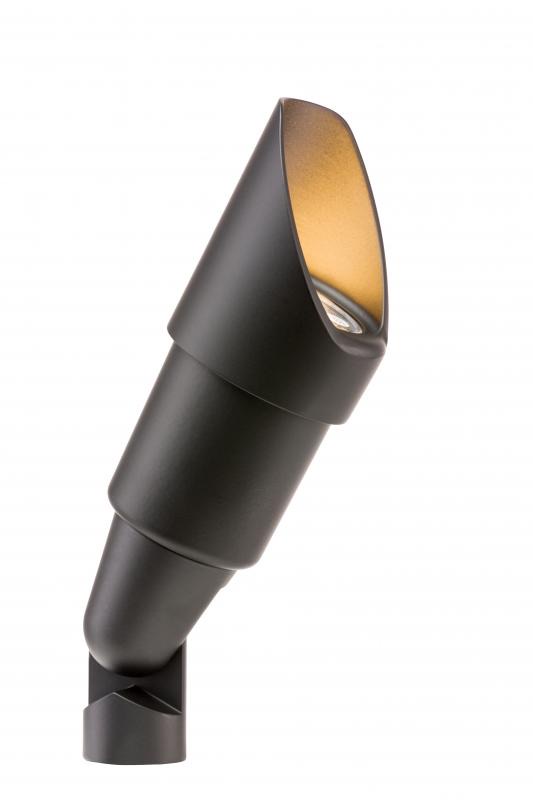
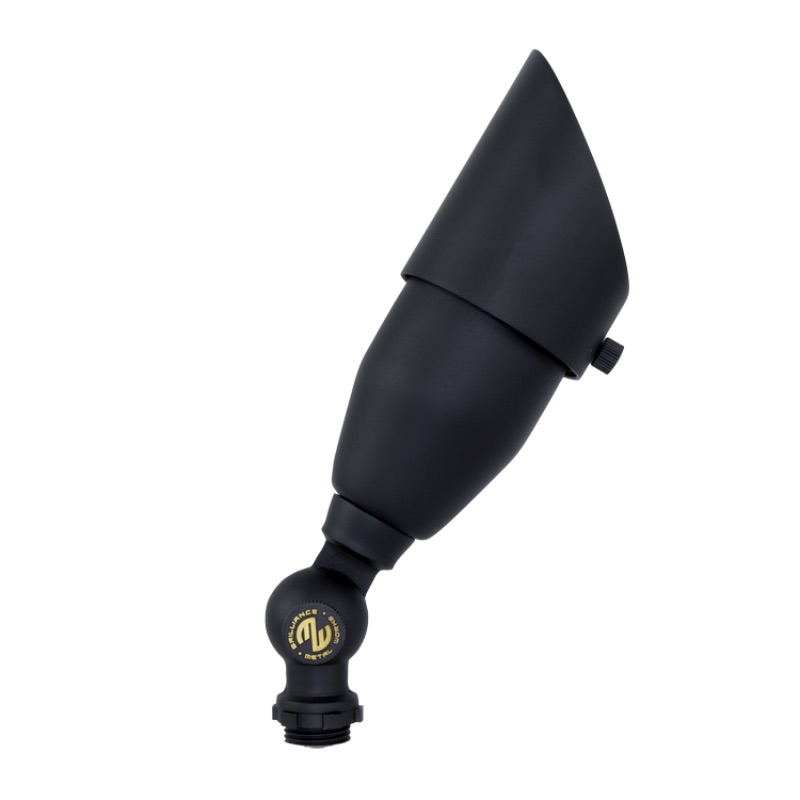
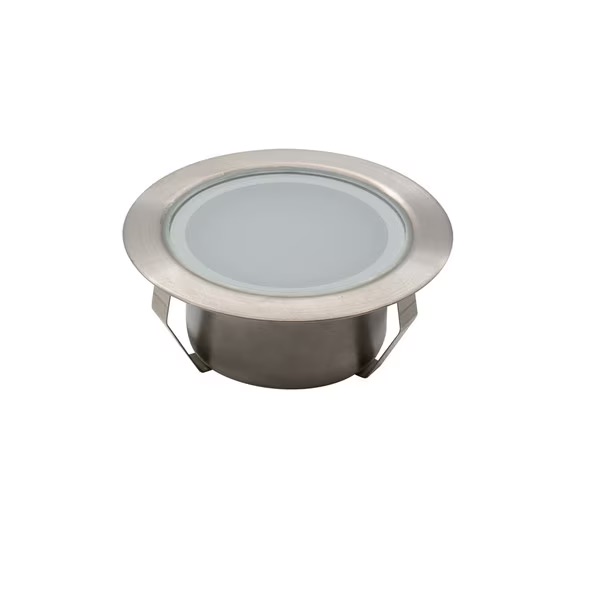
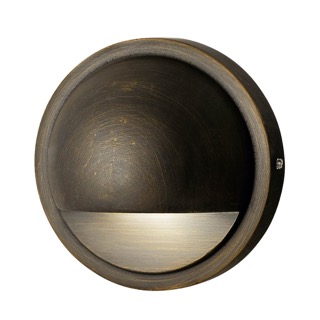
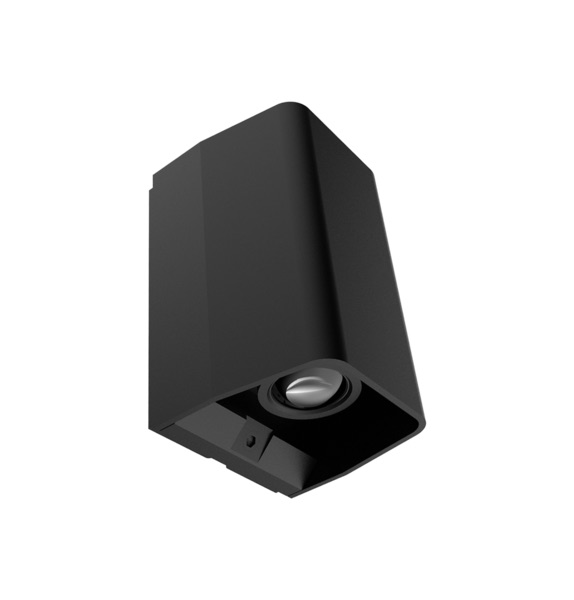
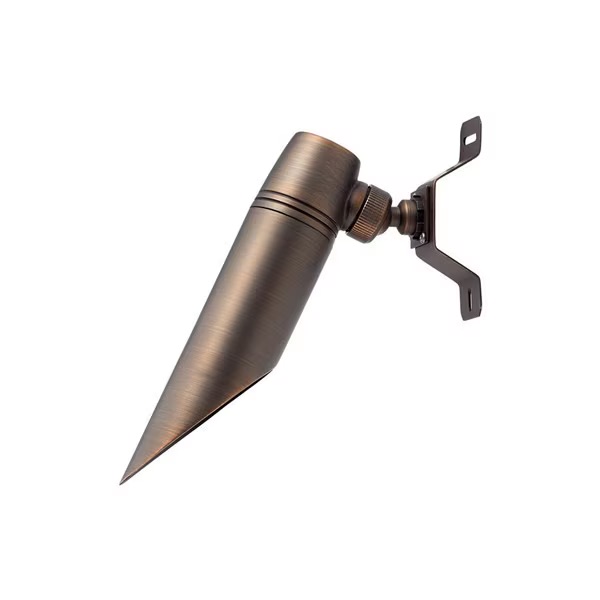
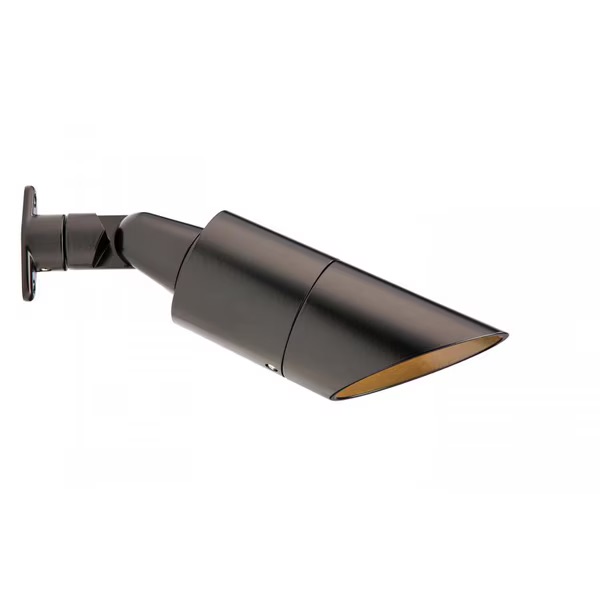
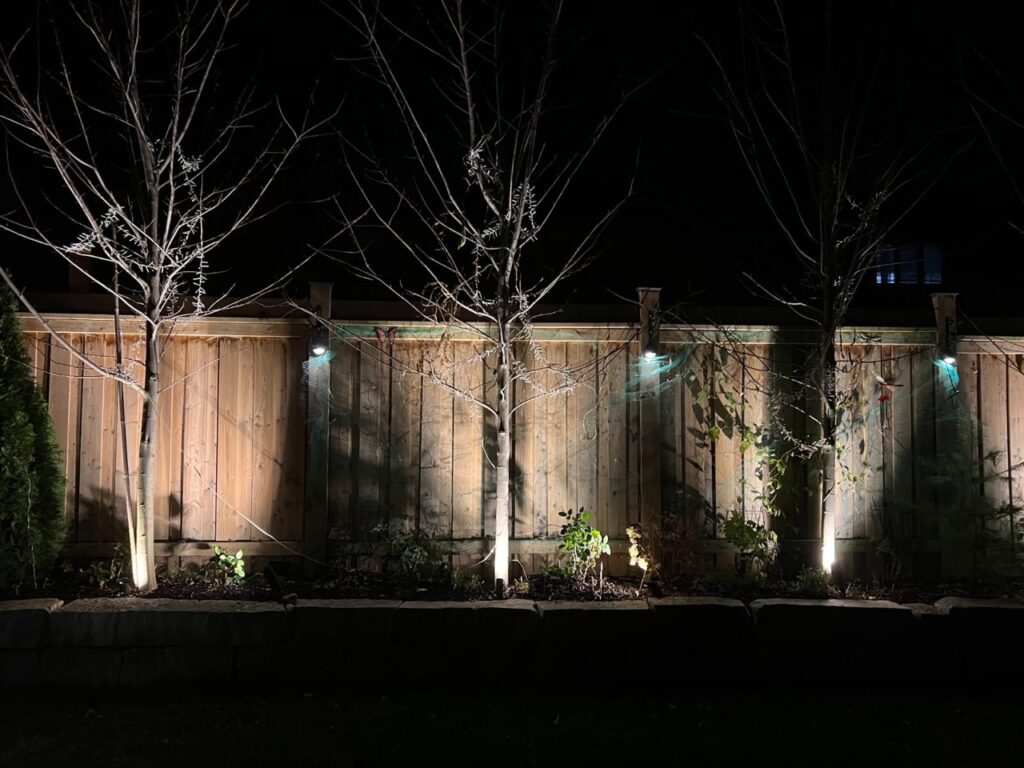
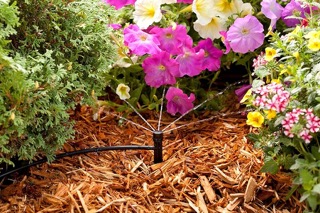
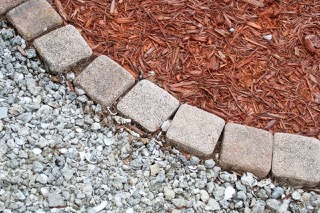
When installing LED landscape lighting outdoors, there are some important things to consider. First, think about the layout of your outdoor space. Identify the main areas, like pathways, driveways, gardens, and features that need lighting. Then, check the existing power sources and see if you need extra wiring or transformers. If using low-voltage lighting, make sure your transformer can handle the total wattage. .The weather is critical, especially in winter. Ensure the ground is not fully frozen, as this makes it hard to install wiring. If the soil is too hard, you can use a heat gun or wait for a thaw. Also, check that outdoor outlets are sealedtightly to avoid issues. .Choose LED lamps with an outdoor, IP65 waterproof rating. This ensures the fixtures can withstand snow, moisture, and rain. Look for corrosion-resistant materials like aluminum and stainless steel, as they are more durable in harsh weather. .Lighting design planning is crucial. Consider beam angle, brightness, and color temperature to get the desired effects. Experiment with temporary spotlights first to see the results before permanent installation. .Finally, follow local electrical laws and rules. Some areas may require permits for outdoor electrical work. Proper preparation will save you time and money, and ensure your outdoor lighting system works well year-round.
How to Install Wire for Outdoor Landscape Lighting?
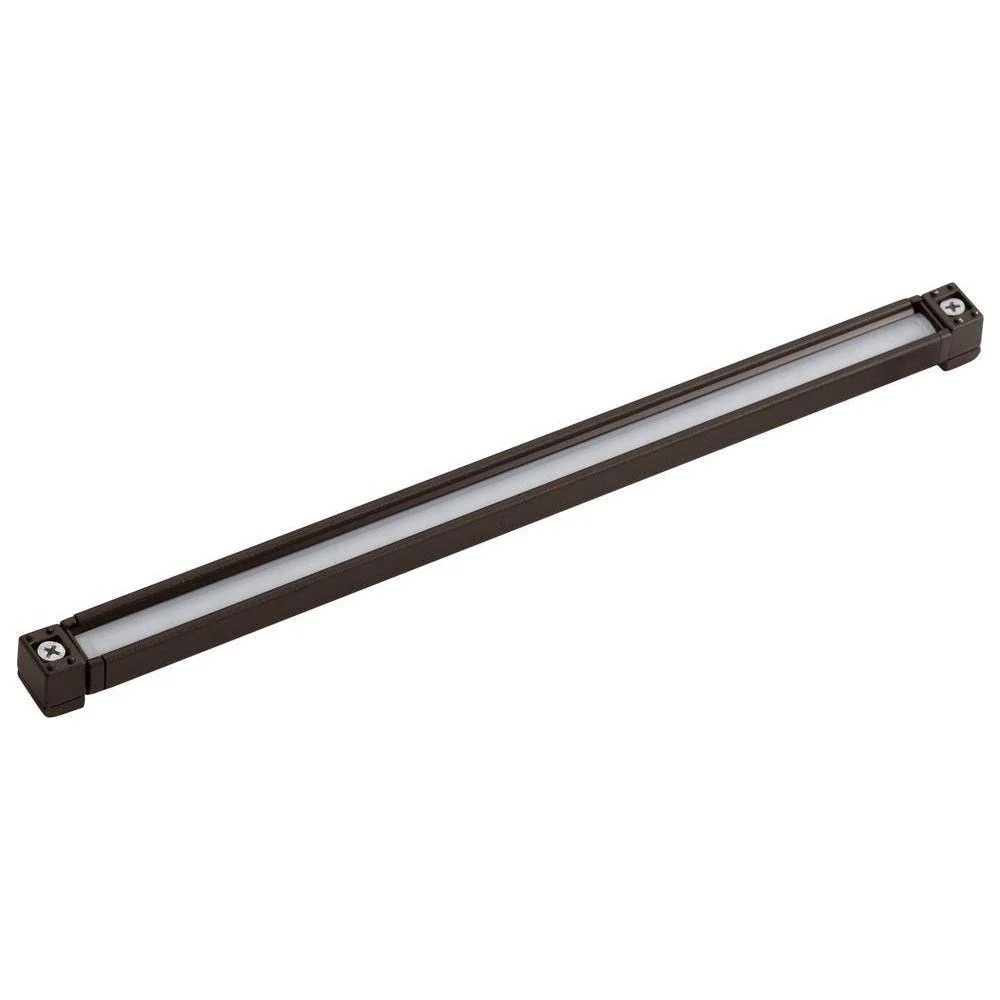
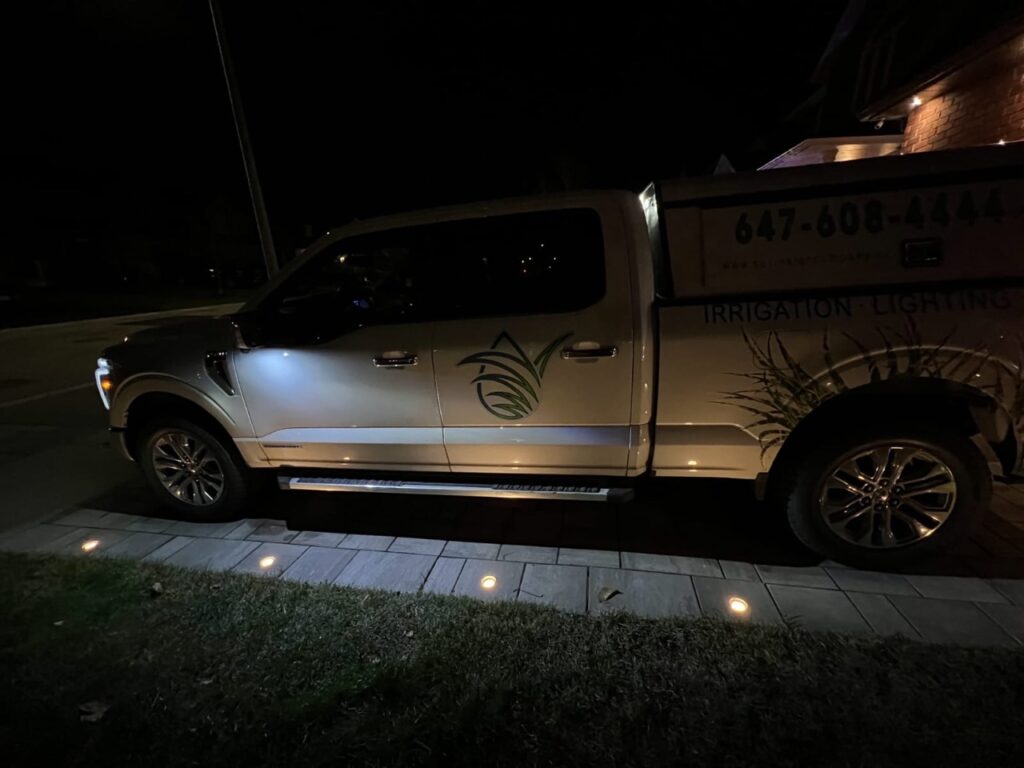
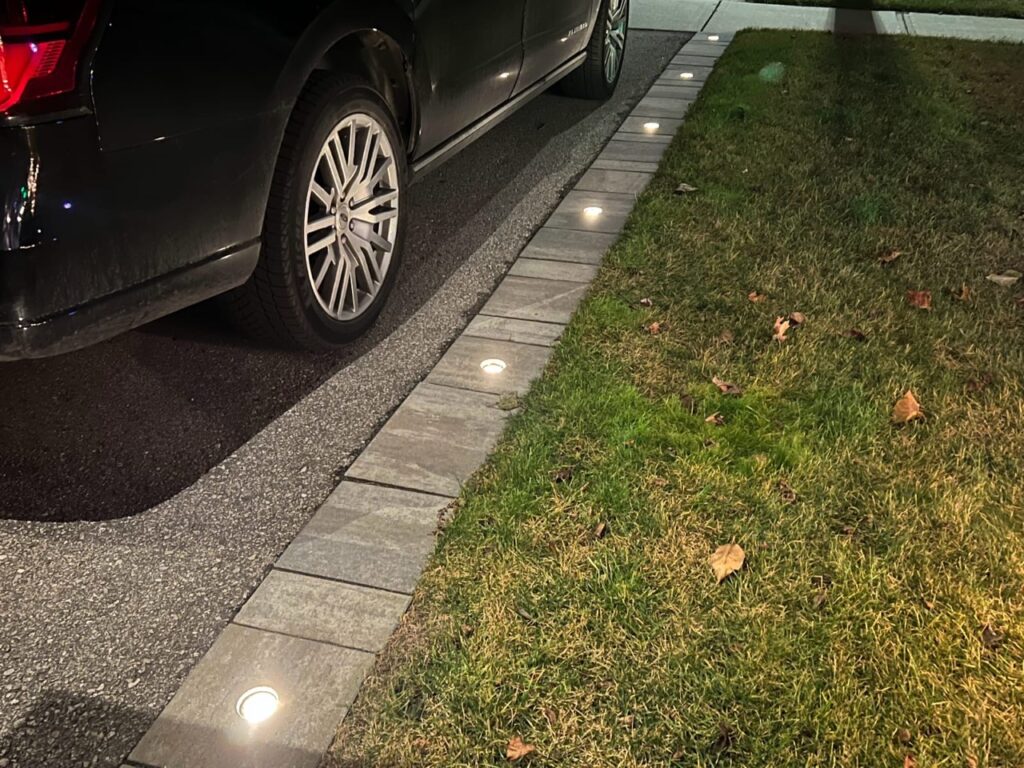
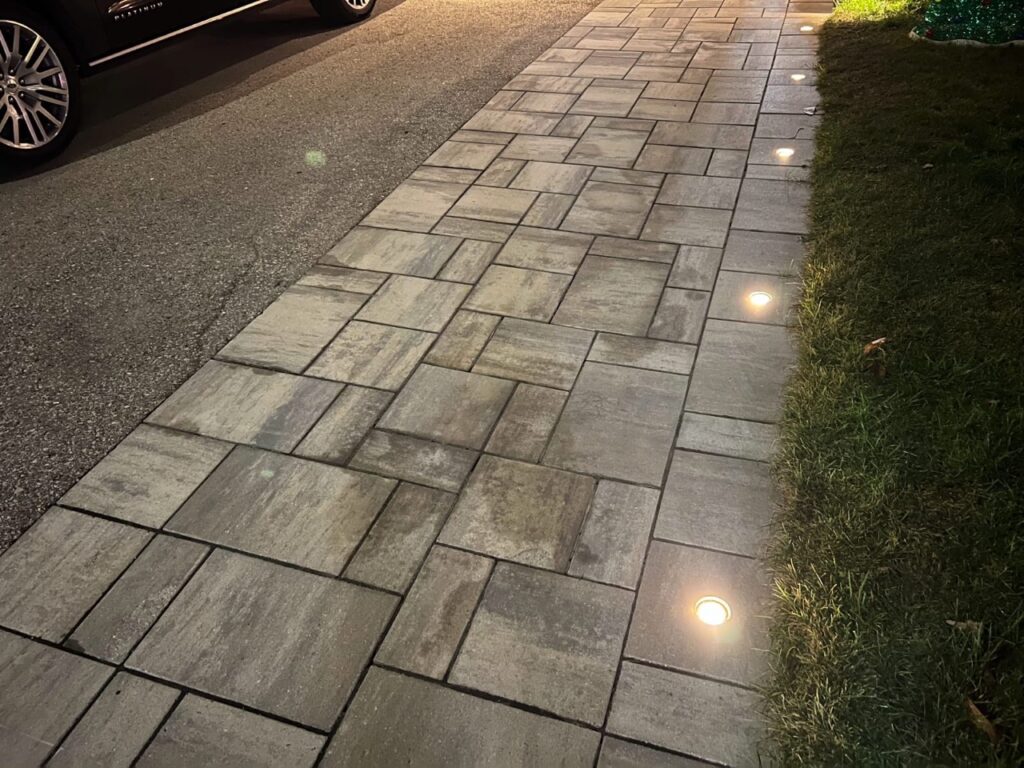
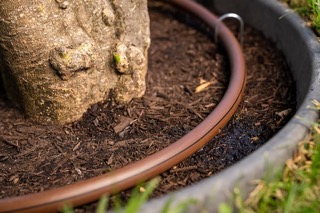
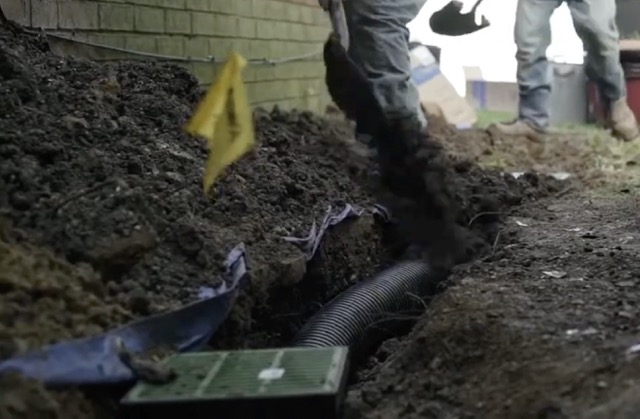
For the safety and proper function of outdoor lighting, the right wiring is key. Choose the right size and voltage of the wire based on the distance between the transformer and the lights. For long runs, 12- or 14-gauge cable is often best to reduce voltage drop. Plan the wire layout by marking the least and most effective paths on a map. If you want an in-ground setup, dig a trench about 6 inches deep to protect the wires. Use a shovel, spade, or tool to make a smooth channel. Pour warm water or use a heating pad if the ground is frozen. Place the cable inside a protective conduit in high traffic areas. Leave some slack at each fixture connection so you can adjust them later. Connect the wires carefully using waterproof connectors or gel-filled wire nuts to prevent moisture damage. Then use tape to further secure the connections if needed. Once connected, carefully fill in the trench, avoiding sharp objects or stones. For above-ground wiring, fasten them to fences, walls or under decks and keep them hidden for a clean look. Finally, test the system by turning on the transformer and checking each light. A well-organized wiring system ensures reliable performance even in winter.
How to Set Up a Timer for Outdoor Landscape Lighting?
One of the first steps to fix outdoor landscape lighting is to install a timer. This makes the lighting more efficient and convenient while saving energy. The main thing to choose is the timer. You can use a mechanical, digital, or smart Wi-Fi-enabled timer. .Clock timers work by turning the dial to the on/off position. Digital and smart timers are more user-friendly as they provide more settings and operate automatically. To start, insert the timer into a GFCI-protected outdoor outlet. If you use a transformer for a low-voltage lighting system, connect the timer to the transformer. Program the timer to turn on at sunset and off at sunrise. Update the schedule based on the season and day. Most digital timers have an auto-adjust feature. This lets the timer change the schedule automatically as the year goes on. For smart timers, download the app. The timer will connect to the internet. You can manage schedules, change brightness, and automate settings from anywhere. Some units work with Google Home, Alexa, or Apple HomeKit, giving you voice control. Make sure the timer has a weatherproof housing that can withstand snow and rain. This is important for battery-powered timers. Always keep the batteries in good condition. Do a test run of the system by setting a shorter cycle. Check that the lights turn on and off as planned. A well-configured timer is the best way to easily manage outdoor lighting year-round.
How to Connect Wi-Fi for Outdoor Landscape Lighting?
Landscape lights with Wi-Fi let you control them more easily. But setting them up is important to get a stable connection. First, check if the outdoor area has a strong Wi-Fi signal. Use a range extender or mesh network if needed. Pick smart LED lights that work with 2.4GHz Wi-Fi, which is common for outdoor devices. Download the manufacturer’s app and make an account. The app will guide you to connect the lights to your Wi-Fi. Keep your phone and lights close to the router for setup. Some lights may need you to scan a code or press a button. Once connected, name each light in the app so you can identify them. Test the connection by changing brightness, colors, or schedules from your phone. Integrate the lights with voice assistants like Alexa, Google, or Apple HomeKit for voice control.If the connection is weak, try moving the router, updating firmware, or resetting the device. A good Wi-Fi system makes it easy to control outdoor lighting, even in winter.
How Winter or Cold Weather Can Influence Outdoor Landscape Lighting?
Cold weather can make outdoor lights stop working. It can cause short-term or long-term problems. Cold affects the lighting of homes, parks, buildings, and roads. Lightbulbs need protection from moisture, wind, snow, and ice. LED lights may dim at first in cold weather. But high-quality ones are more durable. They can still work in freezing temperatures without permanent damage. Snow can block light and affect driving visibility. Install lights on walls or roofs so snow can slip off easily. Use weatherproof, waterproof materials to ensure lights work in wet, icy weather. Extreme cold can make wiring less flexible, causing cracks. Use UV-resistant, weatherproof cables to prevent icing. Use waterproof, sealed fixtures to protect from ice and snow. Lower-voltage systems work better in winter. They are simpler, safer, and more energy-efficient. Clear snow and ice from lights regularly so they can operate well.
How Much Does It Cost to Install Outdoor Landscape Lights in Toronto and GTA?
The installation of outdoor lighting in Toronto and GTA will be determined by the type of light, the number of fixtures, and also the labor cost.
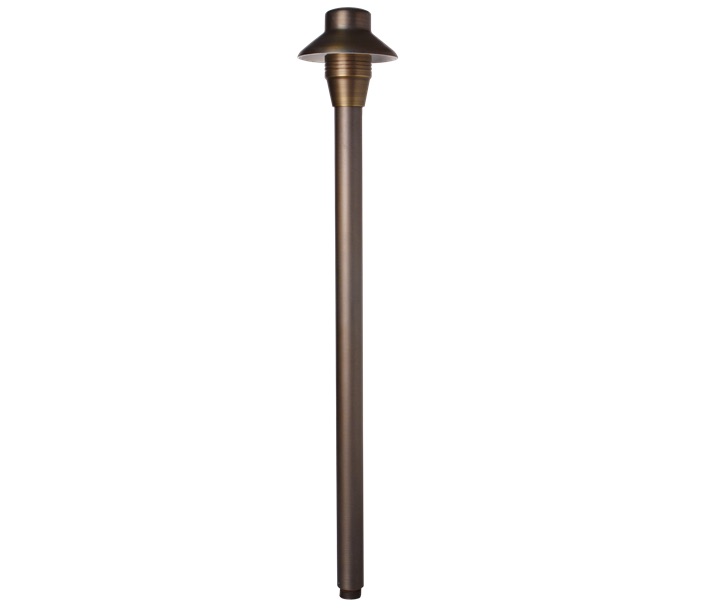
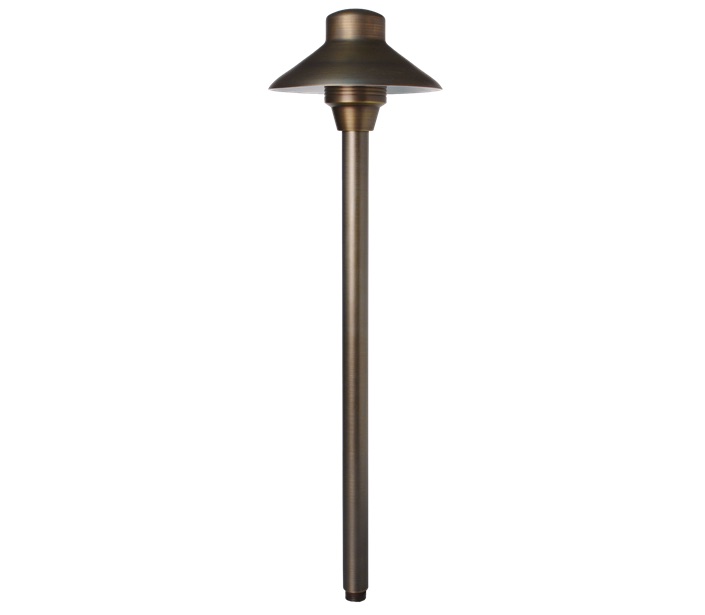
Basic path lights (dealer’s warranty): $270 to $330 per light (professional installation)
Low-voltage LED fixtures: $260 to $280 per light (apart from transformer)
Transformer from Kichler: 300–350
Smart Wi-Fi-enabled lights: $250 to $340 per light
Whole illumination system (10-20 glasses): $2,000 to $5,000
Additional fuels for trenching i.e. wiring ($5–$10 per linear foot), smart home linking ($50–$100), and weatherproofing materials ($50–$200) should be anticipated. Installing a professionally insured and competent service technician will provide peace of mind knowing that power supply work is happening in a safe and efficient manner even during the winter months as the ground is sometimes frozen.
Our Partner How to Install LED Outdoor Landscape Lights in Winter Time
How to Install LED Outdoor Landscape Lights in Winter Time