Irrigation system design and installation aren’t for the faint of heart. Indeed, you need a good grasp of basic physics, design, and water dynamics to ensure that you install your new sprinkler system correctly.
What the planning of the irrigation system consists of - Irrigation System Design:
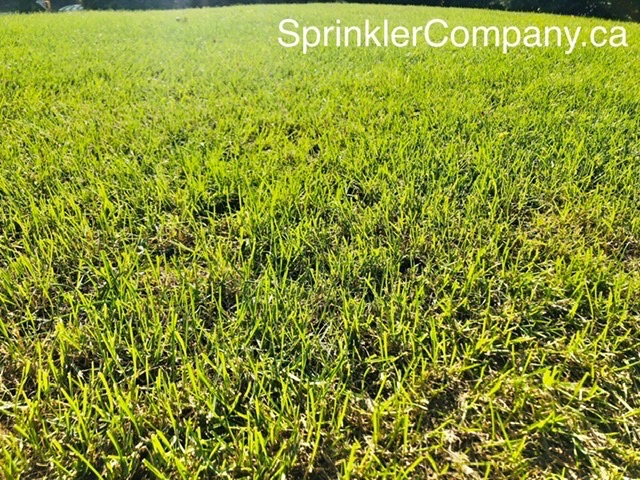
The first step in irrigation system design a residential system is to measure the property and indicate the location of the house including all concrete or brick walks and patios, driveways, and fences. While you are measuring, locate any trees, shrubs, and lawns and draw them on the sketch. On the plan, lots should be divided into the front yard, back yard, side yard, lawn or shrubbery, and shady areas.
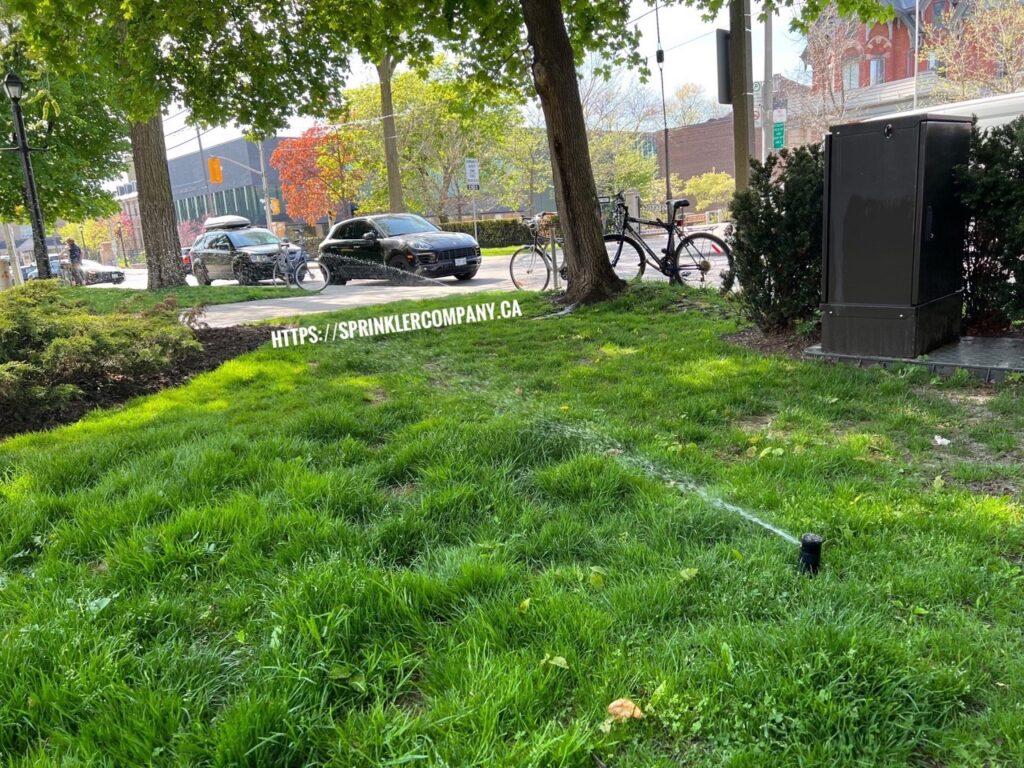
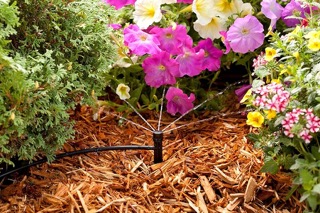
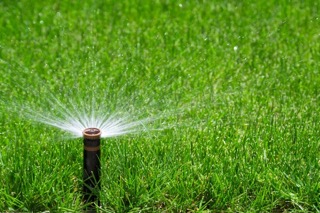
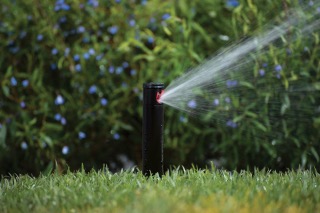
Depending on the characteristics of your property, each area can have completely different types of heads, different nozzles, drip systems or spray heads.
Depending on the characteristics of your property, plants, concrete, any shed, patio, etc. and which heads it was decided to install, each area of the property may have a different arrangement of heads according to their irrigation characteristics.
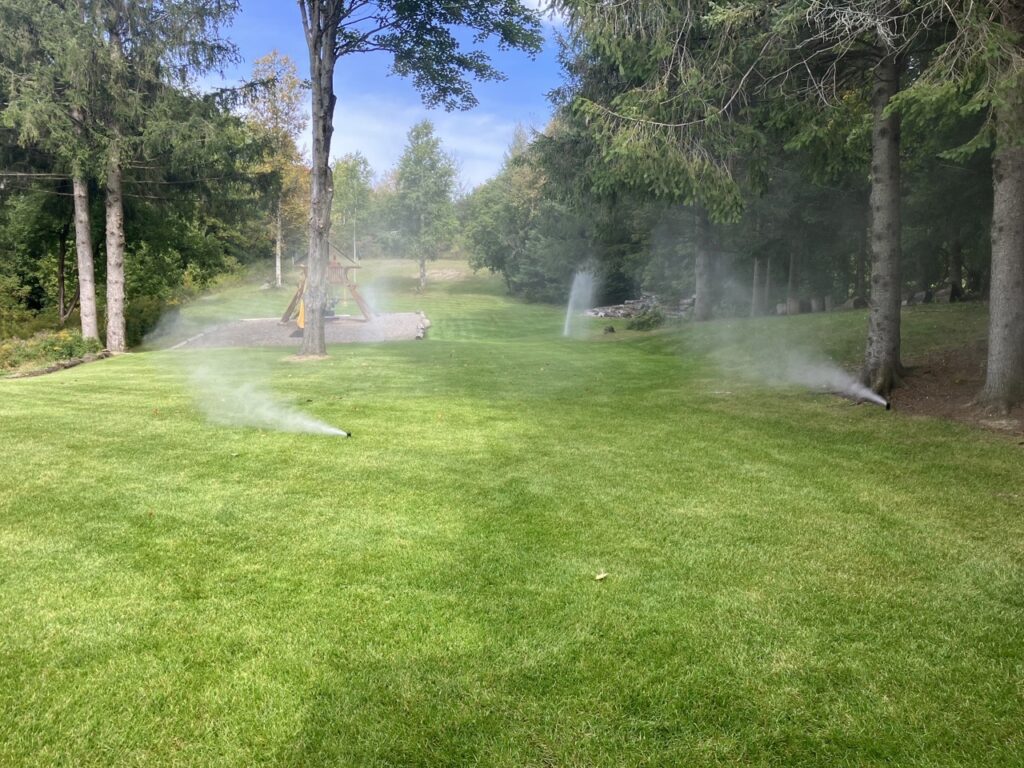
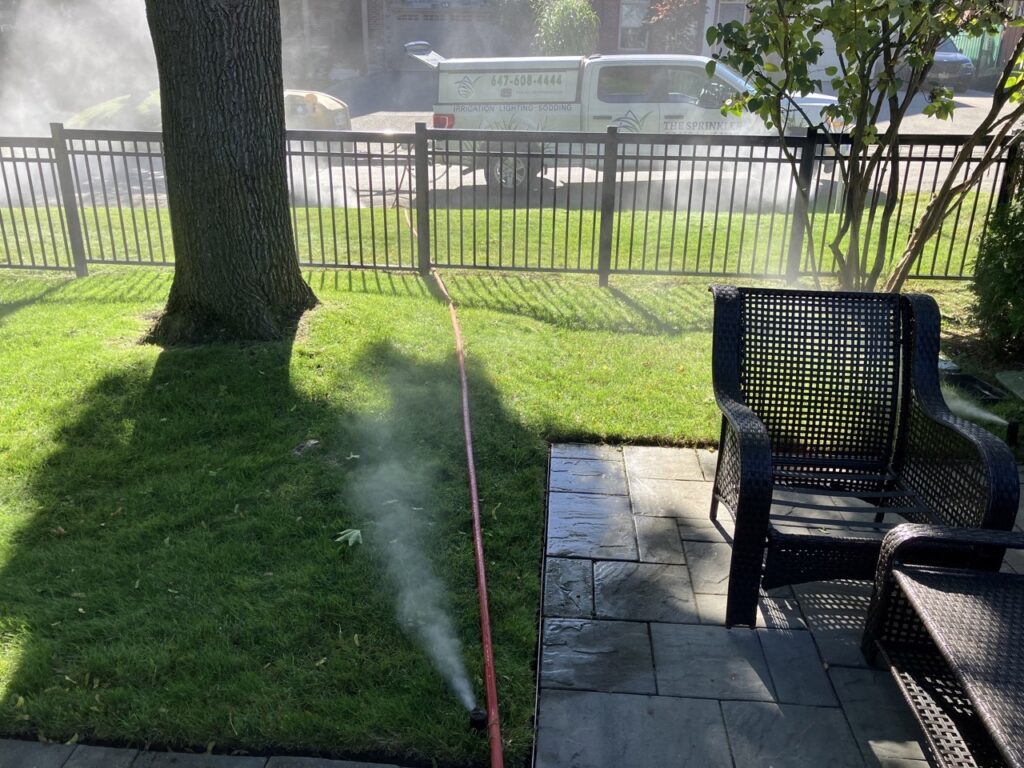
Unless you have a very small yard, you probably do not have enough water capacity to irrigate the entire yard at once. Many areas will require more water than the residence has available (system design capacity). Consider the dividing lines based on sun exposure and plant type/watering needs to control the amount of water applied in each area or hydrazone.
Every zone on the plot plan must have its own valve. The valve controls the on/off flow of water to a sprinkler zone. Indicate one control valve for each zone and then group the valves together in an assembly called a valve manifold. Determine where you want the valve manifold for each area. You may want a manifold in the front yard and one in the backyard, or you may want more locations. Manifold placement is entirely up to you. We recommend placing the manifold in an accessible spot for easy maintenance. Place the manifold close to the area the valves will serve, but where you will not be sprayed when activating the system manually.
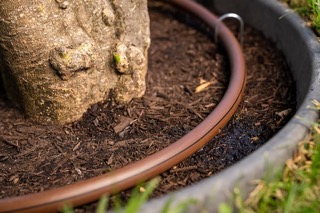
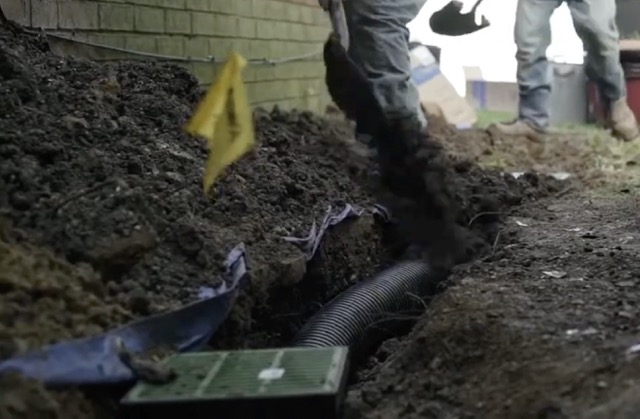
Lateral Line
The two most common types of pipe used in irrigation system design are polyvinyl chloride (PVC) and polyethylene (poly). Check with your local Irrigation contractor to find out which type of pipe is used in your area.
Designing and installing an irrigation system can be a complex process that requires a good understanding of basic physics, irrigation system design, and water dynamics. Proper planning and consideration of various factors are necessary to ensure the system operates efficiently and effectively. The development process of an irrigation system design involves several steps, including plot planning, determining the system design capacity, selecting appropriate sprinkler heads, selecting the right products for each area, determining the location of sprinkler heads, dividing the sprinklers into zones, locating valves, and laying out and sizing pipes.
The first step involves measuring the property and dividing it into different areas, including the front yard, back yard, side yard, lawn, and shrubbery. Irrigation system design capacity is determined by measuring water pressure and volume. Sprinkler heads are then selected based on the type of irrigation required for each area.
After selecting the appropriate products, the location of sprinkler heads is determined based on the irrigation requirements of each area. The next step is to divide the sprinklers into zones based on water capacity and plant type/watering needs. Each zone requires a separate valve and a valve manifold for controlling the on/off flow of water. The lateral line connects the sprinkler heads to the valve manifold, and the main line connects the point of connection to the water meter.
Proper planning and irrigation system design of an irrigation system are crucial to its efficient operation and longevity. Hiring a professional irrigation contractor can be helpful in ensuring the system is designed and installed correctly. They can also provide guidance on selecting the right products, determining the system capacity, and pipe sizing to optimize water use and minimize water wastage. If you need help with irrigation system design, we are ready to assist you! Our company offers a free estimation in Toronto & GTA.
If you need help designing your irrigation system, we are ready to help you! Our company provides a free estimation in Toronto & GTA