Irrigation Opening
Opening Cost Calculator
Check-Up / Service Call
Full inspection, diagnostics, pressure testing, and system adjustments.
BOOK ONLINEUsually, the price for irrigation opening is $90 + tax. The price can vary if the system is commercial or big residential.
GET IT NOWBasically, the price for winterization is $100 + tax. The cost can vary if the system is commercial or big residential.
GET IT NOWPrices start at $550 per zone. We use Hunter and Rain Bird materials. 5-year warranty. Parts and labor are included.
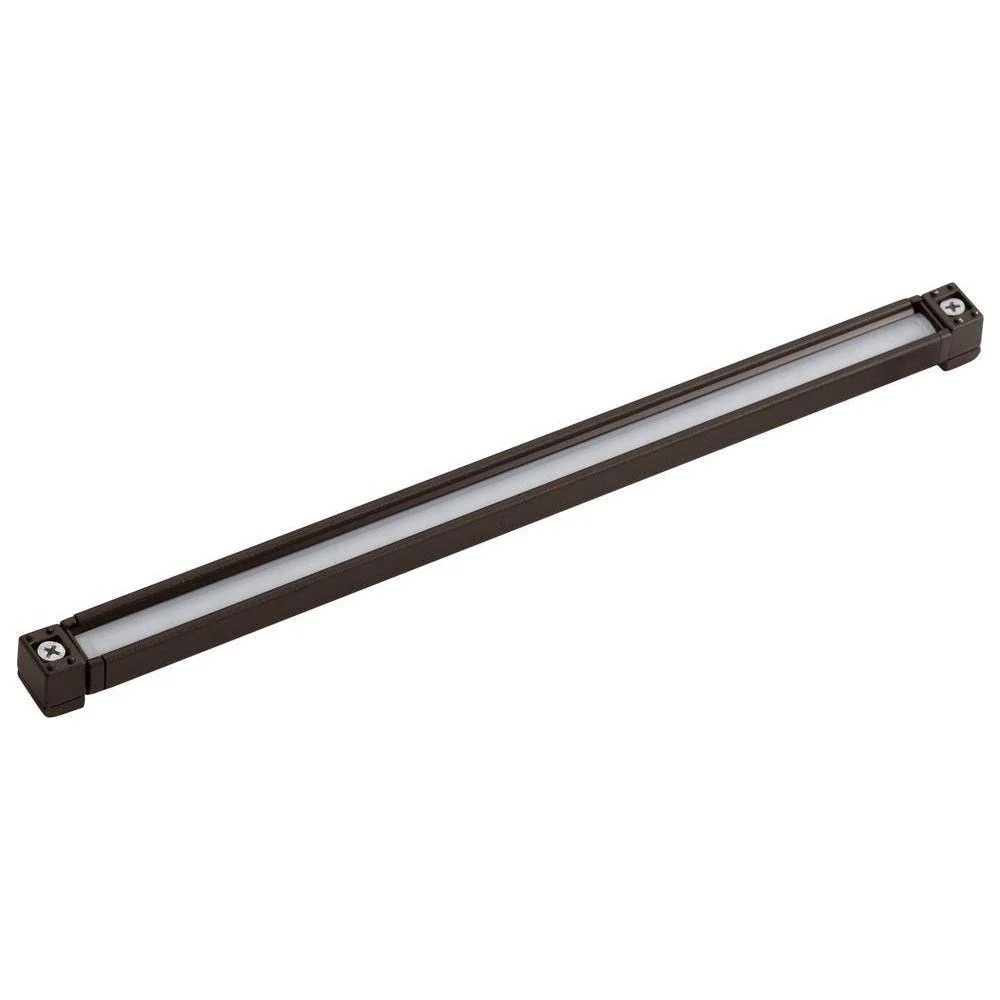
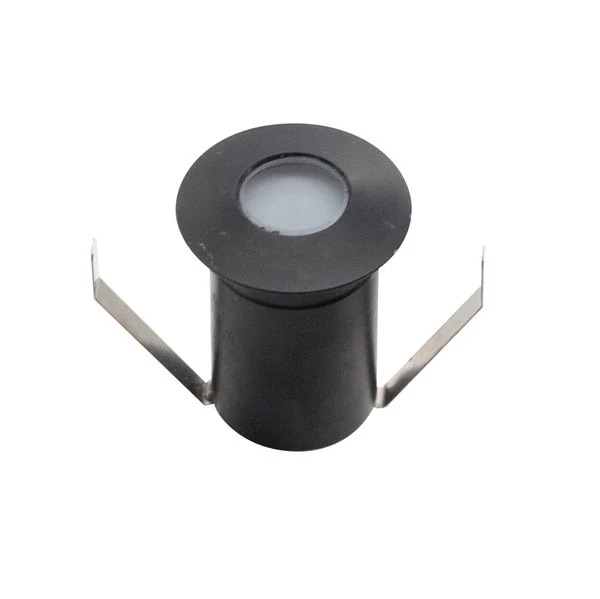
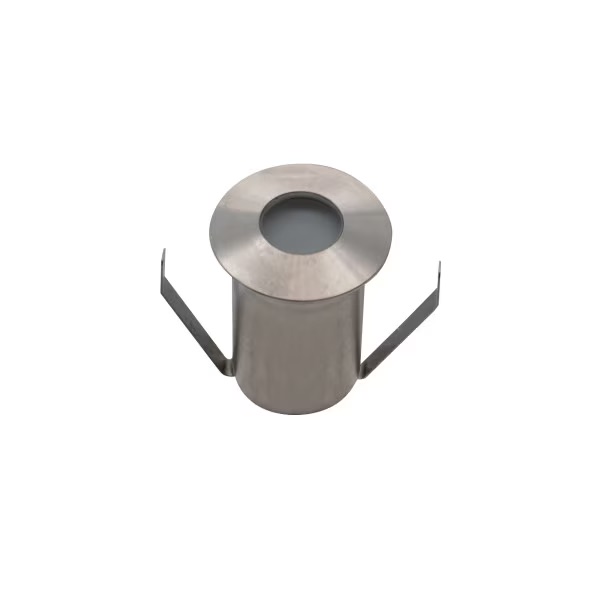
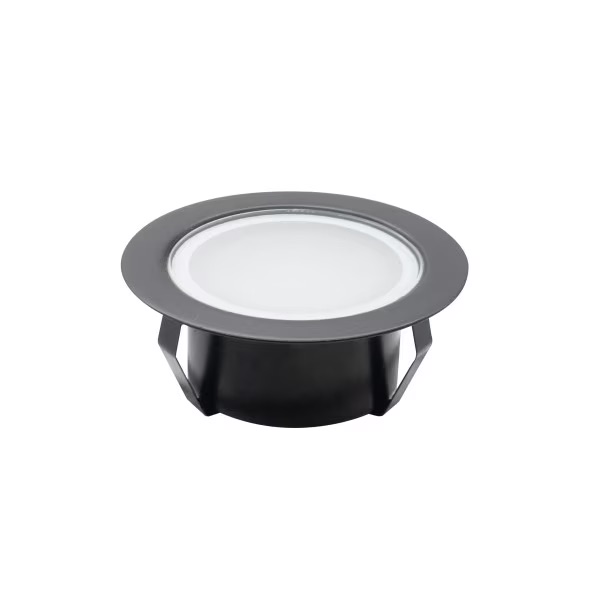
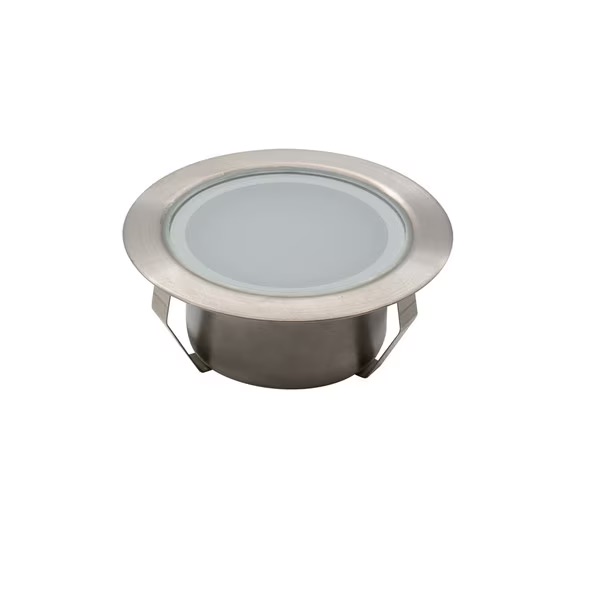
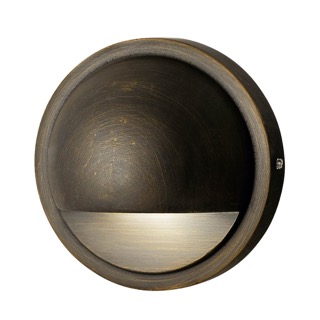
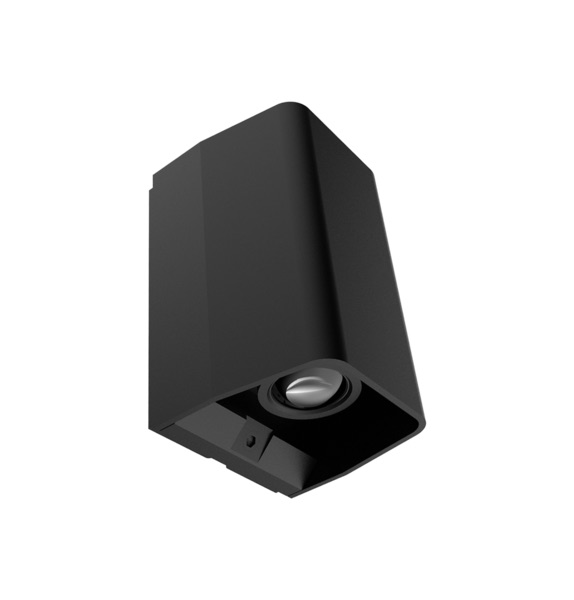
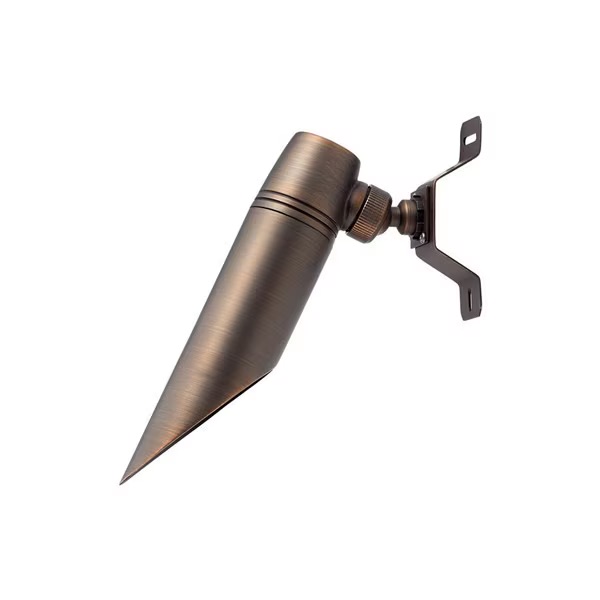
GET IT NOWLED fixtures start from $250 due to long lifespan and reduced maintenance costs. Parts & labour are included.
GET IT NOWResidential sod averages $1.10–$3.50 per sq.ft. Commercial starts at $0.75. Labour is included.
GET IT NOWFrench drainage installation cost ranges $25–$40 per foot depending on complexity. Parts and labor are included.
GET IT NOWFull inspection, diagnostics, pressure testing, and system adjustments.
BOOK ONLINE













Automatic irrigation systems operate seasonally, and before the arrival of cold weather and frost, winterization is essential. Properly “shutting down” the system until the next spring and warmer temperatures is a crucial part of irrigation system maintenance. Doing so significantly extends the lifespan of pipes, valves, and other components.
Winterization involves blowing out the entire system with compressed air in automatic mode. This process is carried out in stages and requires extra care and precision.
When performing a blowout, it is not necessary to remove equipment such as quick couplers, drip emitters, or electric valves.
Toronto and the surrounding areas are located in a region where winters bring deep ground frost. Due to the local climate conditions, the soil can freeze significantly during the cold season, and with it, the pipes of automatic irrigation systems may also freeze and become damaged. For this reason, proper winterization of the irrigation system is a mandatory procedure.
Ignoring this requirement almost always results in damage to the irrigation system, regardless of the pipe material—whether it’s PVC, HDPE, or others. If water remains in the pipes, it will expand when it freezes, leading to burst pipes and damage to other critical components of the system.
That’s why The Sprinkler Company Inc. strongly recommends professionally winterizing your irrigation system in the Greater Toronto Area to ensure its longevity and prevent costly spring repairs.

Winterizing an Irrigation System: Methods and Step-by-Step Process
Winterization of an irrigation system can be done using one of three methods:
Manual
Automatic
Blowout (with compressed air)
Due to its versatility, the blowout method is most commonly preferred. However, depending on the specific design of the installed irrigation system, manual or automatic methods may sometimes be necessary.
The manual and automatic winterization processes are carried out in stages:
Shut off the water supply — This is the first step regardless of the method used. Typically, a gate valve or a ball valve is used to shut off the water, usually located in the basement or utility area.
For the manual method — All drain valves must be opened to remove water from the pipes.
For the automatic method — Special automatic drain valves are used, which open when the system pressure drops below 0.7 bar. To trigger this, simply activate the system again after shutting off the water supply, which will lower the pressure and open the drains.
Drain remaining components — Once the water has been removed from the pipes, it must also be drained from other components such as valve manifolds and control boxes. Use dedicated drain valves to complete this step.
Close all valves — After confirming that the system is completely drained, close all drain and shut-off valves.
This process ensures that the entire irrigation system is safely preserved and protected from freeze damage during the winter months.
Although the blowout method is considered the most popular and universal approach for winterizing irrigation systems, it must be carried out with great care and precision. For this reason, it is strongly advised that non-professionals do not attempt the process themselves, but instead entrust the work to qualified specialists.
Blowout involves using compressed air, so proper safety gear is essential, especially protective goggles, as airborne debris stirred up during the process can cause serious eye injuries.
To perform a blowout, a specialized compressor is required. It must be connected after the backflow preventer, never through it. The power of the compressor and the intensity of the air pressure must be selected based on the type of pipe material used in the system.
Never attempt to blow out the system through the backflow preventer — this can cause permanent damage.
Step-by-Step Process:
Start by activating the furthest irrigation zone through the controller.
Carefully open the air supply valve.
Allow the blowout to continue until only mist (no water) is exiting the sprinkler heads.
Repeat the process for each zone, moving sequentially toward the closest one.
Throughout the process, monitor the pressure carefully — it must not exceed the system’s safe limit to avoid damage to the sprinklers and pipes.
Additional Components to Winterize:
Set outdoor controllers to the “Off” position (but do not unplug them).
Indoor controllers can be unplugged if necessary.
Remove sensor disks, drain the rain sensor cup, open the air vent, and close the access lid.
If your system includes a pump station, especially one located outdoors, it is recommended to drain and dismantle itahead of winter and store it in a warm indoor space until spring.
Following these guidelines ensures your irrigation system is protected from freeze damage and ready for a trouble-free start-up when the next season arrives.
When spring arrives and stable, above-freezing temperatures are established—typically in April or May—it’s time to de-winterize your irrigation system and perform a scheduled system start-up.
Step-by-Step Reactivation Process:
Inspect, clean, and reinstall all components that were removed during winterization.
Check all system equipment. Minor repairs may be required due to frost damage or mechanical impact from snow removal (e.g. broken nozzles, drip lines, or exposed components). Most small issues are fixed on-site.
Reconnect and activate the pump station, if applicable.
Fill the storage tank, if your system uses one.
Clean mechanical water supply filters, and nozzle filters if needed.
Run the system through a full irrigation cycle to verify performance.
Adjust sprinkler heads, including spray patterns, coverage sectors, and radii.
Check and program the controller, ensuring all sensors (e.g. rain, moisture, or freeze) are functioning and properly configured.
This thorough start-up ensures your irrigation system is fully operational and ready for the season, optimizing water efficiency and protecting your landscape.